Do you have a question about the TOORX MSX3000 and is the answer not in the manual?
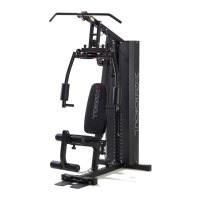
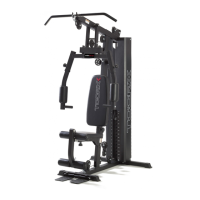
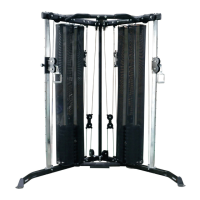
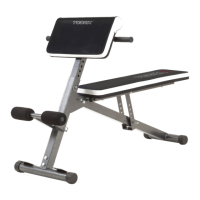
A comprehensive list of all components with descriptions and quantities.
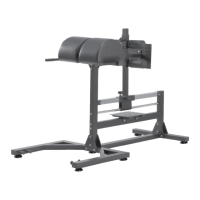
Illustrations showing the physical appearance of individual spare parts.
Visual guides illustrating the path of various cables within the machine.
Illustrations and identification of all bolts, nuts, and washers used in assembly.
Assembling the ground frame, guide rods, and back support rods.
Installation of the counterweight stack, selector rod, and related components.
Securing the front frame and associated pins to the main structure.
Attaching the upper frame and shield support components to the assembly.
Fitting the left and right side covers onto the main structure.
Assembling the seat cushion tube and leg curl mechanism.
Attaching the front push holder, arm, and guard plate.
Connecting the butterfly arms and footplate to the main frame.
Routing the lat pull cable and installing multiple pulleys.
Connecting the middle cable, chain, and snap hooks.
Setting up the butterfly arm cable with its associated pulleys.
Installing support plates and configuring various pulley systems.
Connecting the low pull cable with chain and short bar.
Mounting the seat and back cushions onto their respective frames.
Adding sponge pads to the seat and leg curl components.
Attaching the main protective shields to the frame.
Connecting chains and handle belts for various exercise attachments.
| Brand | TOORX |
|---|---|
| Model | MSX3000 |
| Category | Fitness Equipment |
| Language | English |