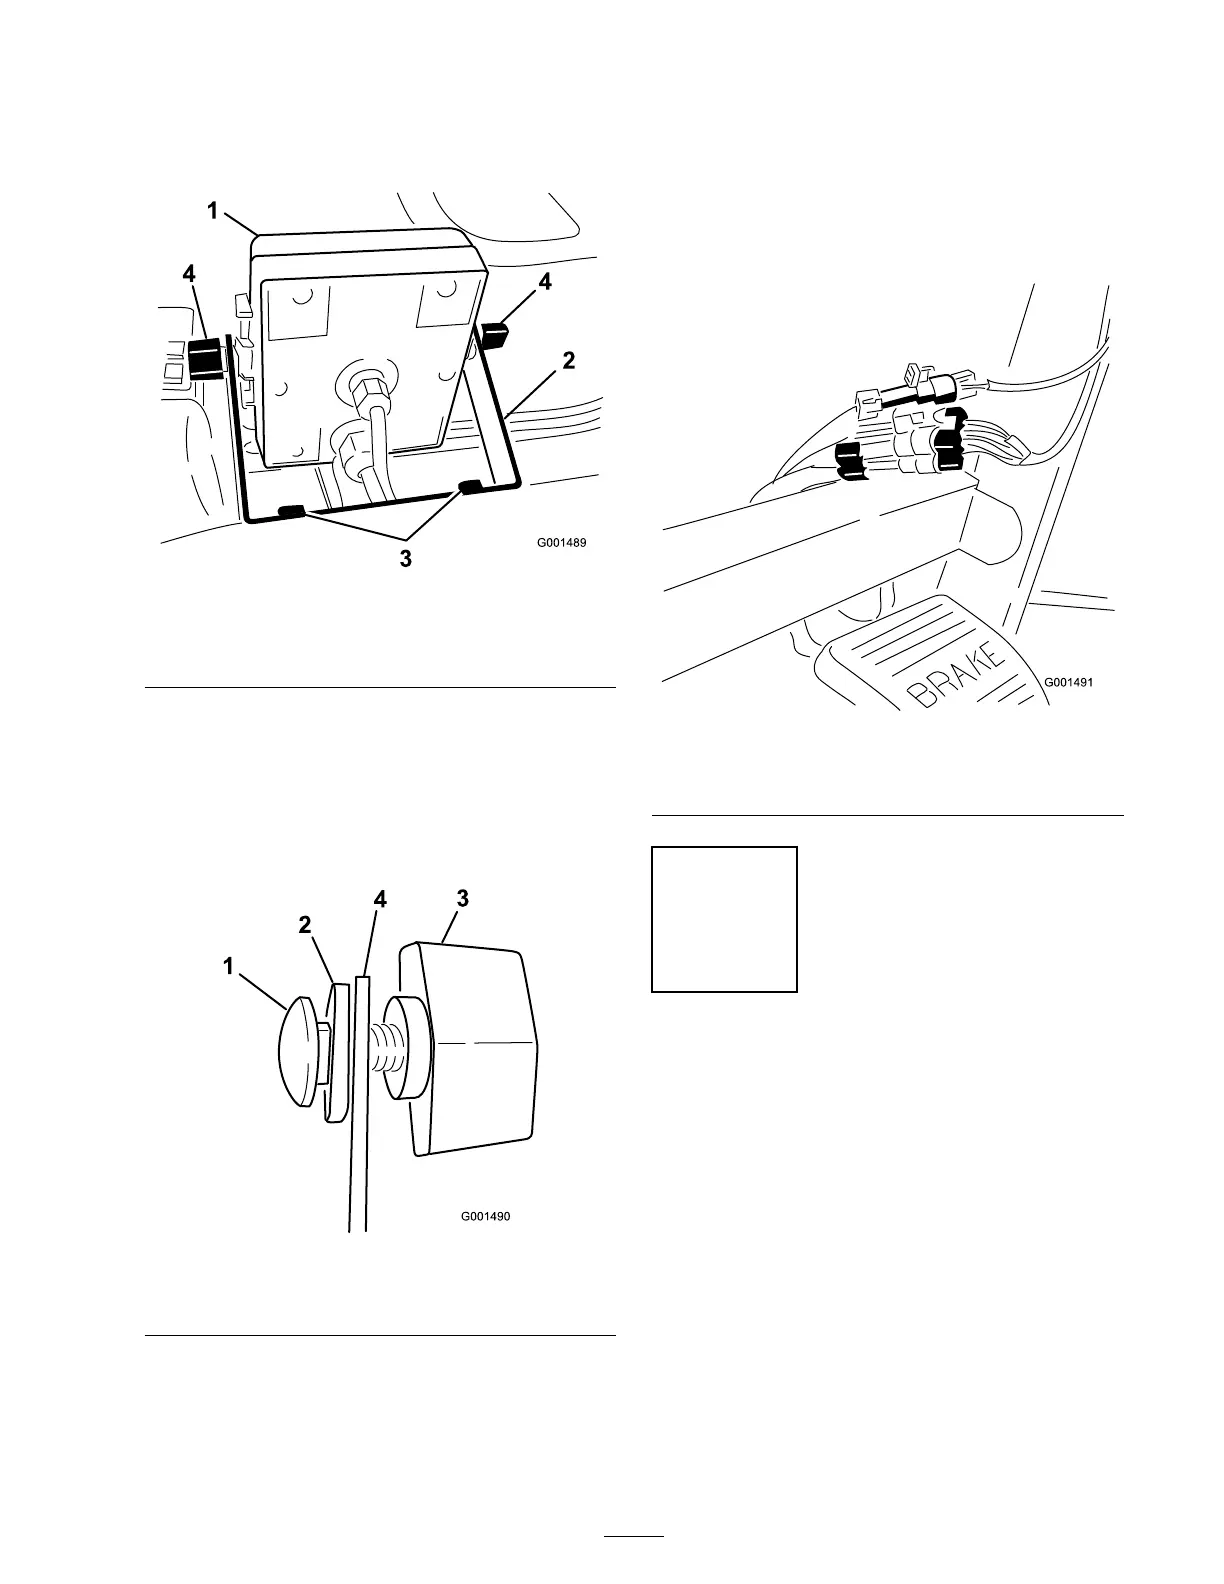
2. Install the monitor brac k et on the dash
( Figure 5 ) using 2 flang e-head bolts
(1/4 x 3/4 inc h) and 2 flang e n uts (1/4 inc h).
Figure 5
1. Spray Pro monitor
3. Flange-head bolts,
1/4 x 3/4 inch
2. Bracket 4. Knob
3. Loosely install the 2 car riag e bolts , r ubber
w ashers , and knobs on the brac k et as illustrated
in Figure Figure 5 and Figure 6 .
Note: Install the car riag e bolts and r ubber
w ashers inside of the brac k et and the knobs
on the outside .
Figure 6
1. Carriage bolt 3. Knob
2. Rubber washer 4. Bracket
4. R emo v e the larg e g rommet from the hole in
the dash and thread the cables on the monitor
through the g rommet and the dash.
5. Install the g rommet into the dash.
6. Install the Spra y Pro monitor o v er the car riag e
bolt heads ( Figure 5 ) and tighten the knobs to
secure it.
7. Connect the Spra y Pro wire connectors to
the wire connectors located under the dash
( Figure 7 ).
Figure 7
1. Connectors from the
sprayer
2. Connectors from the
monitor
Step
3
Checking the Boom Hinge
Springs
No Parts Required
Procedure
Important: Operating the spray system
with the boom hinge springs under the
incor r ect compr ession could dama ge the
boom assembl y . Measur e the springs and use
the jam n ut to compr ess the springs to 1.56
inches if necessar y .
T he spra yer is shipped with the boom extensions
swung forw ard to facilitate pac kaging of the
mac hine . T he springs are not fully tightened at
15

 Loading...


