Charging the batter y pr oduces gasses
that can explode.
Nev er smok e near the batter y and k eep
spar ks and flames a w ay fr om batter y .
4. Install the batter y in the c hassis; refer to
Installing the Batter y .
Storing the Battery
If the mac hine will be stored for more than
30 da ys , remo v e the batter y and c harg e it fully .
Either store it on the shelf or on the mac hine .
Lea v e the cables disconnected if it is stored on the
mac hine . Store the batter y in a cool atmosphere
to a v oid quic k deterioration of the c harg e in the
batter y . T o prev ent the batter y from freezing,
mak e sure it is fully c harg ed.
Drive System
Maintenance
Maintaining the Primary
Drive Clutch
After ev er y 400 operating hours or yearly , clean
and lubricate the clutc h as follo ws:
1. Stop the engine , remo v e the k ey , and set the
parking brak e .
2. Raise the front end of the spra yer and suppor t
it on jac k stands .
A spray er on a jack may be unsta ble
and slip of f of the jack, injuring an y one
beneath it.
• Do not star t the engine while the
spray er is on a jack.
• Al w ays r emo v e the k ey fr om the
ignition bef or e getting of f of the
spray er .
• Block the tir es when the spray er is on
a jack.
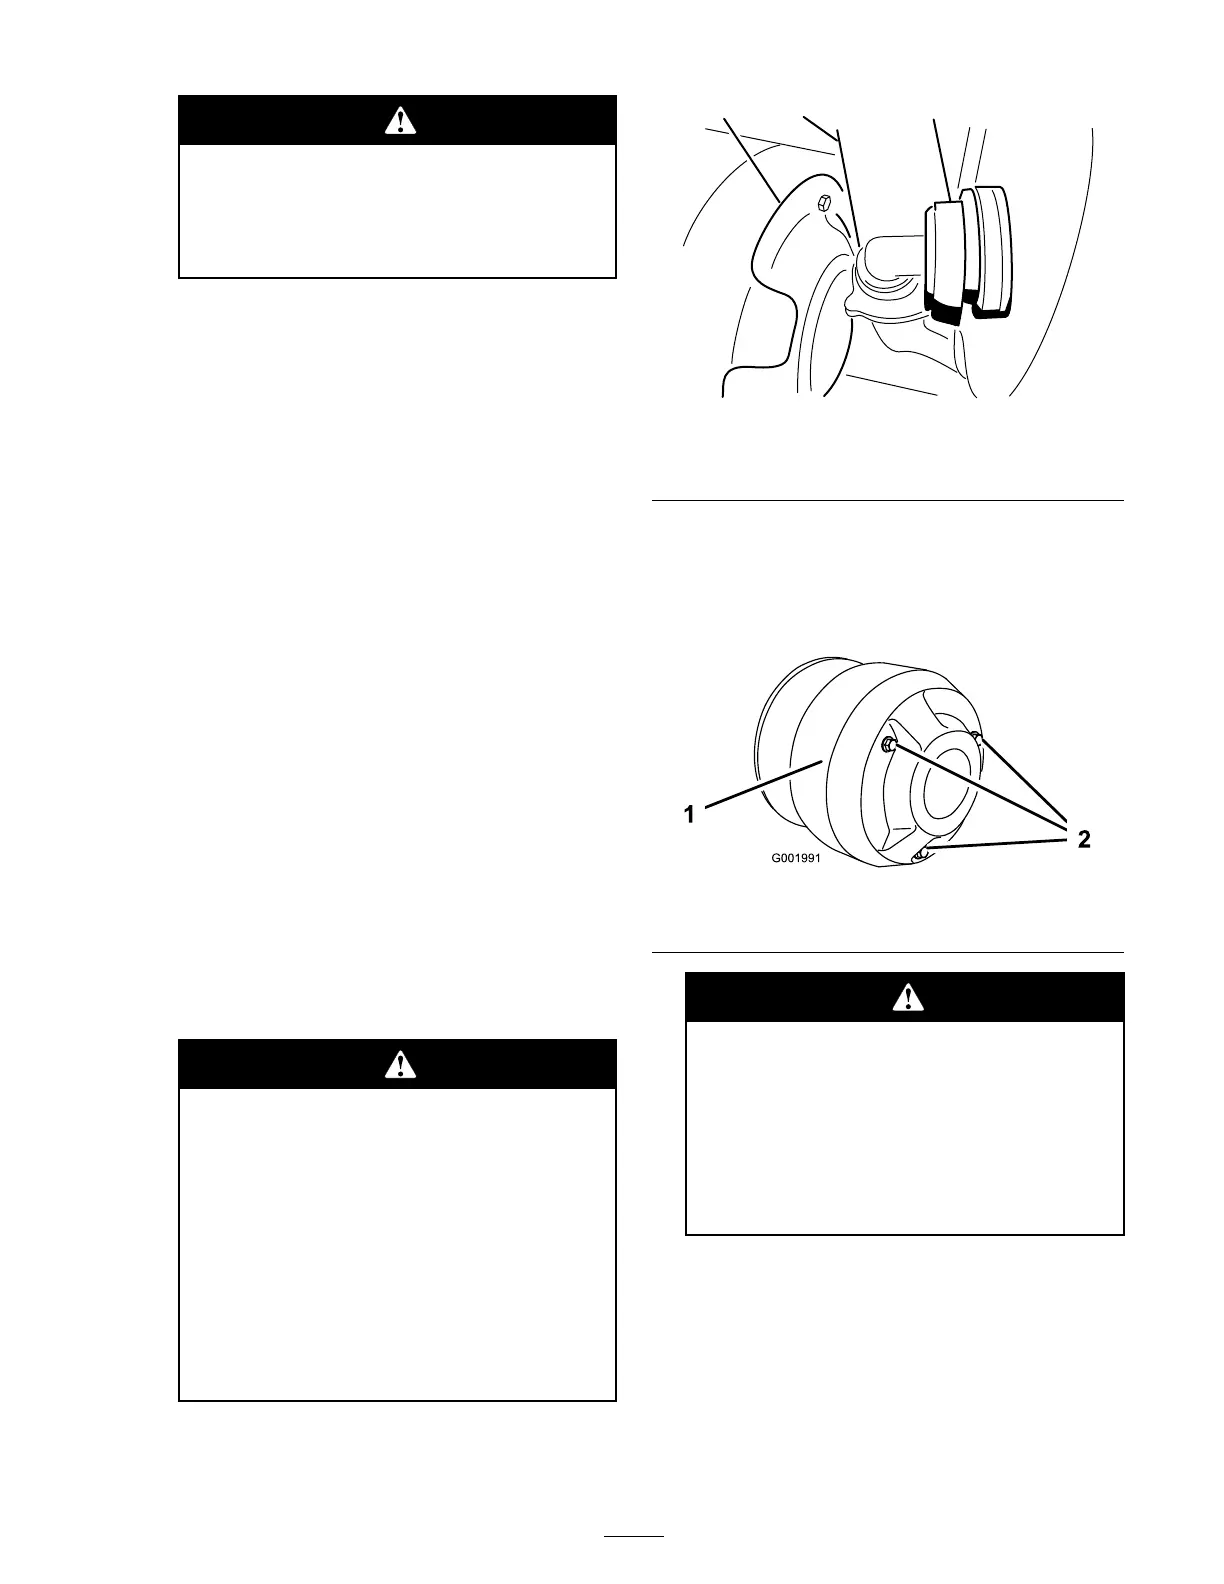
3. Disconnect the hose located on the lo w er -front
face of the tank ( Figure 57 ).
G001990
132
Figure 57
1. Clutch cover 3. Heat shield
2. Hose
4. R emo v e the 3 bolts securing the co v er to the
clutc h and remo v e the co v er ( Figure 58 ).
Note: Y ou ma y need to push the heat shield
( Figure 57 ) bac k as y ou remo v e the co v er .
Figure 58
1. Cover
2. Bolts
T he dust in the clutch will become
airbor ne and could dama ge y our ey es or
y ou could inhale it causing br eathing
dif ficulties.
W ear safety go g g les and a dust mask
or other ey e and r espirator y pr otection
when perf or ming this pr ocedur e.
5. Lubricate the mo ving par ts in the areas circled
in Figure 59 using T oro Dr y Lubricant Spra y ,
a v ailable through y our A uthorized T oro Dealer
or Distributor .
51

 Loading...


