In cer tain conditions during fueling , static
electricity can be r eleased causing a spar k
which can ignite the gasoline v apor s. A fir e
or explosion fr om gasoline can bur n y ou and
other s and can dama ge pr oper ty .
• Al w ays place gasoline container s on the
g r ound a w ay fr om y our v ehicle bef or e
filling .
• Do not fill gasoline container s inside
a v ehicle or on a tr uck or trailer bed
because interior car pets or plastic tr uck
bed liner s may insulate the container and
slo w the loss of an y static charge.
• W hen practical, r emo v e gas-po w er ed
equipment fr om the tr uck or trailer and
r efuel the equipment with its wheels on
the g r ound.
• If this is not possible, then r efuel such
equipment on a tr uck or trailer fr om a
por ta ble container , rather than fr om a
gasoline dispenser nozzle.
• If a gasoline dispenser nozzle must be
used, k eep the nozzle in contact with the
rim of the fuel tank or container opening
at all times until fueling is complete.
R ecommended Gasoline
Use fresh, clean, unleaded regular g asoline suitable
for automoti v e use (87 pump octane minim um).
Leaded g asoline ma y be used if unleaded regular is
not a v ailable .
Important: Nev er use gasoline containing
methanol, gasoline containing mor e than
10% ethanol, gasoline additi v es, or white gas
because engine fuel system dama ge could
r esult.
Filling the Fuel T ank
T he fuel tank capacity is appro ximately 6 US
g allons (21 L).
Note: T he fuel tank cap contains a g aug e whic h
sho ws the fuel lev el; c hec k it frequently .
1. Shut the engine off and set the parking brak e .
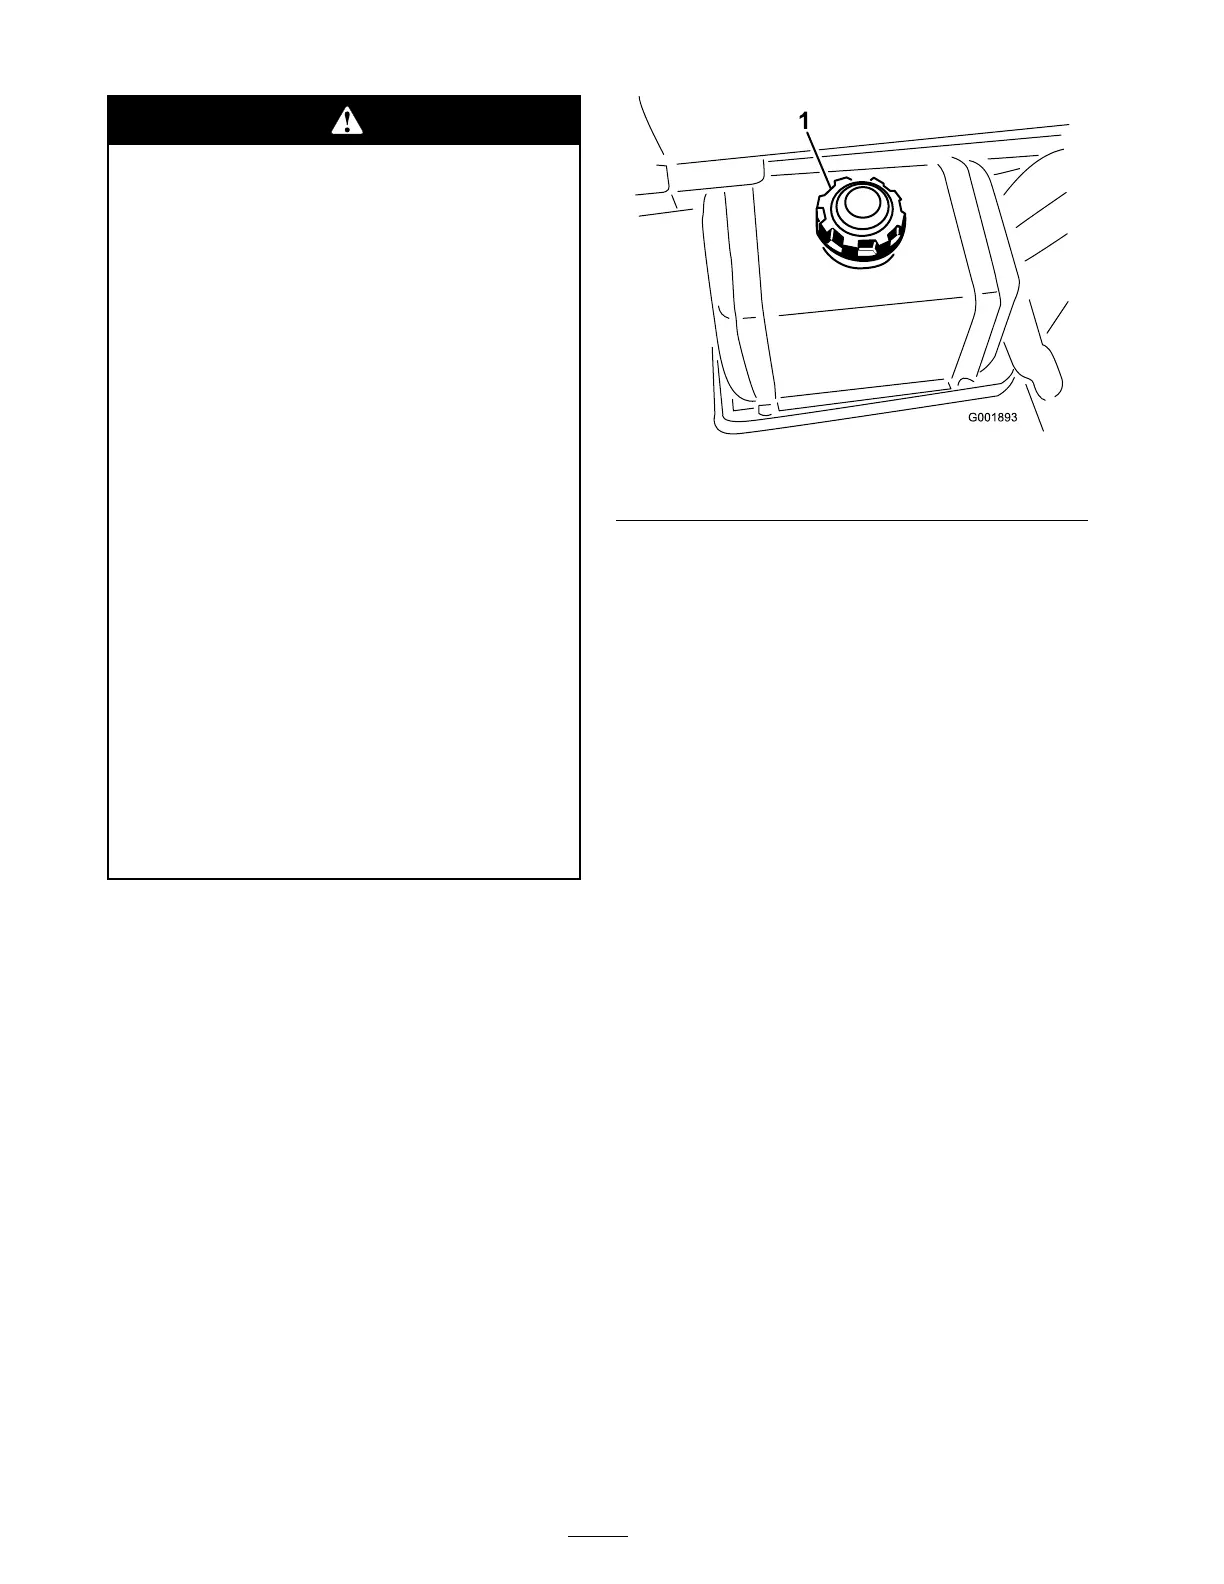
2. Clean the area around the fuel tank cap
( Figure 22 ).
Figure 22
1. Fuel tank cap
3. R emo v e the fuel tank cap .
4. Fill the tank to about one inc h belo w the top
of the tank, (bottom of the filler nec k). T his
space in the tank allo ws g asoline to expand.
Do not o v erfill.
5. Install the fuel tank cap securely .
6. Wipe up any fuel that ma y ha v e spilled.
Pre-Starting Checks
Chec k the follo wing items eac h time y ou begin
using the spra yer for the da y:
• Chec k the tire pressure .
Note: T hese tires are different than car tires;
they require less pressure to minimize turf
compaction and damag e .
• Chec k all fluid lev els and add the appropriate
amount of specified fluids , if any are found to
be lo w .
• Chec k the brak e pedal operation.
• Chec k to see that the lights are w orking .
• T ur n the steering wheel to the left and right to
c hec k steering response .
• Chec k for oil leaks , loose par ts , and any other
noticeable malfunctions . Mak e sure the engine
is off and all mo ving par ts ha v e stopped before
c hec king for oil leaks , loose par ts , and other
malfunctions .
If any of the abo v e items are not cor rect, notify
y our mec hanic or c hec k with y our super visor
26

 Loading...


