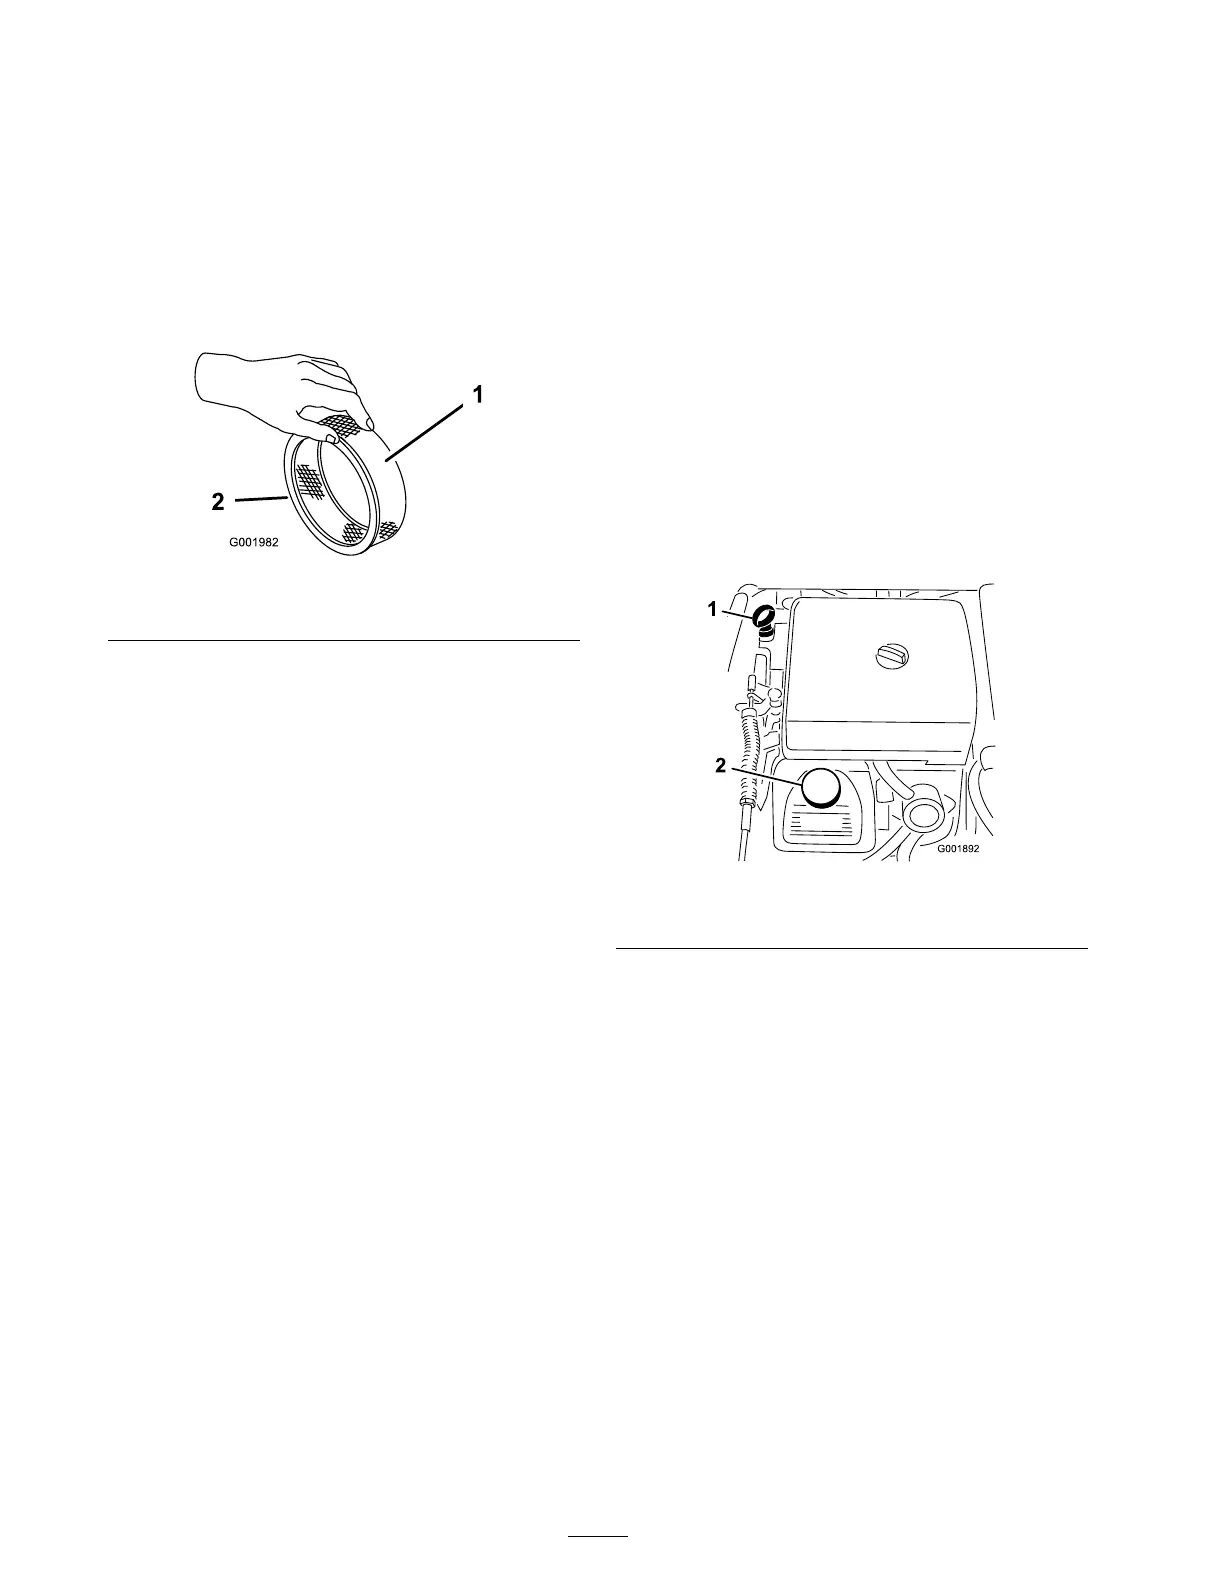
Checking the Paper Element
Inspect the paper element for tears , an oily film,
damag e to the r ubber seal, ex cessi v e dir t, or other
damag e ( Figure 48 ). If any of these conditions
exit, re place the filter .
Important: Do not clean the paper element
with pr essuriz ed air or liquids, such as solv ent,
gas, or k er osene.
Figure 48
1. Paper element 2. Rubber seal
Important: T o pr ev ent engine dama ge,
al w ays operate the engine with the complete
f oam and paper air cleaner assembl y installed.
Installing the Foam and Paper
Elements
1. Carefully slide the foam element onto the
paper air cleaner element ( Figure 46 ).
2. Slide the air cleaner assembly and co v er onto
the long rod.
3. Install the co v er n ut fing er -tight ag ainst the
co v er ( Figure 46 ).
Note: Ensure that the r ubber seal is flat
ag ainst the air cleaner base and co v er .
4. Install the air cleaner co v er and knob
( Figure 46 ).
5. Close and latc h the seat.
Servicing the Engine Oil
Chang e the engine oil and oil filter after ev er y 100
operating hours .
Crankcase Capacity is 2.1 qt (2.0 l) with the filter .
Use high-quality engine oil that meets the follo wing
specifications:
• API classification Lev el required: SJ , JK, SL,
or higher .
• Prefer red oil: SAE 10W30 (abo v e 0° F)
• Alter nate oil: SAE 5W30 (belo w 32° F)
T oro Premium Engine Oil is a v ailable from y our
distributor in either 15W40 or 10W30 viscosity .
See the P ar ts Catalo g for par t n umbers .
Check the Engine Oil
T he engine is shipped with oil in the crankcase;
ho w ev er , the lev el of oil m ust be c hec k ed before
y ou first star t the engine and after y ou ha v e r un it.
1. P osition the mac hine on a lev el surface .
2. R emo v e the dipstic k and wipe it with a clean
rag ( Figure 49 ). Inser t the dipstic k into the
tube and mak e sure it is seated fully . R emo v e
the dipstic k and c hec k the oil lev el.
Figure 49
1. Dipstick 2. Filler cap
3. If the oil lev el is lo w , remo v e the filler cap from
the v alv e co v er ( Figure 49 ) and pour oil into
the opening until the oil lev el is up to the Full
mark on the dipstic k. Add the oil slo wly and
c hec k the lev el often during this process . Do
not o v erfill.
4. Install the dipstic k fir mly in place .
Changing the Engine Oil
1. Star t the engine and let it r un for fiv e min utes .
T his w ar ms the oil so it drains better .
2. Set the parking brak e , stop the pump , stop the
engine , and remo v e the ignition k ey .
3. R elease the latc h on the bac k of the seat and
lift the seat forw ard.
46

 Loading...


