13
(ODD Option)SelectingODDschedulewillsettheoddnumbereddaysofthecalendarasthewateringdays.
(EVEN Option)SelectingEVENschedulewillsettheevennumbereddaysofthecalendarasthewateringdays.
(INTERVAL Option)SelectingINTERVALallowsyoutosettheintervaldaysbetweenwateringcycles.Usethe
Left or Right arrows to navigate to WATER EVERY. Use the Up or Down arrows to set the desired
day interval between watering cycles, then press SELECT . While in the CURRENT DAY selection, press the
Right arrow to navigate to the CURRENT DAY parameter. Use the Up or Down arrows to set the
current day designation, then press SELECT .
Step 6 – Press the BACK arrow to return to the previous menu or HOME to return to the main screen.
Schedule Start Setup
By default, the EVOLUTION
®
controller is set with 1 start time set to OFF. Additional Starts can be added with a maximum of four starts per schedule. Once a
startisactivated,theschedulewillactivatetherstzone(lowestnumber).Onceitiscomplete,thesecondzonewillwater.Theschedulewillcontinueuntilall
zones with runtimes have been activated.
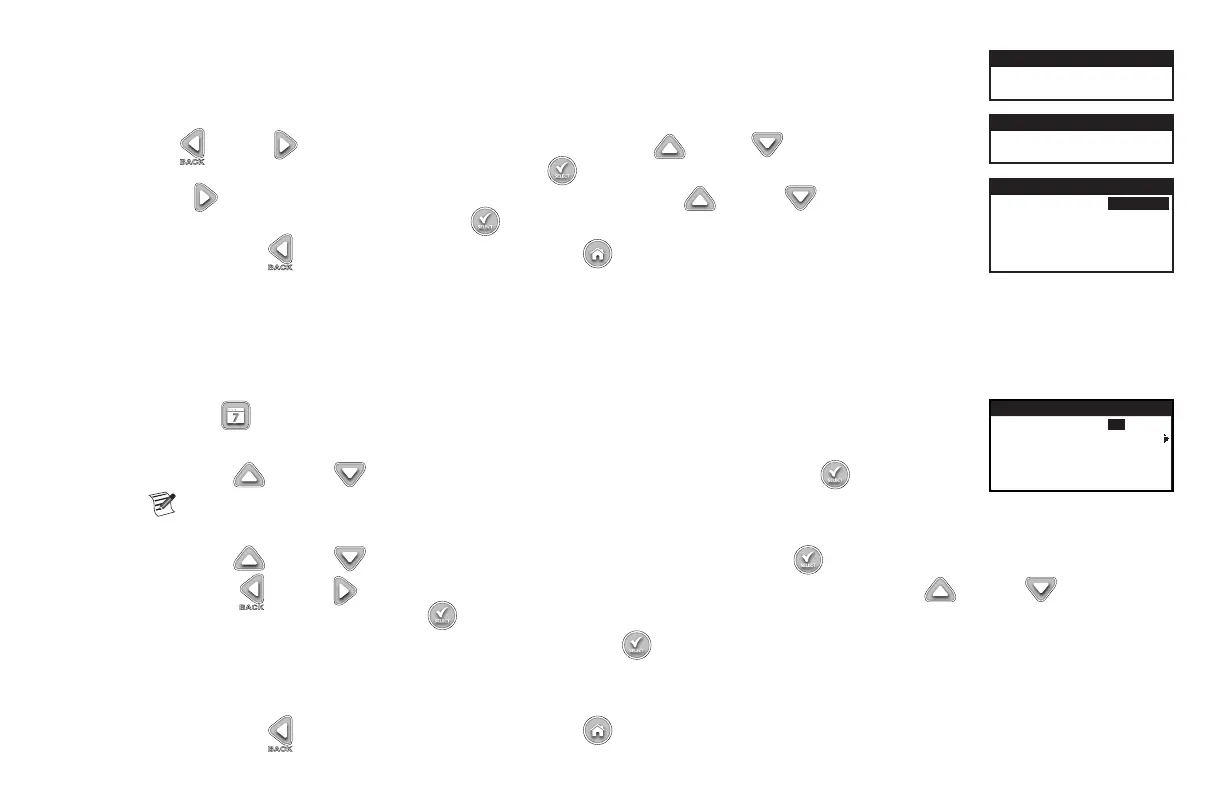
Step 1 – Press the SCHEDULES button.
SCHEDULE
START 01:00AM
ADD START
EACH START RUNS ALL
SCHEDULED ZONES
Step 2 – (Forcontrollerswithmultipleactiveschedulesonly.)
Use the Up or Down arrows to select the Schedule you want to edit. Press SELECT .
Note: The Schedule name can be customized using the EVOLUTION
®
Software which can be accessed at www.
toro.com/evolution.
Step 3 – Use the Up or Down arrows to navigate to SCHEDULE STARTS. Press SELECT .
Step 4 – Use the Left or Right arrows to navigate to the start time’s Hours, Minutes and AM/PM. Use the Up or Down arrows to set
your desired start time. Press SELECT to save.
Step 5 – Navigate to ADD START to add another start time. Press SELECT . Modify the new start time as indicated in Step 3.
Step 6 – Todeleteastarttime,setthetimetoOFF.TheOFFselectionislocatedbetweenthefullhourof11:00AM/PMandthefullhourof12:00AM/
PM(23:00and00:00).
Step 7 – Press the BACK arrow to return to the previous menu or HOME to return to the main screen.
WATERS ON ODD
CALENDAR DAYS
SCHEDULE A
WATERS ON EVEN
CALENDAR DAYS
SCHEDULE A
WATERS EVERY 03 DAYS
CURRENT DAY 01
WATERS ON LAST DAY
OF INTERVAL
INTERVAL