7
© 2008 - 2011 TOSHIBA TEC CORPORATION All rights reserved e-STUDIO2020C/2330C/2820C/2830C/3520C/3530C/4520C
REPLACEMENT OF PC BOARDS/HDD
7 - 9
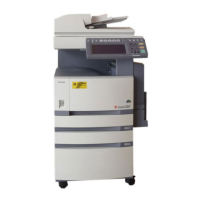
(5) Remove 3 screws and pull out the filter
bracket.
Do not pull it out too strongly because the
harness is connected to it.
Fig. 7-21
(6) Disconnect 5 connectors from the FIL board
and take off the filter bracket.
The connector connected to CN497 on the
FIL board can be disconnected on the relay
connector side.
Fig. 7-22
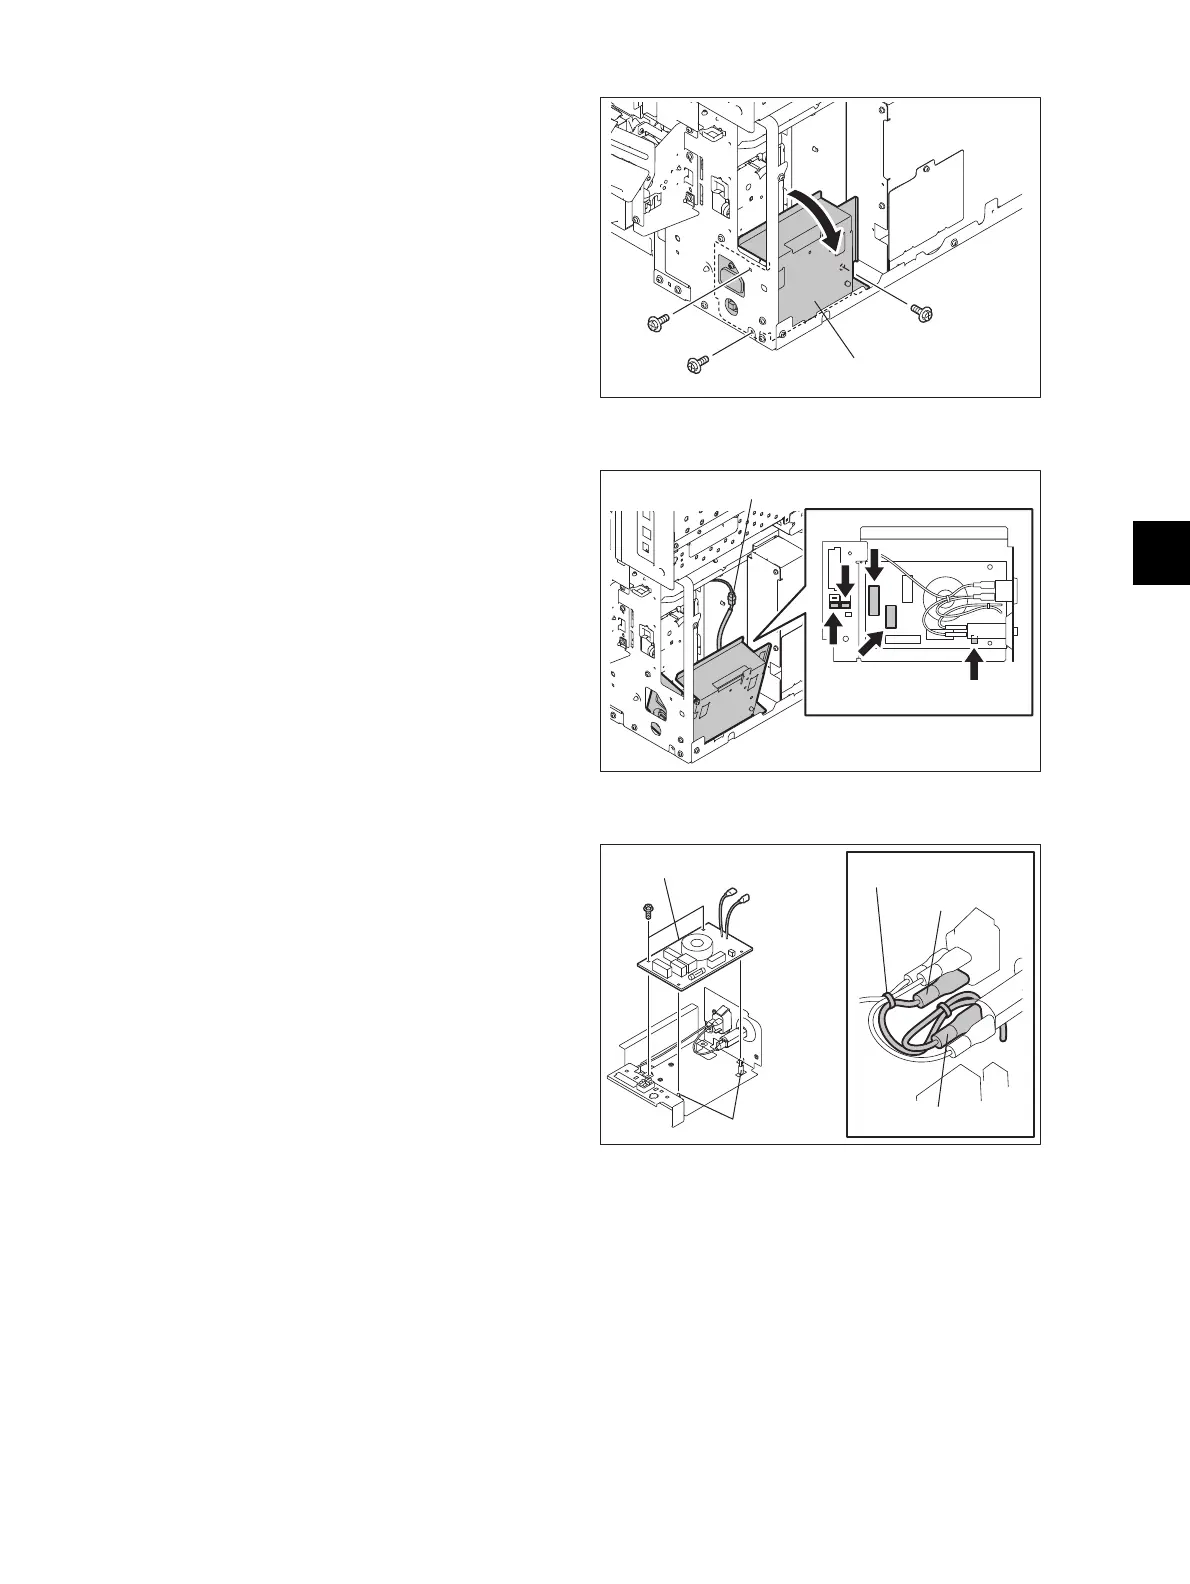
(7) Remove 1 binding band.
(8) Remove 2 Faston terminals.
Be sure to use the correct harness (black or
white) when assembling.
(9) Remove 2 screws, release 2 locking
supports and take off the FIL board.
Fig. 7-23
FIL board
Locking support
White
binding band
Black

 Loading...