Chapter 3 Installation and Wiring
6F8C1497
82
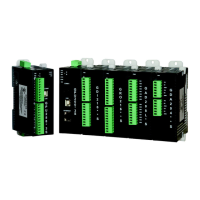
3.5 Mounting Base Unit
Follow the notes below when mounting or dismounting base unit BUM7B. For mounting and
dismounting type1 light controller or T3 series to the base unit, refer to “Unified controller nv
series type1 light Controller Unit User’s Manual - Basic Hardware -“ (6F8C1497) or “T3/T3H
User’s Manual - Hardware - ” (UM-TS03***-J002).
■ Mounting base unit BUM7B
(1) The controller unit is not of dust-proof construction. House it in the control panel
considered for dust proofing.
(2) Avoid mounting the base unit directly above the equipment which generates a large
amount of heat (e.g. heater, transformer, large capacity resistor).
(3) Do not install it in the panel containing high-voltage equipment.
(4) Keep it away from high-voltage and power lines for 200mm or more.
(5) Keep at least 100mm space on all sides of the base unit for ventilation.
(6) For safety during operation and maintenance, keep base unit BUM7B well away from
the high-voltage or power equipment. Alternatively, separate it using a steel plate or
similar shield.
(7) Particularly around the high-voltage and power equipment, also consider grounding
such as connecting the Class D ground to the dedicated ground.
(8) Mount the base unit to a vertical panel.
(9) Mount the base unit on a panel without mounting any modules including the G2 I/O
module.
(10) Firmly secure the base unit using four M5 screws (tightening torque: approx. 2.94N・
m = 30kgf・cm).
The figure below shows the mounting dimensions of base unit BUM7B.
Figure 3.1 Base unit BUM7B mounting hole dimensions
465mm
200mm
M5x4
480mm
250mm
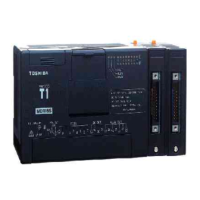
Base Unit

 Loading...