© Copyright 2018 TRENDnet. All Rights Reserved.
PoE Web Smart Switch Series
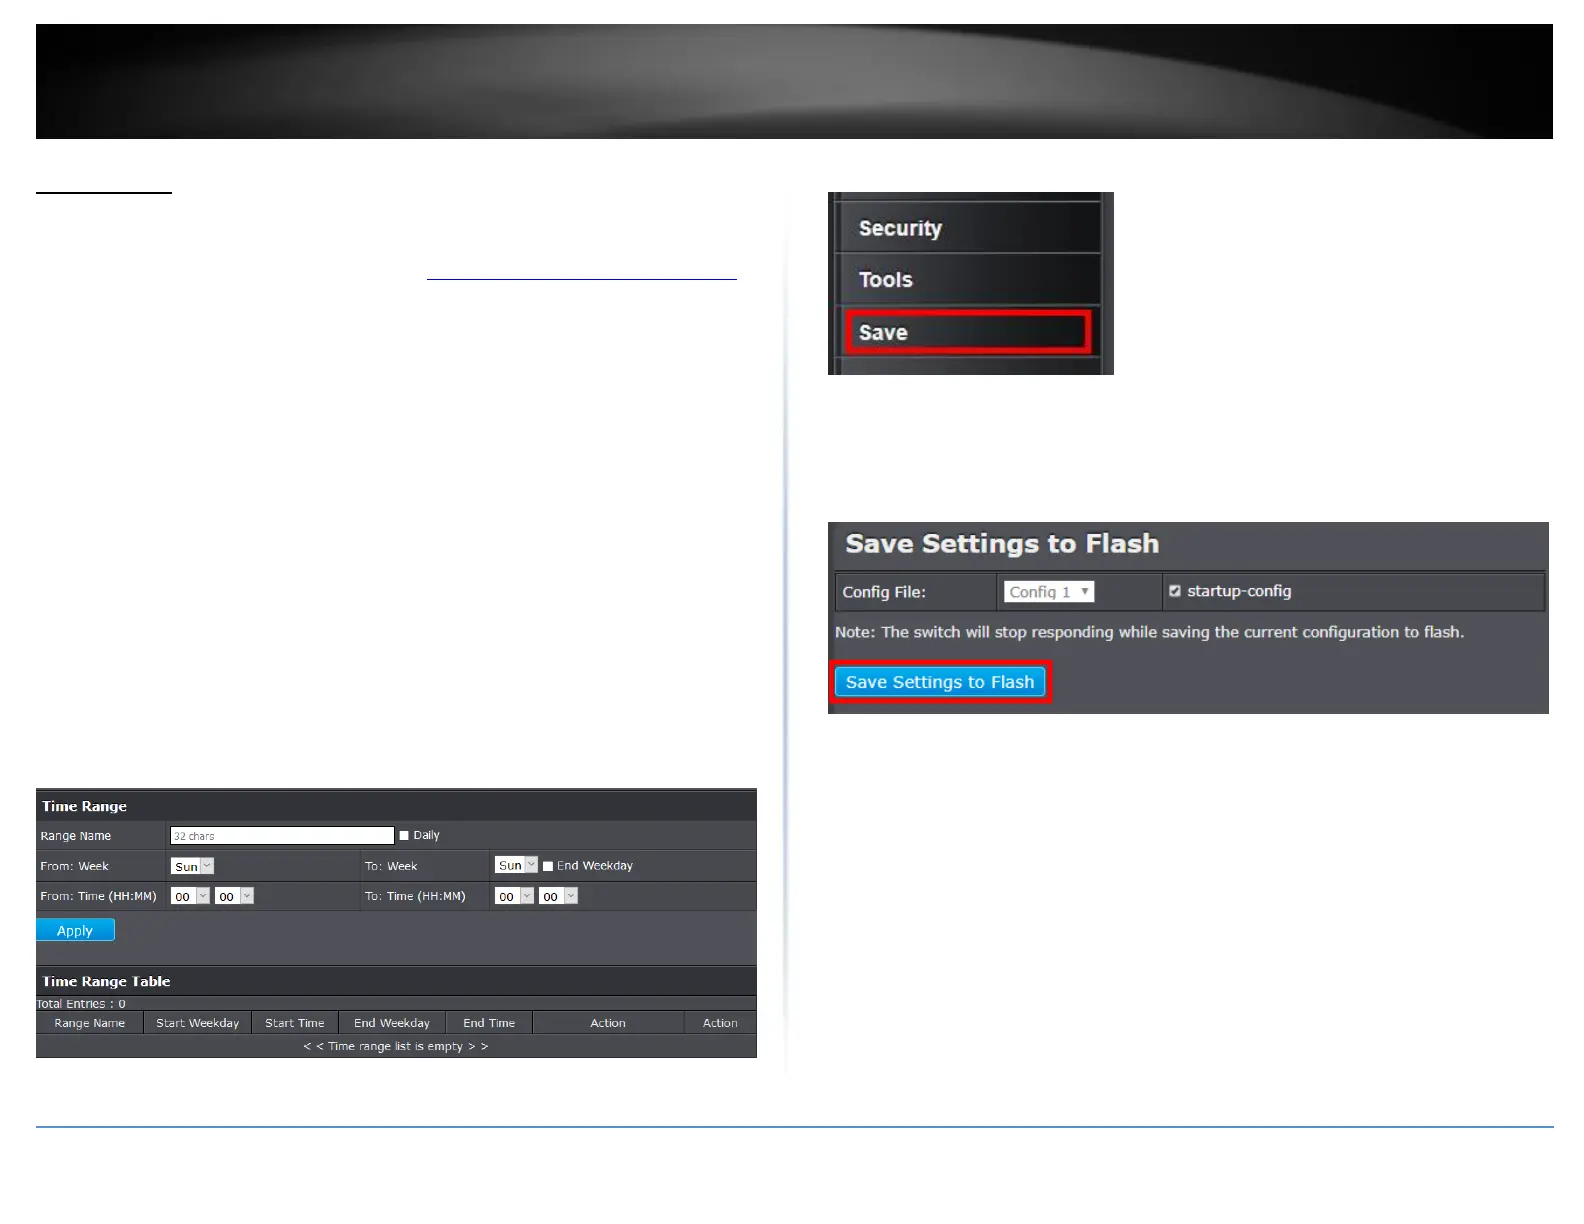
Time Range
Configure PoE Time Range
PoE > Time Range
1. Log into your switch management page (see “Access your switch management page”
on page 5).
2. Click on PoE and click on Time Range.
3. Review the settings for each port. Next to each port entry, click Apply to save the
settings.
Range Name – Enter the name of the new PoE time range.
Daily – Check this box to remove weekday options, making the time range set
to a daily schedule.
From: Week – Set the start day of the PoE time range.
From: Time (HH:MM) – Set the start time of the PoE time range.
To: Week – Set the end day of the PoE time range.
To: Time (HH:MM) – Set the end time of the PoE time range.
End Weekday – Check this box to set the time range to stop at the end of the
defined From: Weekday.
4. At the bottom of the left hand panel, click Save.
5. Select the Config you would like to save the settings to, click Save Settings to Flash,
then click OK.
Note: This step saves all configuration changes to the NV-RAM to ensure that if the
switch is rebooted or power cycled, the configuration changes will still be applied.
 Loading...