© Copyright 2018 TRENDnet. All Rights Reserved.
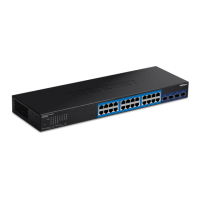
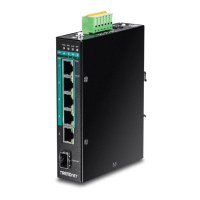
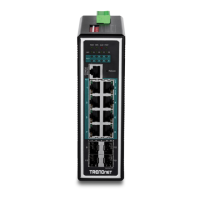
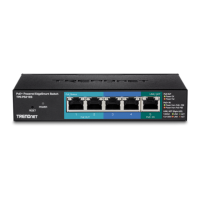
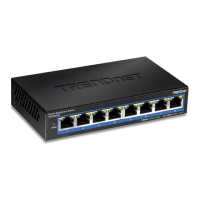
PoE Web Smart Switch Series
L3 Feature
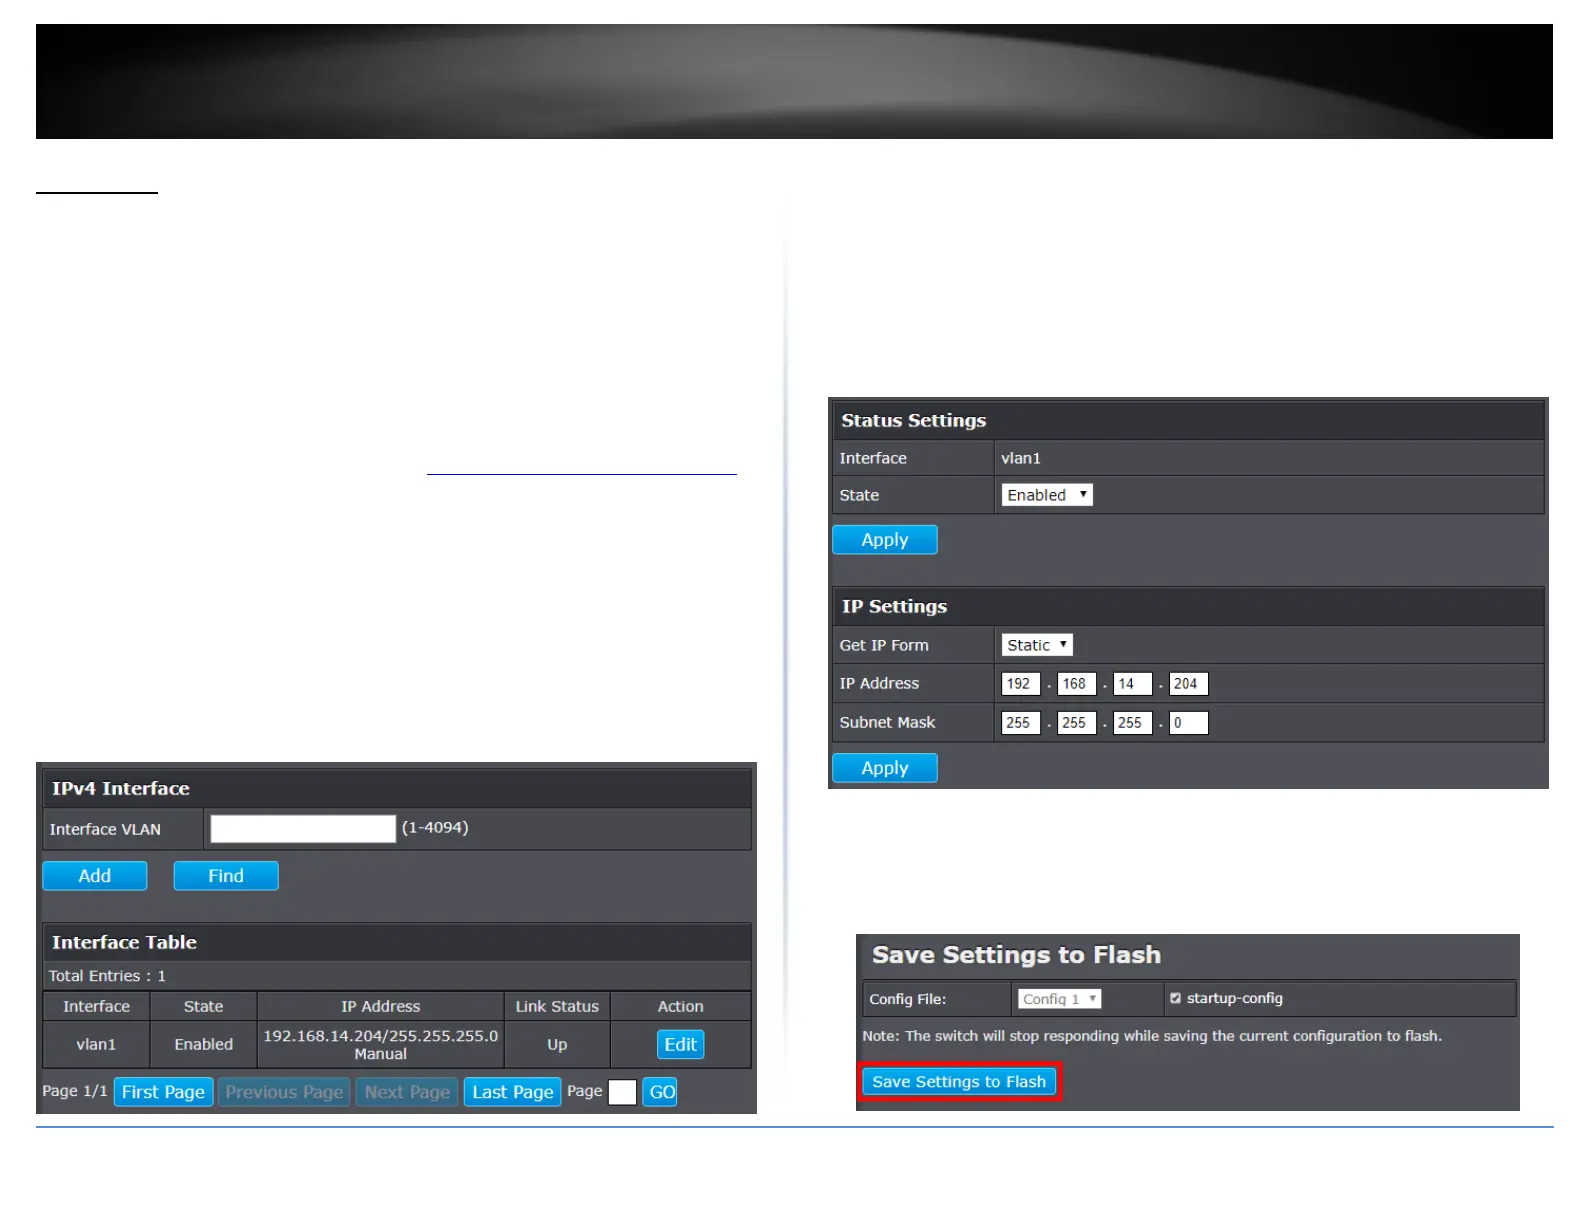
IPv4 Interface
System > L3 Feature > IPv4 Interface
This section allows you to change your switch IPv4 address settings and additionally
create and assign the aforementioned address to VLANs. Typically, the IP address
settings should be changed to match your existing network subnet in order to access the
switch management page on your network.
Default Switch IPv4 Address: 192.168.10.200
Default Switch IPv4 Subnet Mask: 255.255.255.0
1. Log into your switch management page (see “Access your switch management page”
on page 5).
2. Click on System, L3 Feature, and then IPv4 Interface.
3. To create a new entry per VLAN, type the VLAN number you would like to create,
then click Add. To view a specific VLAN ID’s configuration, enter the VLAN ID into the
Interface VLAN field and then click Find.
4. To change the IPv4 IP address associated with a specific VLAN, click on Edit within the
lower table.
5. Review the settings. When you have completed making changes, click Apply to save
the settings.
Interface: Displays the VLAN that is currently being configured.
State: Select Enabled to enable this VLAN, and Disabled to disable this VLAN.
Get IP From: Select Static to statically assign an IP address and subnet mask,
select DHCP to automatically request one from your networks DHCP server.
o IP Address: Enter the new switch IP address you would like to
statically assign. (e.g. 192.168.200.200)
o Subnet Mask: Enter the new switch subnet mask. (e.g. 255.255.255.0)
6. At the bottom of the left hand panel, click Save.
7. Select the Config you would like to save the settings to, click Save Settings to Flash,
then click OK.
Note: This step saves all configuration changes to the NV-RAM to ensure that if the
switch is rebooted or power cycled, the configuration changes will still be applied.