- 22 -
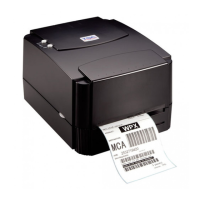
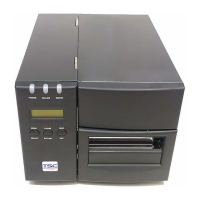
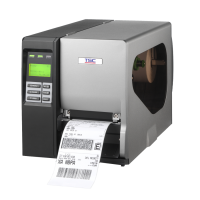
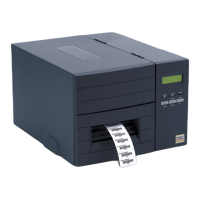
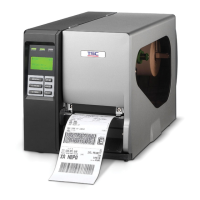
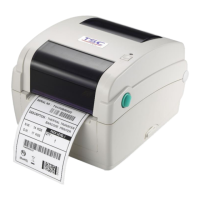
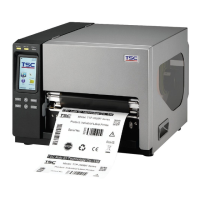
4. Using Printer
4.1 Power-on Utilities
There are three power-on utilities to set up and test hardware. These utilities are activated by
pressing the FEED or PAUSE button and turning on the printer power simultaneously. The
utilities are listed as below:
1. Self-test
2. Gap sensor calibration
3. Printer initialization
Note:
Please refer to videos on TSC YouTube or software/driver CD disk.
4.1.1 Self Test and Dump Mode
Install the label first. Press the FEED button and then turn on the printer power. Do not release
the FEED button until the printer feeds labels. The printer performs the following items:
1. Calibrate label pitch
2. Print out thermal print head check pattern
3. Print the internal settings
4. Enter dump mode
To initiate the self test mode, the printer will calibrate the label length. If the label gap is not
detected within 7", the printer stops feeding labels and the media is treated as continuous paper.
In self test, a check pattern is used to check the performance of the thermal print head. Following
the check pattern, the printer prints internal settings as listed below.
When the self test is completed, the printer enters the dump mode. Please turn the printer's
power off and then on to resume normal printing.
 Loading...