6 DAILY MAINTENANCE
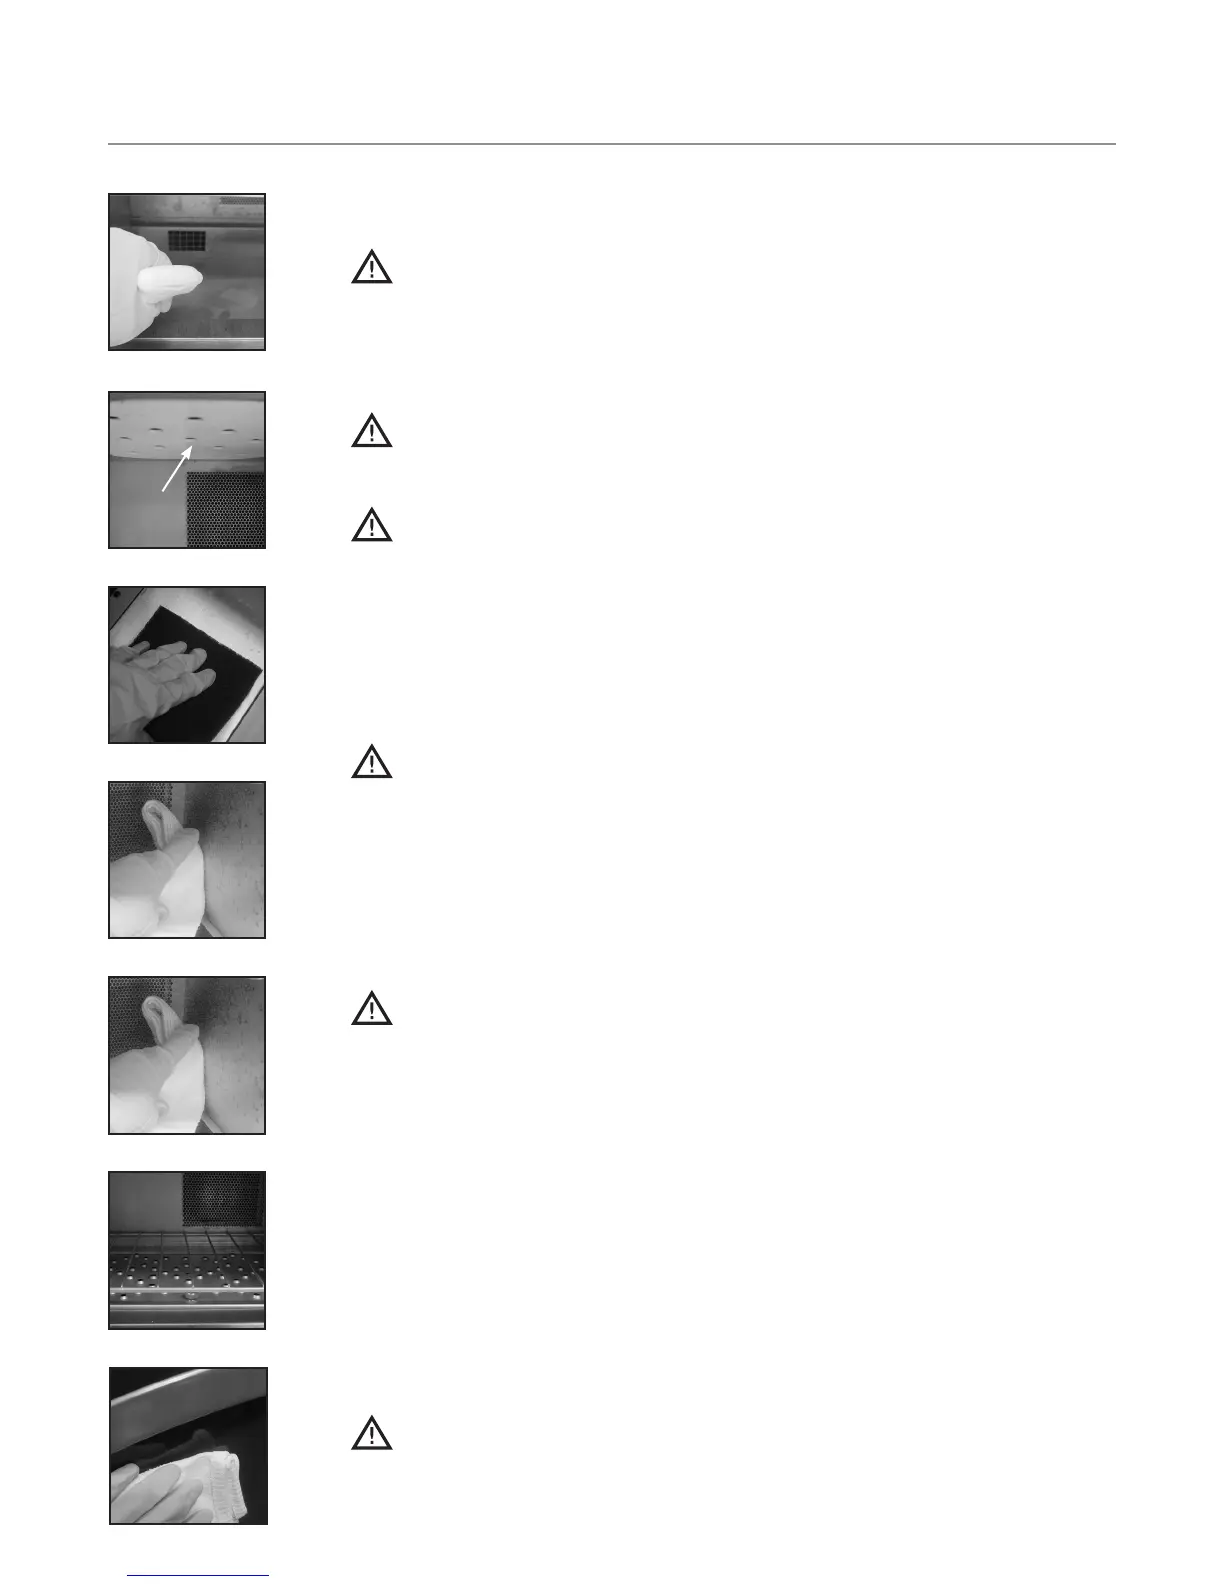
Step 6: Clean the Oven Interior
• Spray TurboChef ® Oven Cleaner onto the top, bottom, and sides of oven interior.
CAUTION: DO NOT spray Oven Cleaner into the holes on the back oven
wall. Doing so can damage critical oven components, resulting in a non-
warranty service call.
• Allow Oven Cleaner to penetrate stains for five minutes.
• Clean the oven interior with a nylon scrub pad.
CAUTION: DO NOT attempt to scrub the upper jetplate (Fig B). If food is
stuck to the oven ceiling, gently remove it without applying pressure to the
ceramic plate. Breakage will result in a non-warranty service call.
CAUTION: DO NOT remove the top ceramic jetplate (A); breakage will result
in a non-warranty service call.
Step 7: Clean and Dry the Oven Door
• Clean the oven door with Oven Cleaner and a nylon scrub pad.
• Wipe the oven door with a damp towel, and then a dry towel.
Step 8: Rinse or Wipe the Oven Interior
CAUTION: DO NOT use a hose or water jet for cleaning. Doing so can damage
critical oven components, resulting in a non-warranty service call.
• Wipe down the oven interior with a clean damp towel.
• Dry the oven interior with a clean towel.
Step 9: Apply TurboChef® Oven Guard - Optional for Easier Maintenance
• Spray TurboChef® Oven Guard onto a clean towel.
• Wipe the interior walls and the inside of the oven door.
CAUTION: DO NOT spray Oven Guard into the cavity, especially around the
holes on the back oven wall. Doing so can damage critical oven components,
resulting in a non-warranty service call.
Step 10: Reinstall Components
• Reconnect the wire rack to the lower jetplate, and reinstall both items.
• Close the oven door.
• Reinstall the filter, or replace it with a new one if the mesh is deteriorated, has
large openings, or has started to dislodge from the frame.
Step 11: Clean the Oven Exterior
• Wipe the oven exterior with a clean, damp towel.
• Remove the lower panel and remove large food particles.
• Wipe the panel with a clean, damp towel.
CAUTION: DO NOT spray chemicals into any openings, such as the louvers on
the side panels or the rear vent catalyst housing. Doing so can damage critical
oven components, resulting in a non-warranty service call.
• The oven is ready to turn on.
Upper
jetplate
Step 6 (Fig B)
Step 7
Step 8
Step 9
Step 10
Step 11
Step 6 (Fig A)

 Loading...