MX/MZX
17A-04-S
17 10/09
© 2009 Tyco Safety Products PAGE 33 of 40
Registered Company: Thorn Security Ltd. Registered Office: Dunhams Lane Letchworth Garden City Hertfordshire SG6 1BE
EQUIPMENT:
PUBLICATION:
ISSUE No. & DATE:
The following type of screen will appear:
The ‘>>’ key deletes all text.
The ‘+’ key advances the cursor one space, the ‘-’ key goes
one space back.
Use the alphanumeric keys to modify the text, when
finished, press ‘Enter’.
The following screen will be displayed:
3.14.2 INSERT POINT
WARNING:
ONLY SUITABLY QUALIFIED PERSONNEL
IN INTRINSICALLY SAFE SYSTEMS MUST
BE ALLOWED TO INSERT INTRINSICALLY
SAFE EQUIPMENT.
Connect the new device(s) to the addressable loop, when a
fault has been generated, ‘Accept’ the fault(s).
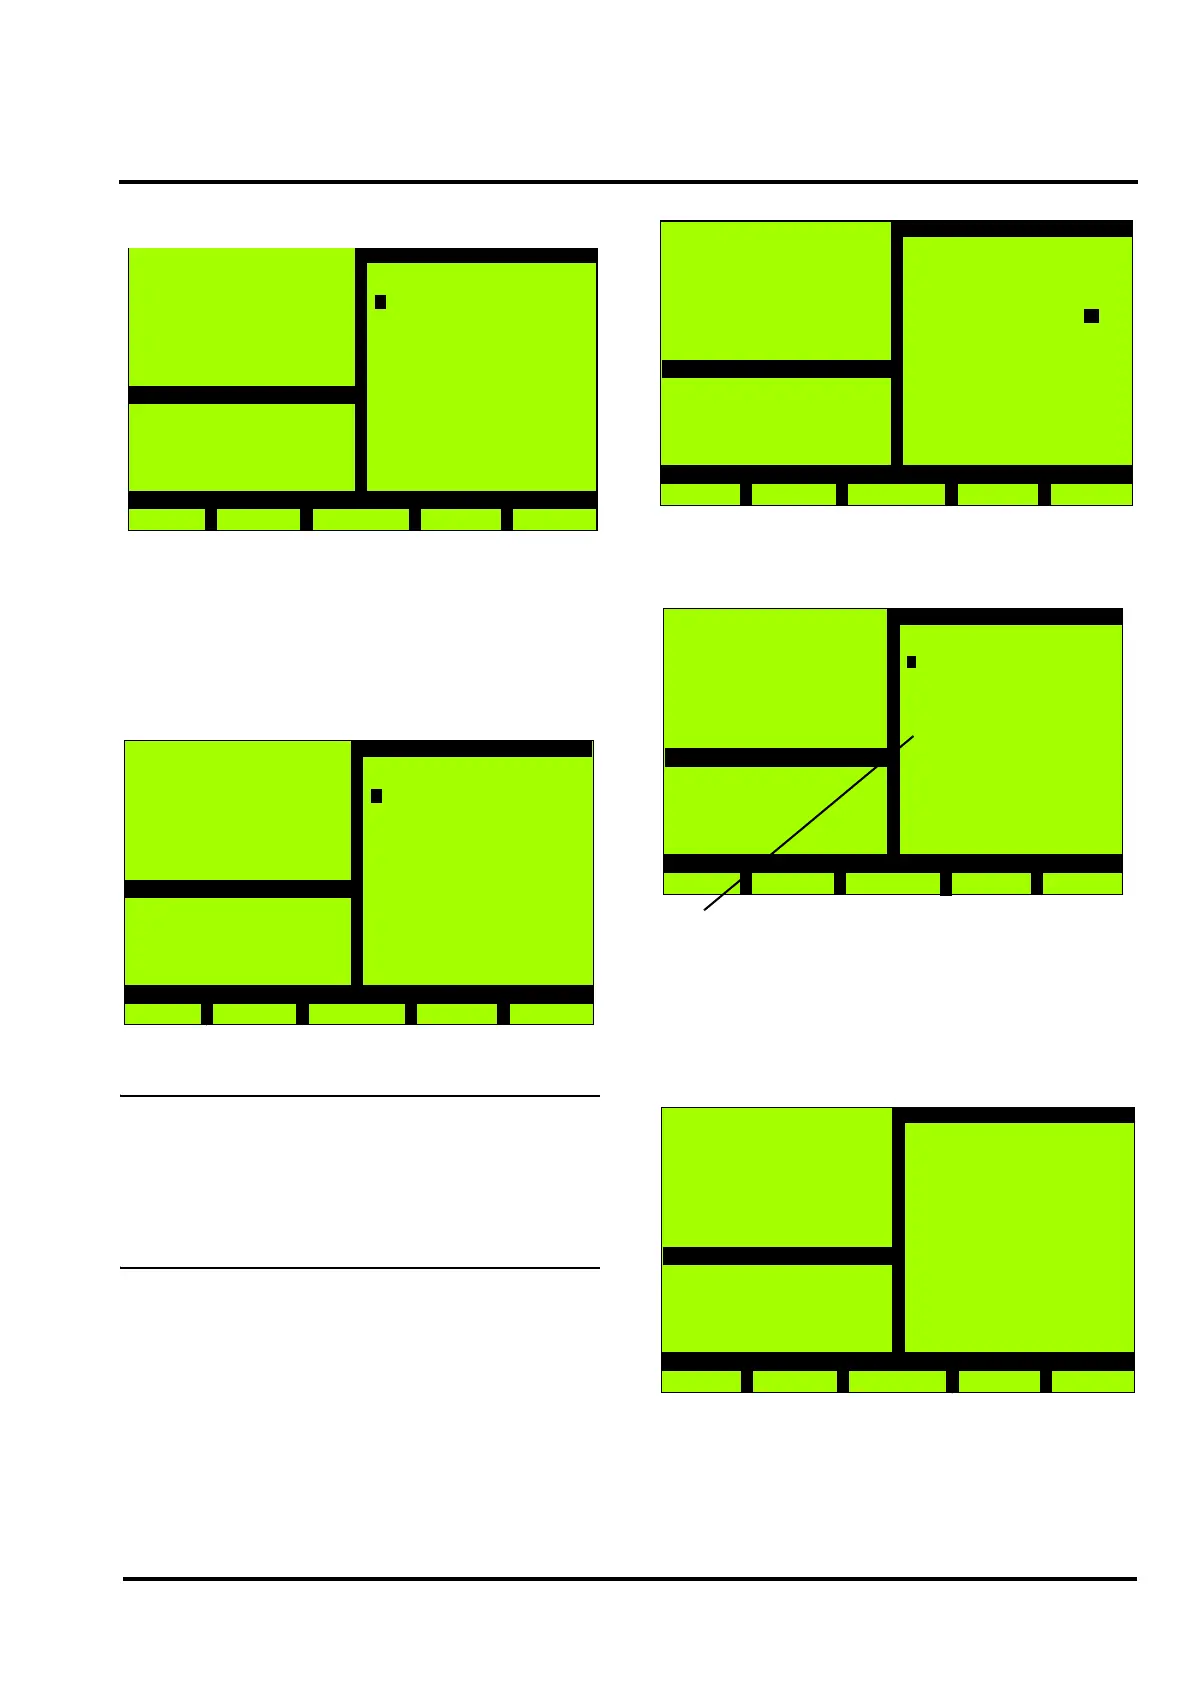
Press 2 from the Configuration menu. The following screen
will be displayed:
MX Panel
Wed, 01-Mar-08
14:15
Company Name
General
Back
Info text modify
Infotext No. : 001
+
Enter
This zone is in a
Hazardous Area
Special
precautions
are required
-
>>
MX Panel
Wed, 01-Mar-08
14:15
Company Name
General
Back
Info text modify
Infotext No. : 001
Save data?
Yes No
This zone is in a
Hazardous Area
Special
precautions
are required
Select the Loop and Point to be inserted, then press
‘F5’. The following type of screen will be displayed:
Use the ‘>>’ key to move between the options, use the ‘+’
and ‘-’ keys to select the type of point and zone number.
When finished, press ‘Enter’, the message ‘Please wait...’
will be displayed then:
Press ‘9’ to complete the configuration or ‘2’ to insert
another point.
MX Panel
Wed, 01-Mar-00
14:15
Company Name
General
Back
Point insert
>>
-
+
Enter
Loop A
Point 001
MX Panel
Wed, 01-Mar-00
14:15
Company Name
General
Back
Point insert
>>
-
+
Enter
Zone 000 -001 A
Device Type / Use:
801 H
--
Zone : 80
THE ‘--’ INDICATES THAT THE END OF THE LIST HAS BEEN REACHED
PRESSING ‘+’ WILL MOVE TO THE BEGINNING OF THE LIST
MX Panel
Wed, 01-Mar-00
14:15
Company Name
General
Back
Configuration
2 - Insert Point
3 - Delete Point
4 - Modify Point
7 - Autoconfig.
9 - Restart