EasyManua.ls Logo

Tynetec Advent XT2 - Managers Panel Configure Flats

Tynetec Advent XT2
63 pages
Print Icon
To Next Page IconTo Next Page
To Previous Page IconTo Previous Page
Loading...
Doc No. FM0804 issue 4 Page 33
21. MANAGER’S DISPLAY PANEL INSTALLATION
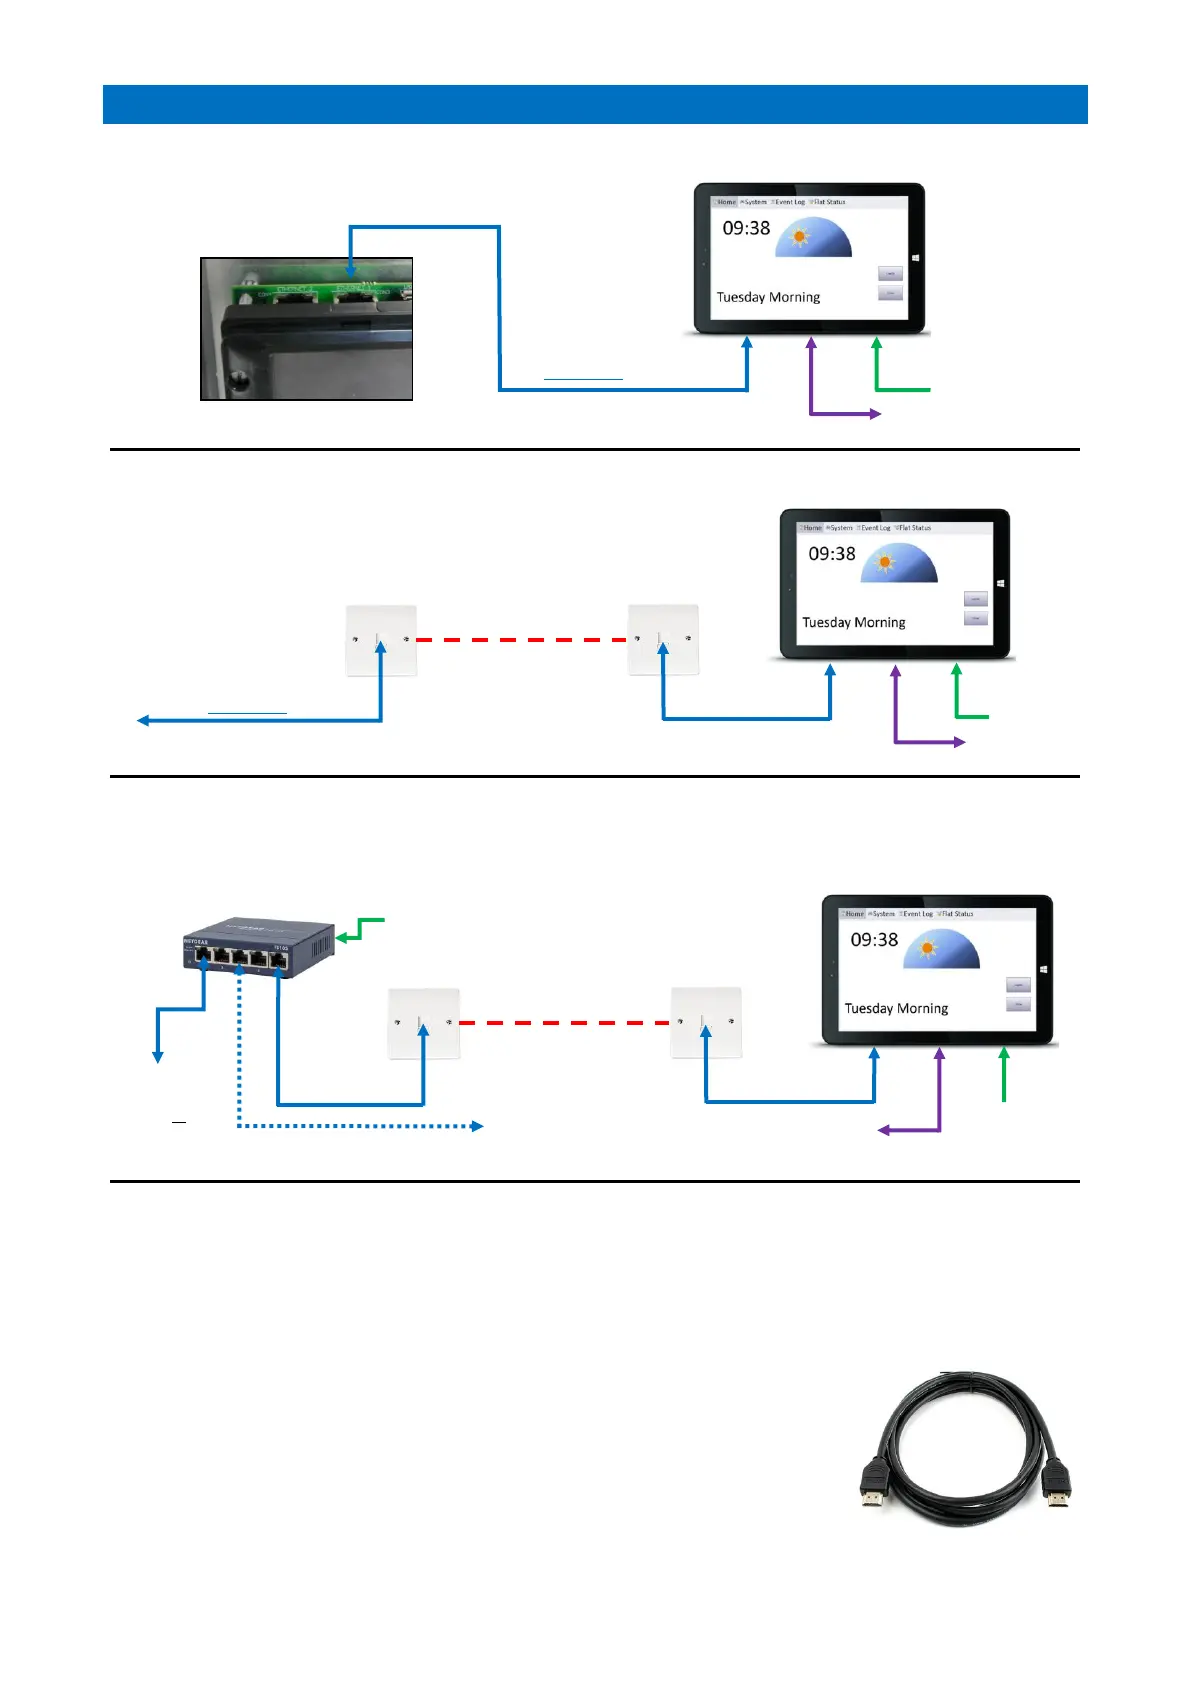
LOCAL SINGLE PANEL INSTALLATION
REMOTE SINGLE PANEL INSTALLATION
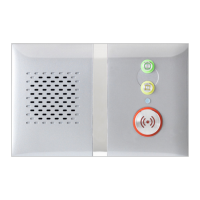
MULTI-PANEL INSTALLATION
PANEL MOUNTING
The rear of the Manager’s Display Panel has 4 No. M4 threaded inserts on 75mm centres for a standard VESA 75
bracket. A flat wall mounting bracket is supplied, fix this to the rear of the panel using the 4 No. M4 x 6mm Pan Head
screws supplied. Fix the wall bracket with the 4 fixing screws provided (100mm centres). Note: ensure correct
orientation so the monitor hooks onto the bracket from the top.
PROGRAMMING
The total number of Manager’s Display Panels must be set in programming - see the
RS485 Network Setup section of the Advent XT2 Programming Manual (Doc No. FM0815).
OPTIONAL NOTICE BOARD
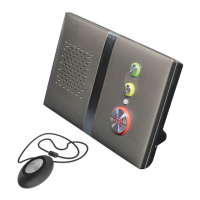
A large flat screen 1920x1080p HDMI monitor can be connected to the Manager’s Panel
HDMI port using a standard Male-Male HDMI cable - max cable length should not exceed
15 metres. Note: the Notice Board content is setup and edited from the Manager’s Panel
it is connected to.
Cat5e Cable (Max 100m)
Make all 8 connections
2m Patch Lead
2m Patch Lead
RJ45 Wall Socket
RJ45 Wall Socket
To Advent XT2
Ethernet 1 (use
standard or
crossover lead)
5 Port Ethernet Switch
(larger switches available)
Manager’s Panel 1
Mains Supply
LAN
Repeat as above for
Panels 2/3/4
3m CROSSOVER Patch Lead
Advent XT2
Ethernet 1 (CON3)
Manager’s Panel
Mains Supply
DC-IN
LAN
Cat5e Cable (Max 100m)
Make all 8 connections
2m Patch Lead
RJ45 Wall Socket
RJ45 Wall Socket
DC-IN
LAN
3m CROSSOVER Patch Lead
Manager’s Panel
To Advent XT2
Ethernet 1
Mains Supply
DC-IN
Mains
Supply
HDMI Cable
HDMI
Notice Board
HDMI
Notice Board
HDMI
Notice Board

Other manuals for Tynetec Advent XT2

Related product manuals