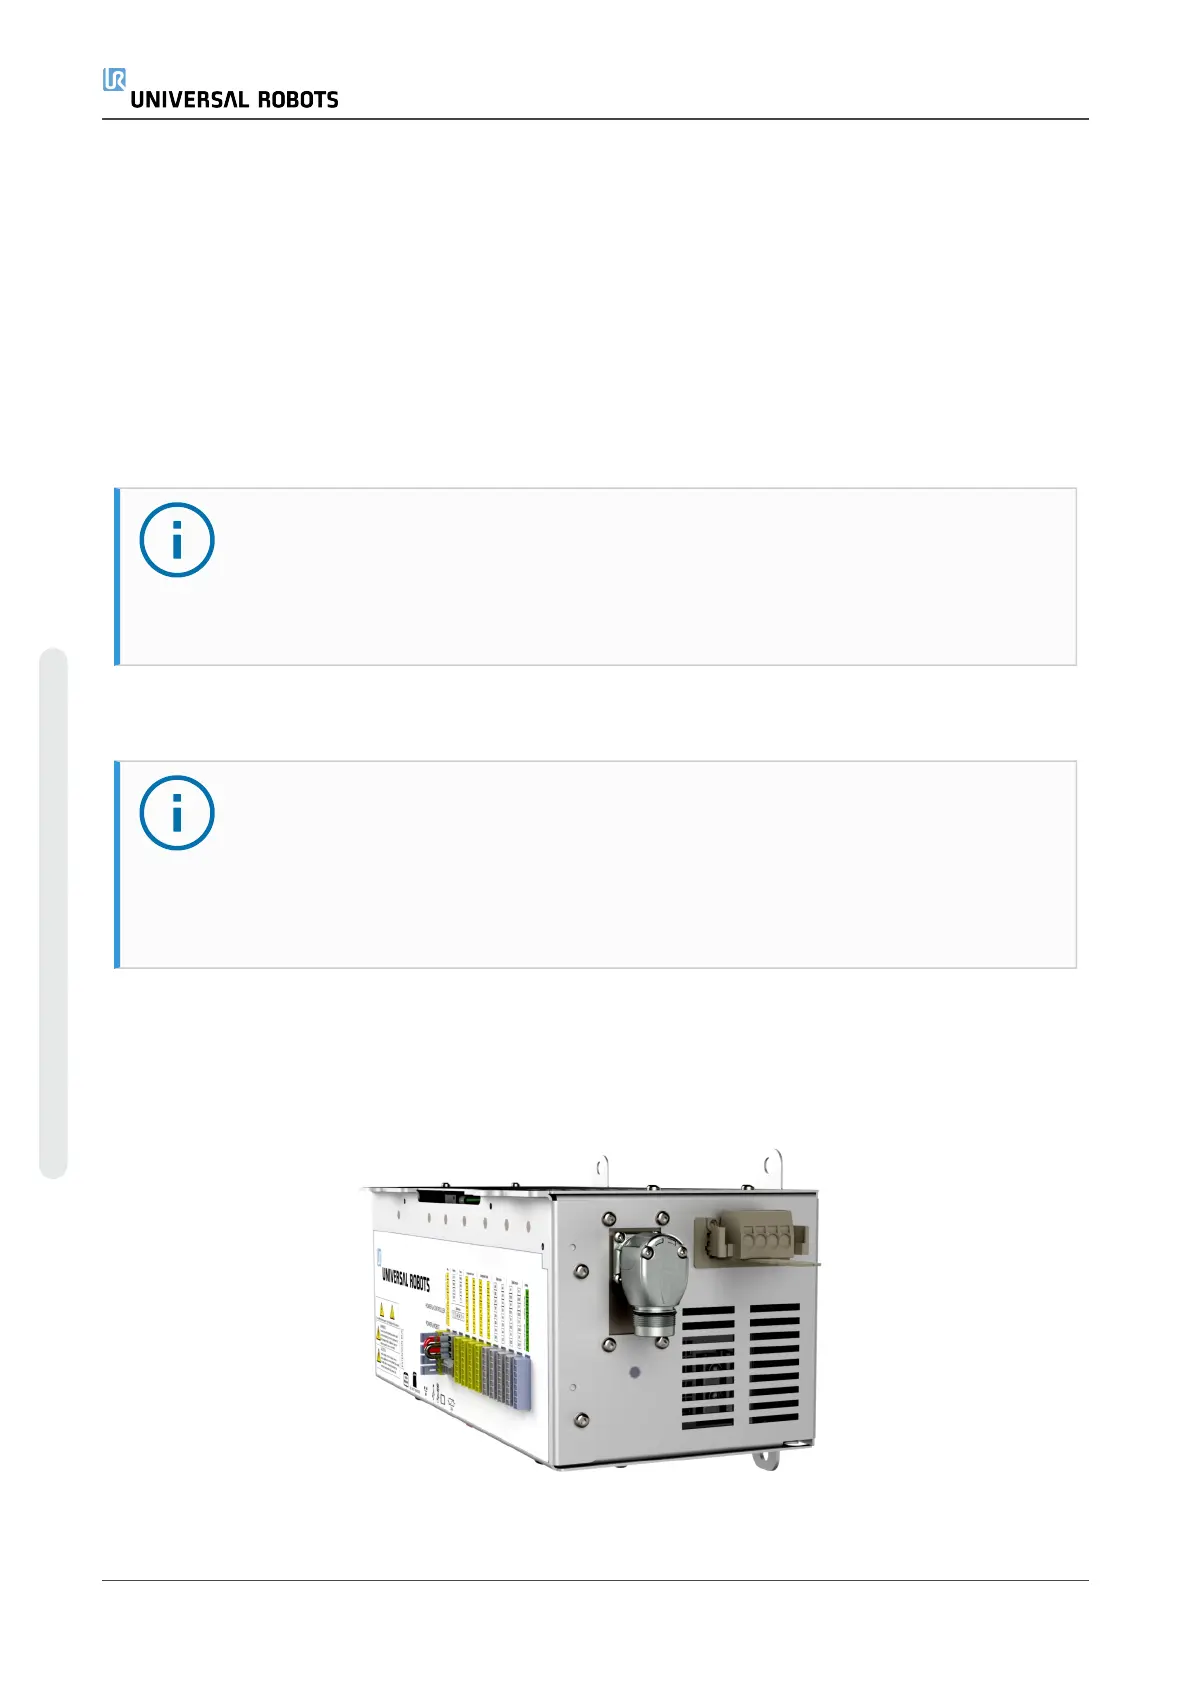
To connect the OEM Control Box to the power source:
1. Connect the following three wires to the connector:
l Negative
l Positive
l Ground (if the application supports such connection)
2. Connect the negative, and positive wires to the DC source. Ensure that the polarity is
correct.
Connect the ground wire to the facility ground if the application supports such connection.
3. Plug the connector into the power source socket on the OEM Control Box.
NOTICE
Connecting wires to poles without labels may interfere with the operation of the
robot.
l Do not connect wires to poles without labels.
4.3.1. Soft Start Circuit
NOTICE
When the OEM Control Box is connected to a DC source, the inrush current can
reach up to 400A for 200μs. This may cause damage to the DC source or shut
down other electronics connected to it.
l Install a soft start circuit when using a DC source.
4.4. Robot Connection
The Robot Arm connector is next to the power supply connector. For details on connecting the
Robot Arm cable, refer to the robot user manual.
OEM Control Box 10 Installation Guide
4. Electrical Installation: DC Source
Copyright © 2019 by UniversalRobotsA/S. All rights reserved.