3.2. How to Connect Wires to the Connector
This section describes how to connect wires to a connector with locking levers:
1. Insert the screwdriver into a flat slot next to a connector hole.
2. Push the screwdriver until the clamp inside the hole opens. Keep the screwdriver in the
slot.
3. Insert the wire ferrule into the open hole.
4. Ensure that the wire ferrule is firmly placed, remove the screwdriver to close the hole.
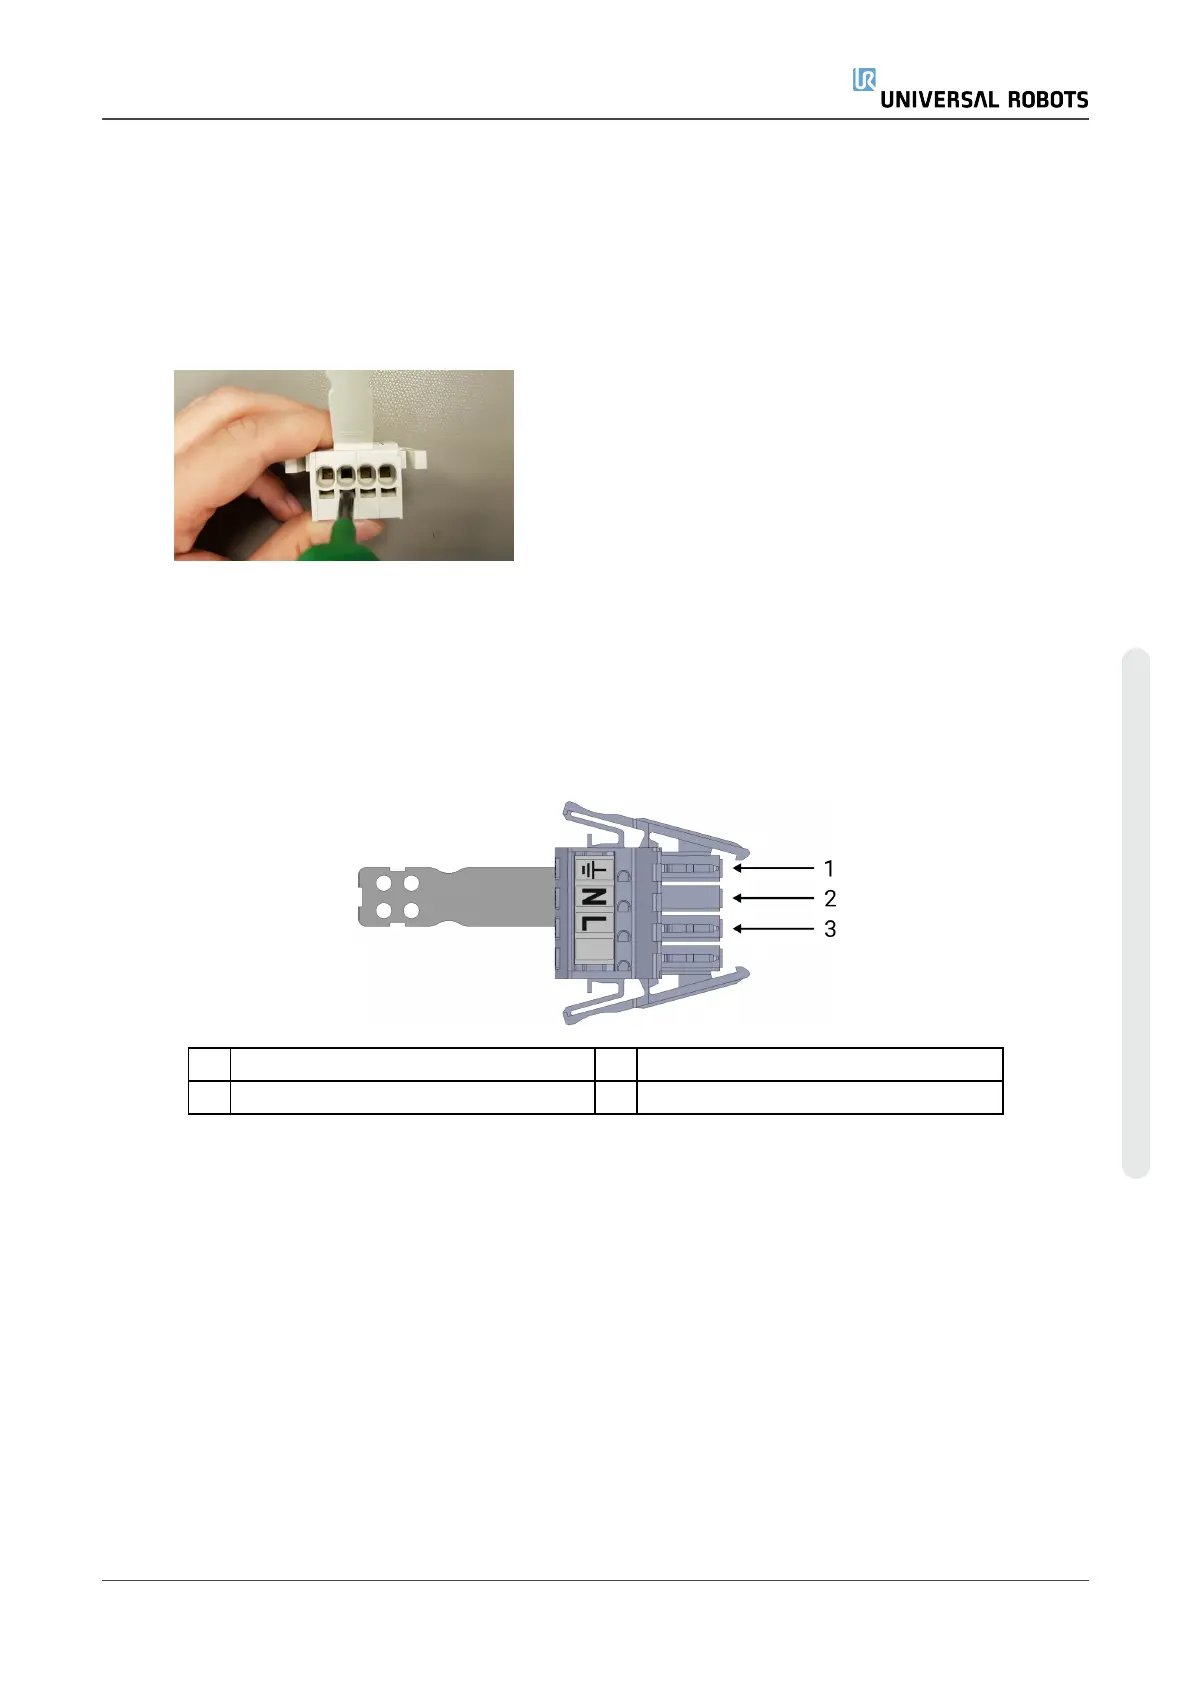
3.3. Power Source Wiring
Use the following scheme to attach wires to the connector.
1 Ground 2 Neutral
3 Line
To connect the OEM Control Box to the power source:
1. Connect the following three wires to the connector:
l Neutral
l Line
l Ground
2. Connect the neutral, and line wires to mains. Connect the ground wire to the facility
ground.
3. Plug the connector into the power source socket on the OEM Control Box.
Installation Guide 5 OEM Control Box
3. Electrical Installation: AC Mains
Copyright © 2019 by UniversalRobotsA/S. All rights reserved.