EasyManuals Logo
Home>Universal Robots>Robotics>UR10

Universal Robots UR10 Service Manual

Universal Robots UR10
123 pages
To Next Page IconTo Next Page
To Previous Page IconTo Previous Page
Page #41 background imageLoading...
Page #41 background image
All rights reserved 41 Servicemanual_UR10_en_3.1.3
3.1.17 Change joint ID
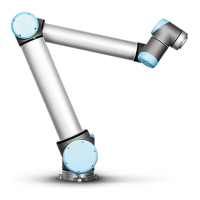
Each joint has a unique ID no. It is NOT possible to have two joints with the same ID no. on the same robot.
ID
Joint
J0
Base
J1
Shoulder
J2
Elbow
J3
Wrist 1
J4
Wrist 2
J5
Wrist 3
Example:
Wrist 1 (J3) has to be replaced. Spare joint is a Wrist 3 (J5)
1. Disconnect the joint with correct ID no.
2. Enter Low Level Control
3. Press Turn power on and the connected joints turn into BOOTLOADER
4. Press Go to Idle and the connected joints turn into READY

Table of Contents

Other manuals for Universal Robots UR10

Questions and Answers:

Question and Answer IconNeed help?

Do you have a question about the Universal Robots UR10 and is the answer not in the manual?

Universal Robots UR10 Specifications

General IconGeneral
BrandUniversal Robots
ModelUR10
CategoryRobotics
LanguageEnglish

Related product manuals