910
REVO-E Heat pump 9 Removal/ installation of components
9.14 Solenoid valve removal/ installation
9.14.1 Remove the coil
• Unscrew knurled nuts (3, Fig. 913).
• Pull the coil (2) down.
• Pull out screw of the plug housing (4) and separate the
housing from the coil.
9.14.2 Install the coil
• Plug the plug into coil (2) and attach with screw.
NOTE:
Verify seal fits correctly.
• Place coil (2) into position and secure with knurled nut
(3).
ATTENTION:
Always ensure the plug points with the cable side
down in order to avoid water entry into the plug!
9.14.3 Remove the screw-in valve
• Conduct preparation work according to 9.3.
• Remove coil, see 9.14.1.
• Loosen screw-in valve, attaching the housing with
suitable tool.
• Remove screw-in valve.
9.14.4 Install the screw-in valve
• Screw on screw-in valve.
• Install coil, see 9.14.2.
• Conduct follow-up work according to 9.3.
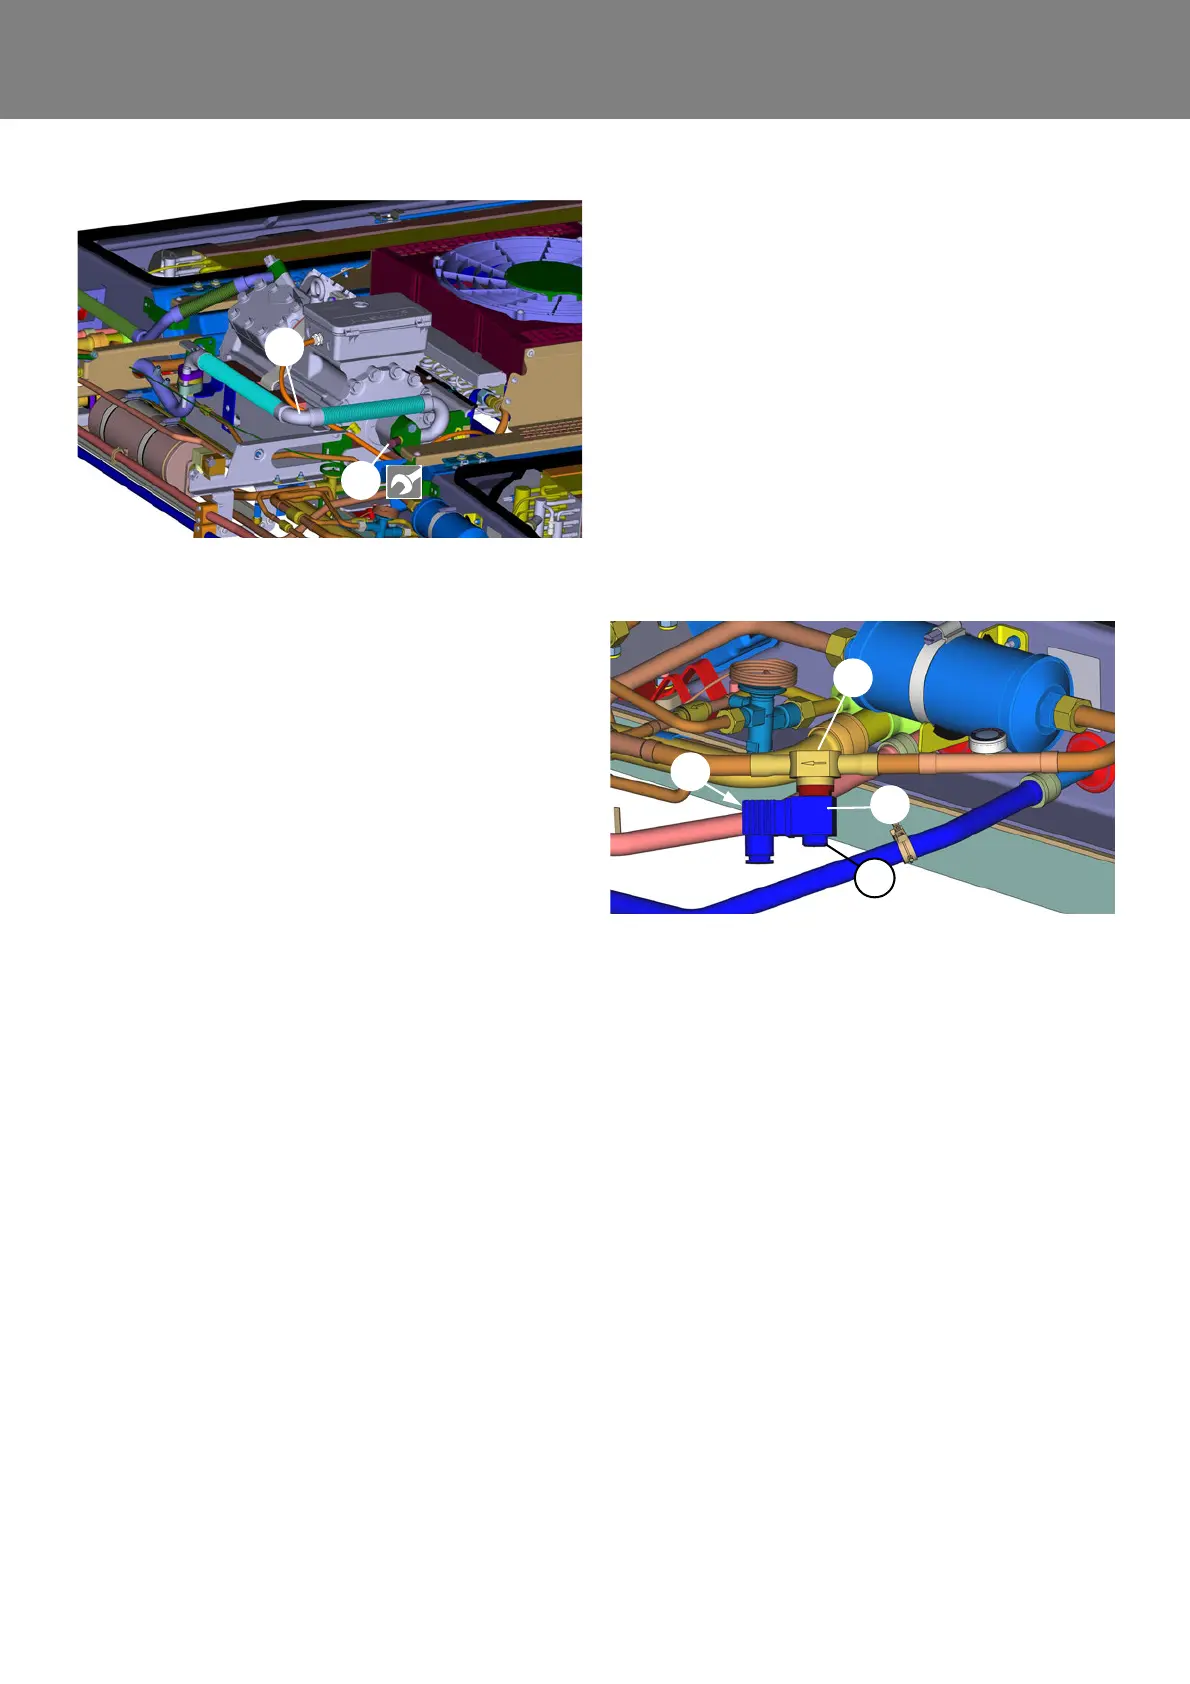
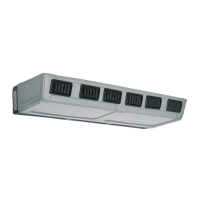
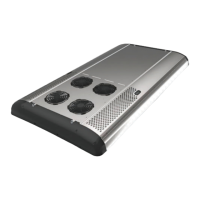
Fig. 912
1
2
1 Suction line
2 Filler valve, suction side
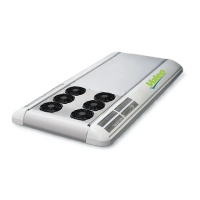
Fig. 913
1 Solenoid valve with sight glass
2 Coil of solenoid valve
3 Knurled nut for coil
4 Screw for connector housing
1
2
3
4