802
REVO-E Heat pump 8 Removal/ installation of components (high-volt. syst.)
8.4 Frequency converter removal/ installation
8.4.1 Remove the frequency converter
1. Prepare to remove the frequency converter
• Loosen the mount for the grounding cable (4).
• Loosen the diagnostic cable (3).
• Loosen the with sealing wax secured captive cover
screws (1).
• Lift the cover, remove the grounding cable.
2. Disconnect the electrical connections of the frequency
converter.
• Check the connections L1 and L3 (Fig. 603) are
voltage free using a suitable voltage tester (CAT
IV).
• Remove power supply from the terminal strip.
• Remove the HVIL plug.
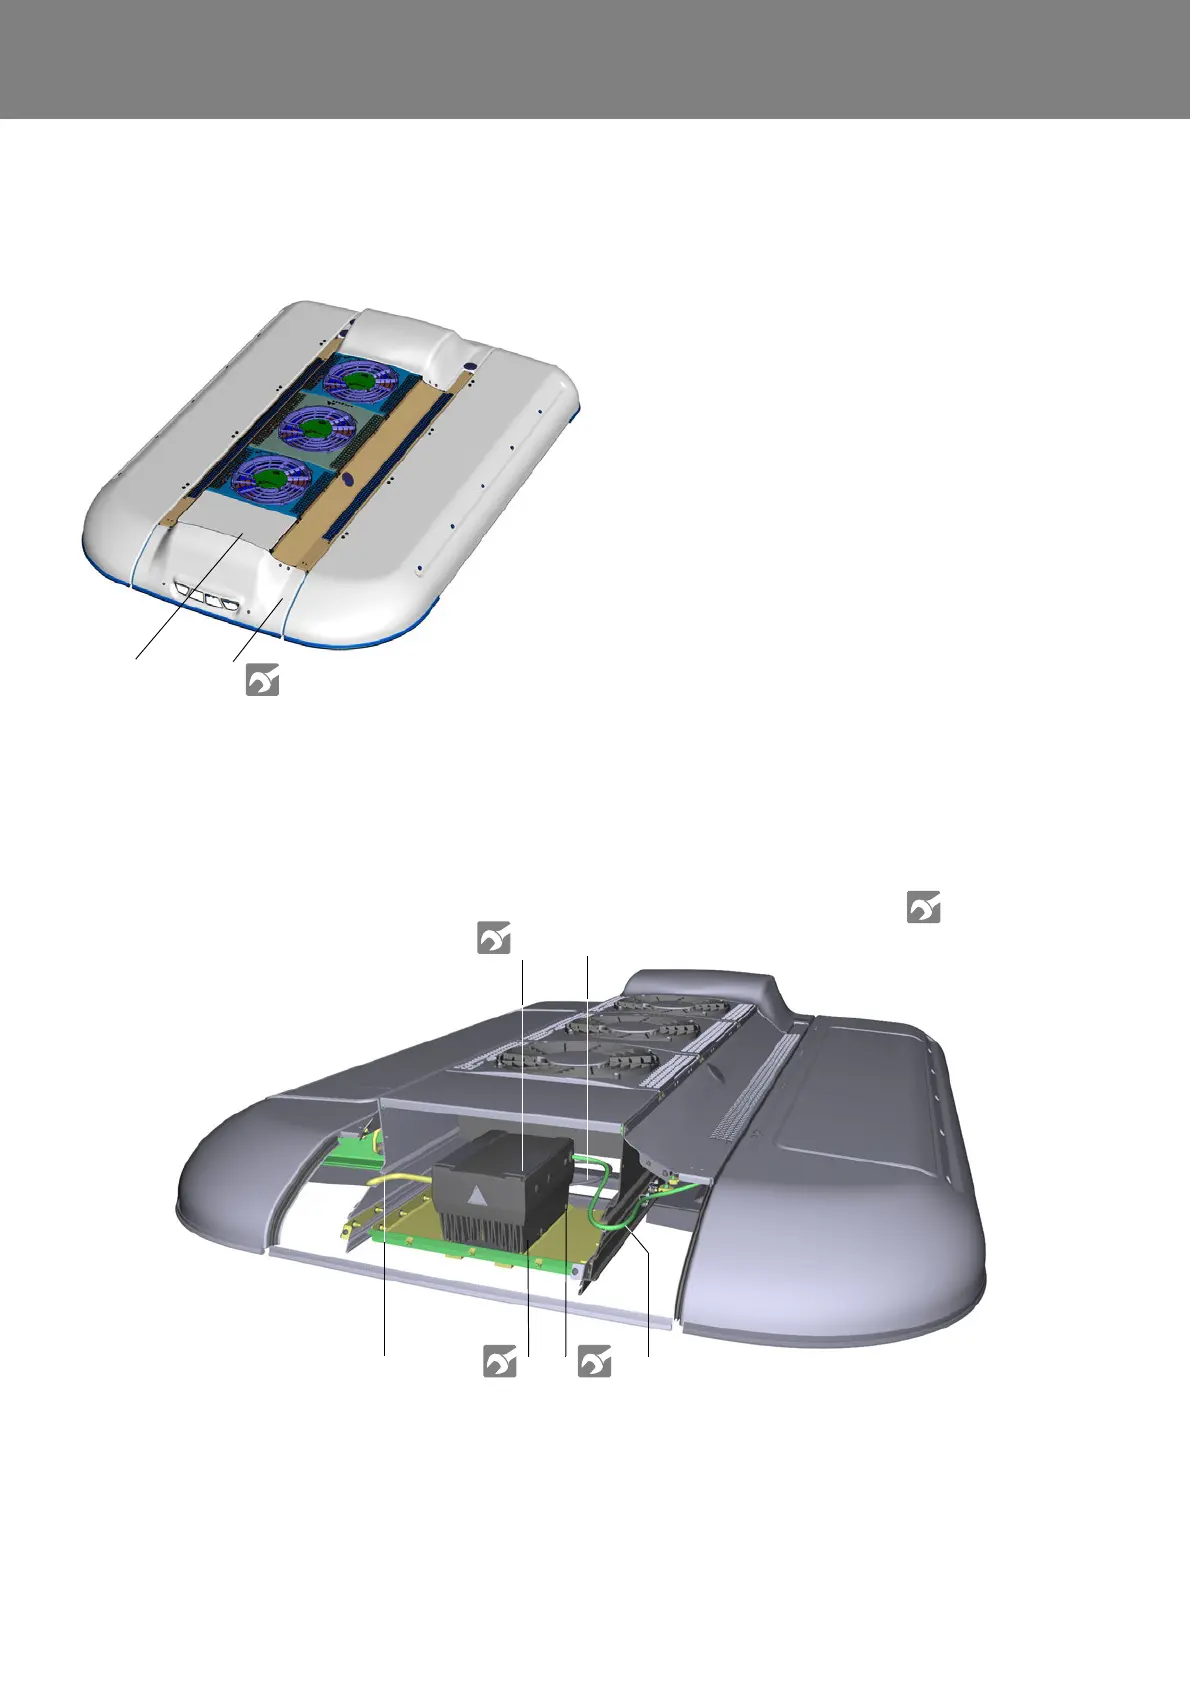
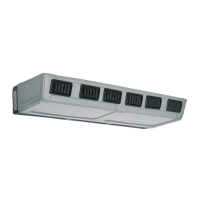
Fig. 801
1
2
1 Cover of the frequency converter
2 Torx screws (6)
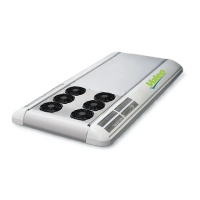
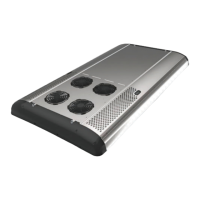
Fig. 802
1 Frequency converter Cover screws (4x)
2 400V AC cable
3 Diagnostic cable
4 Mount for grounding cable
5 Screws (4x) with centering cone
6 600V DC cable for power supply
See torque table
Attachment A
1
2
356
4