11. Loosen scale onside and bottom of pan with a stiff nylon brush or plastic scraper.
12. Flushwith water.
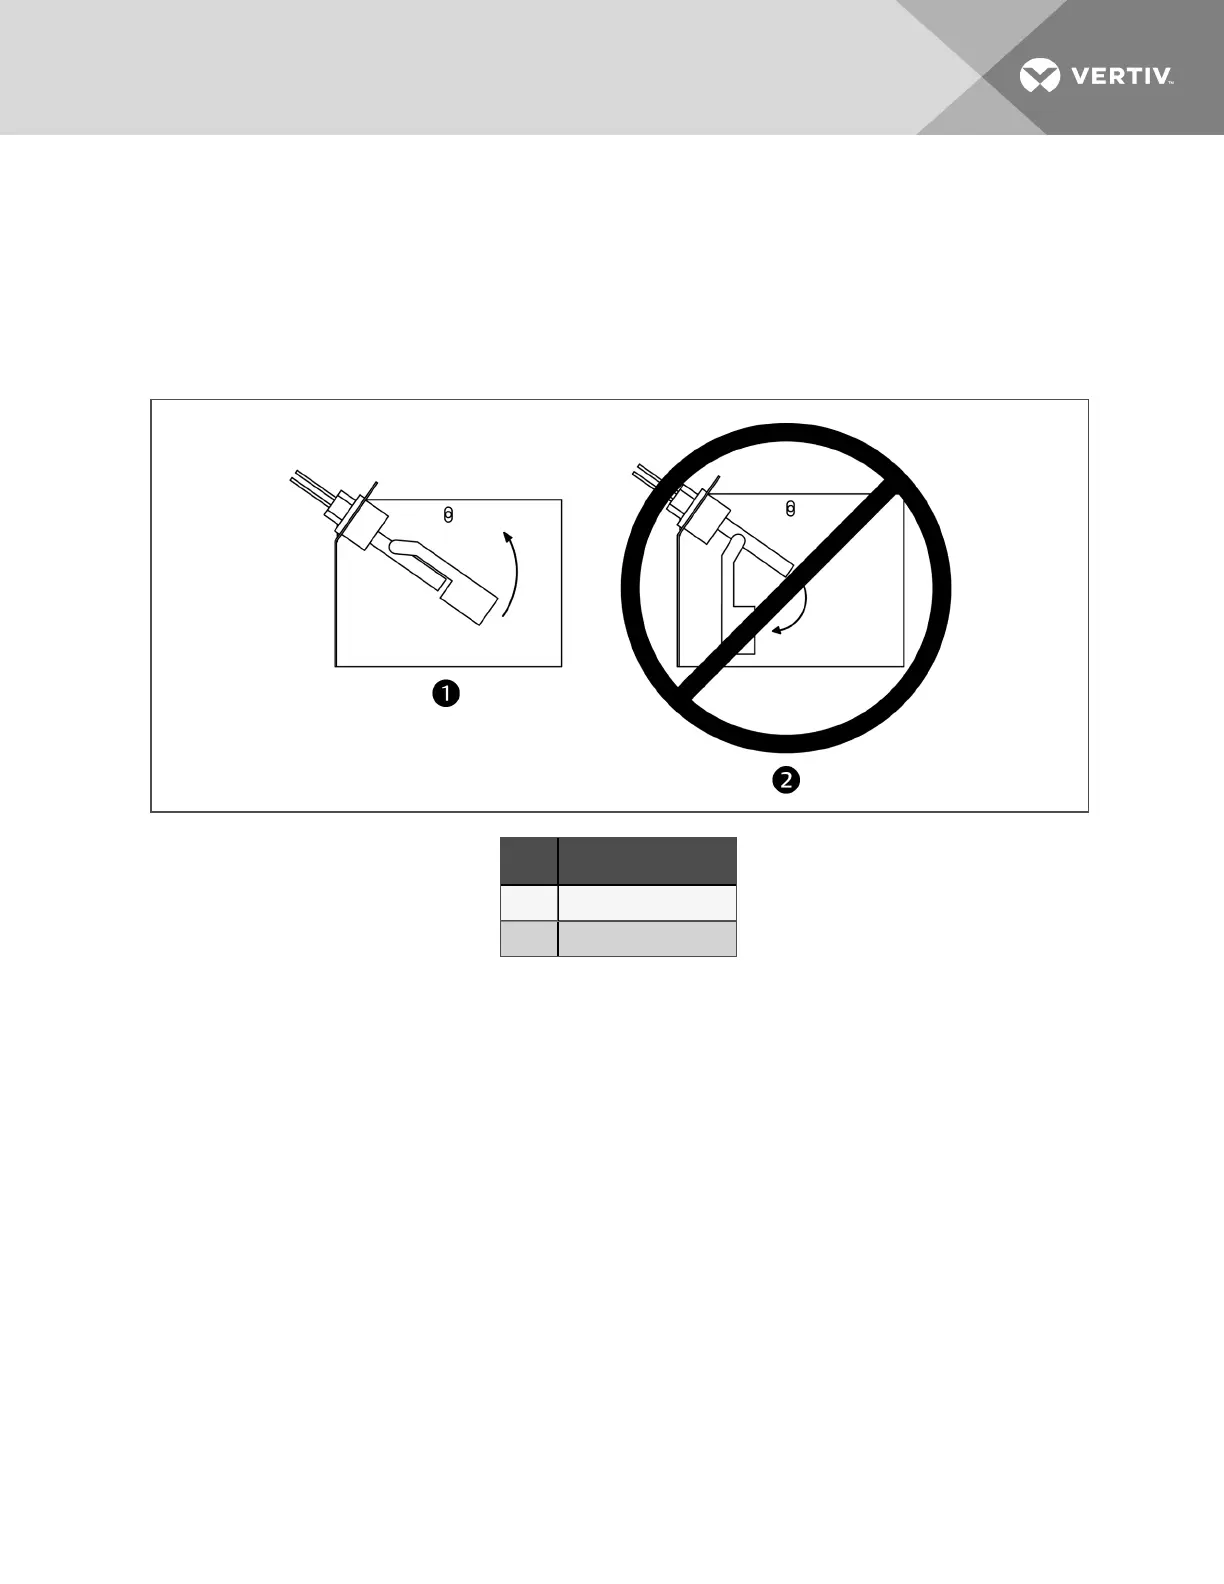
13. Carefully cleanscale off float switch (make sure toreinstall correctly (see Figure 11.9 below).
14. Reinstall the pan, thermostat, standpipe, drain coupling and screws into the humidifier.
15. Operate the humidifier and check for leaks.
Figure 11.9 Correct float switch orientation
Item Description
1 Correct switchorientation
2 Incorrect switchorientation
10.4.2 Changing Humidifier Lamps
NOTE: Touching quartz lamps with bare hands will severely shorten bulb life. Skin oils create hot spots
on lamp surface. Wear clean cotton gloves when handling lamps.
The lamps are shown inFigure 11.10 onthe next page.
1. Remove humidifier pan(see Cleaning Humidifier Panand Float Switch onthe previous page, steps 1 through
10).
2. Disconnect power from unit.
3. At humidifier, remove screws and cover from high-voltage compartment.
4. Disconnect one end of purple jumper wires.
5. Using a continuity meter, locate burned out lamp.
6. Remove lamp brackets under lamps.
7. Loosentwo screws securing lamp lead wires to junctionblock.
8. Pull bulb straight downand discard.
10 Maintenance
99
 Loading...