No. Type Function
I7 Socket Connection for beacon
I8 Socket Serial interface (RS232)
I9 Socket and fuse insert
(only 10/30 W)
Mains cable connection and two fuses (T8A,
behind the IP cover)
I10 Socket Connection for fume extractor
S5 Main power switch
(only 10/30 W)
switches the mains of the laser system on and
off.
The switch is always on behind the cover. For
complete separation the mains connector must
be disconnected from the power socket.
5.4 Switch-On/Off of the Supply Unit
5.4.1 Switch-On
1. Make sure that the safety instructions are observed.
2. Switch on the fume extractor or use the possibility to let the system
switch on the fume extractor by using a signal (see Inputs and Out-
puts (Galvanically Separated)).
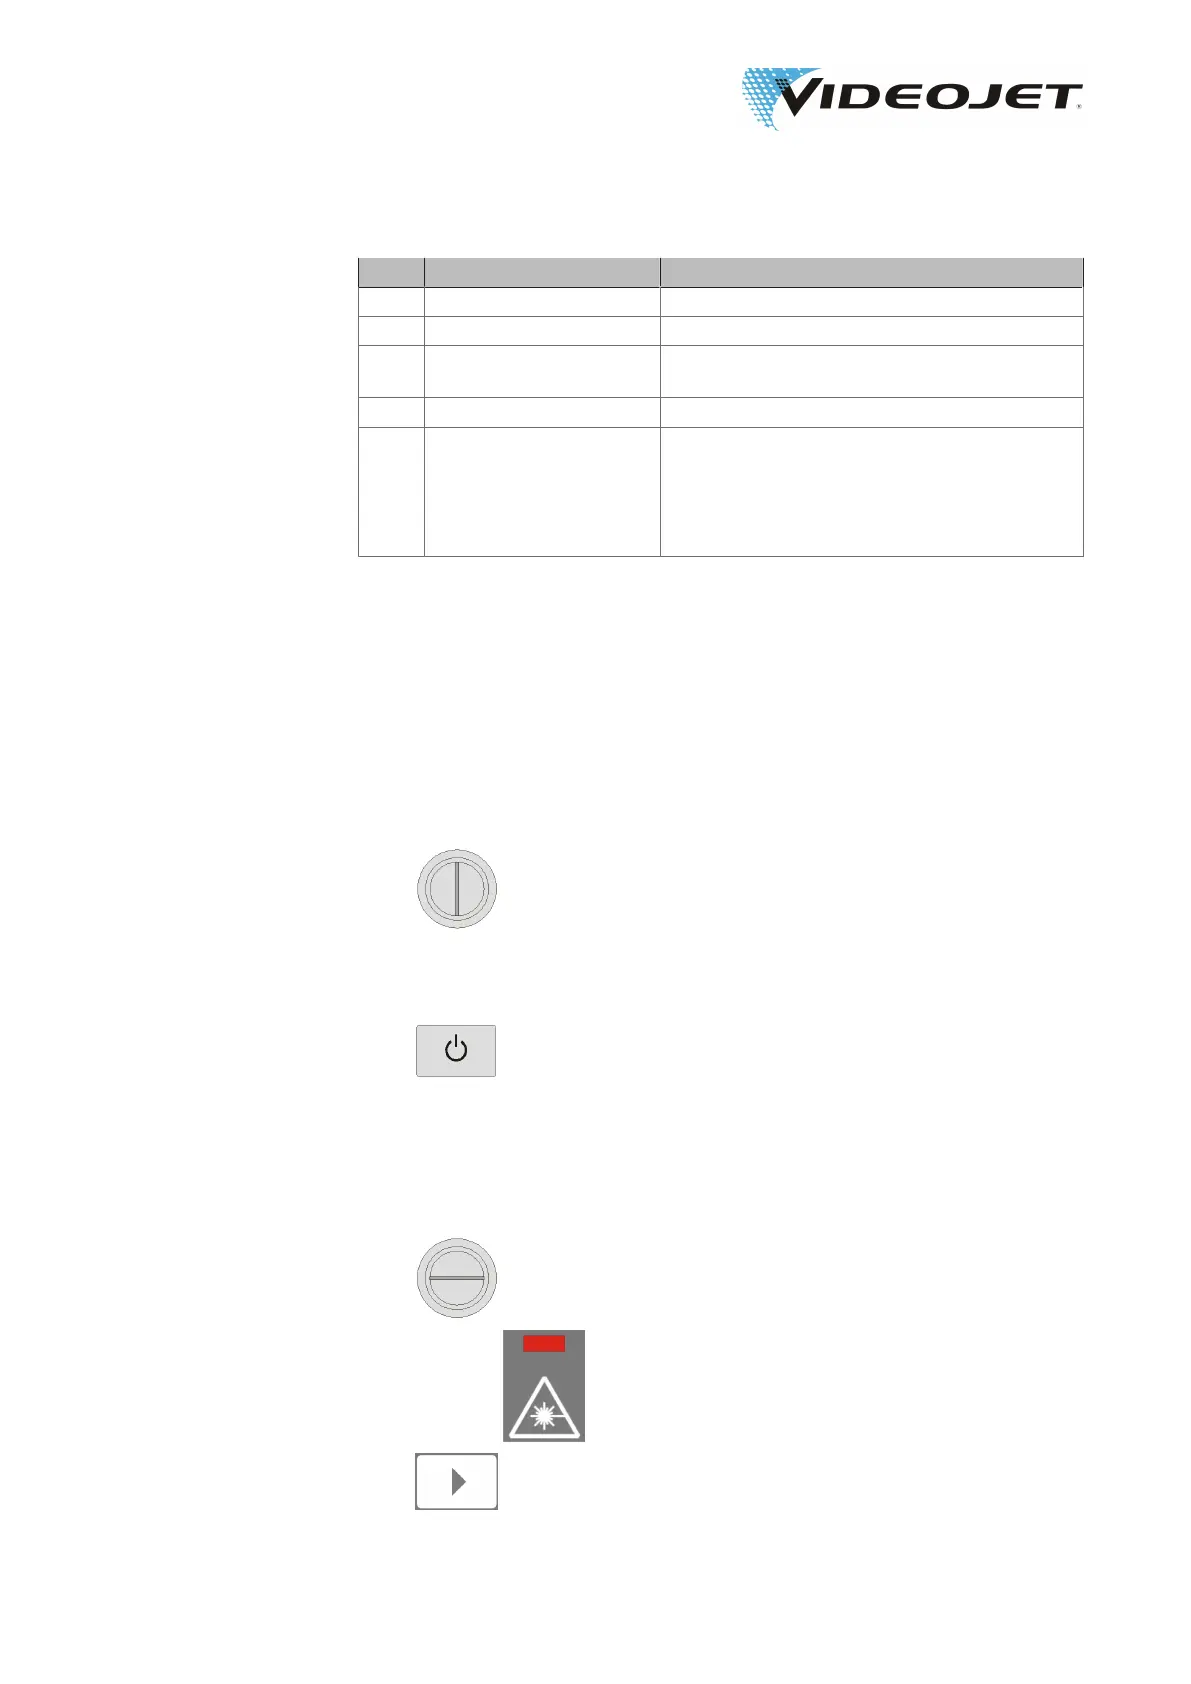
3. Make sure that the key switch is in the vertical position »0«.
Plug the mains connector into the power socket.
The blue LED on the push button »POWER/STAND-
BY« (S1) is on.
4. Press push button »POWER/STANDBY« (S1).
After approx. 10 seconds the white LED on the
push button flashes. The flashing frequency and
the brightness of the LED increases.
The laser system is initialized. After that the sys-
tem is ready for operation and the white LED is
on.
5. Switch on the key switch by turning it to the horizontal posi-
tion »I«.
The red LED »Emission« (L2) on the supply unit
and the red LED on the marking unit are on. The
laser is ready.
6. The marking process can be started by pressing the push
button »START« (S3) or via the user interface of the soft-
ware.
09/17 - Index: AD [EN]
40
Videojet 3140/3340/3640/5 Operating the Laser System