S80474B
Operating instructions
Hydraulic quickfit
(Si)
111
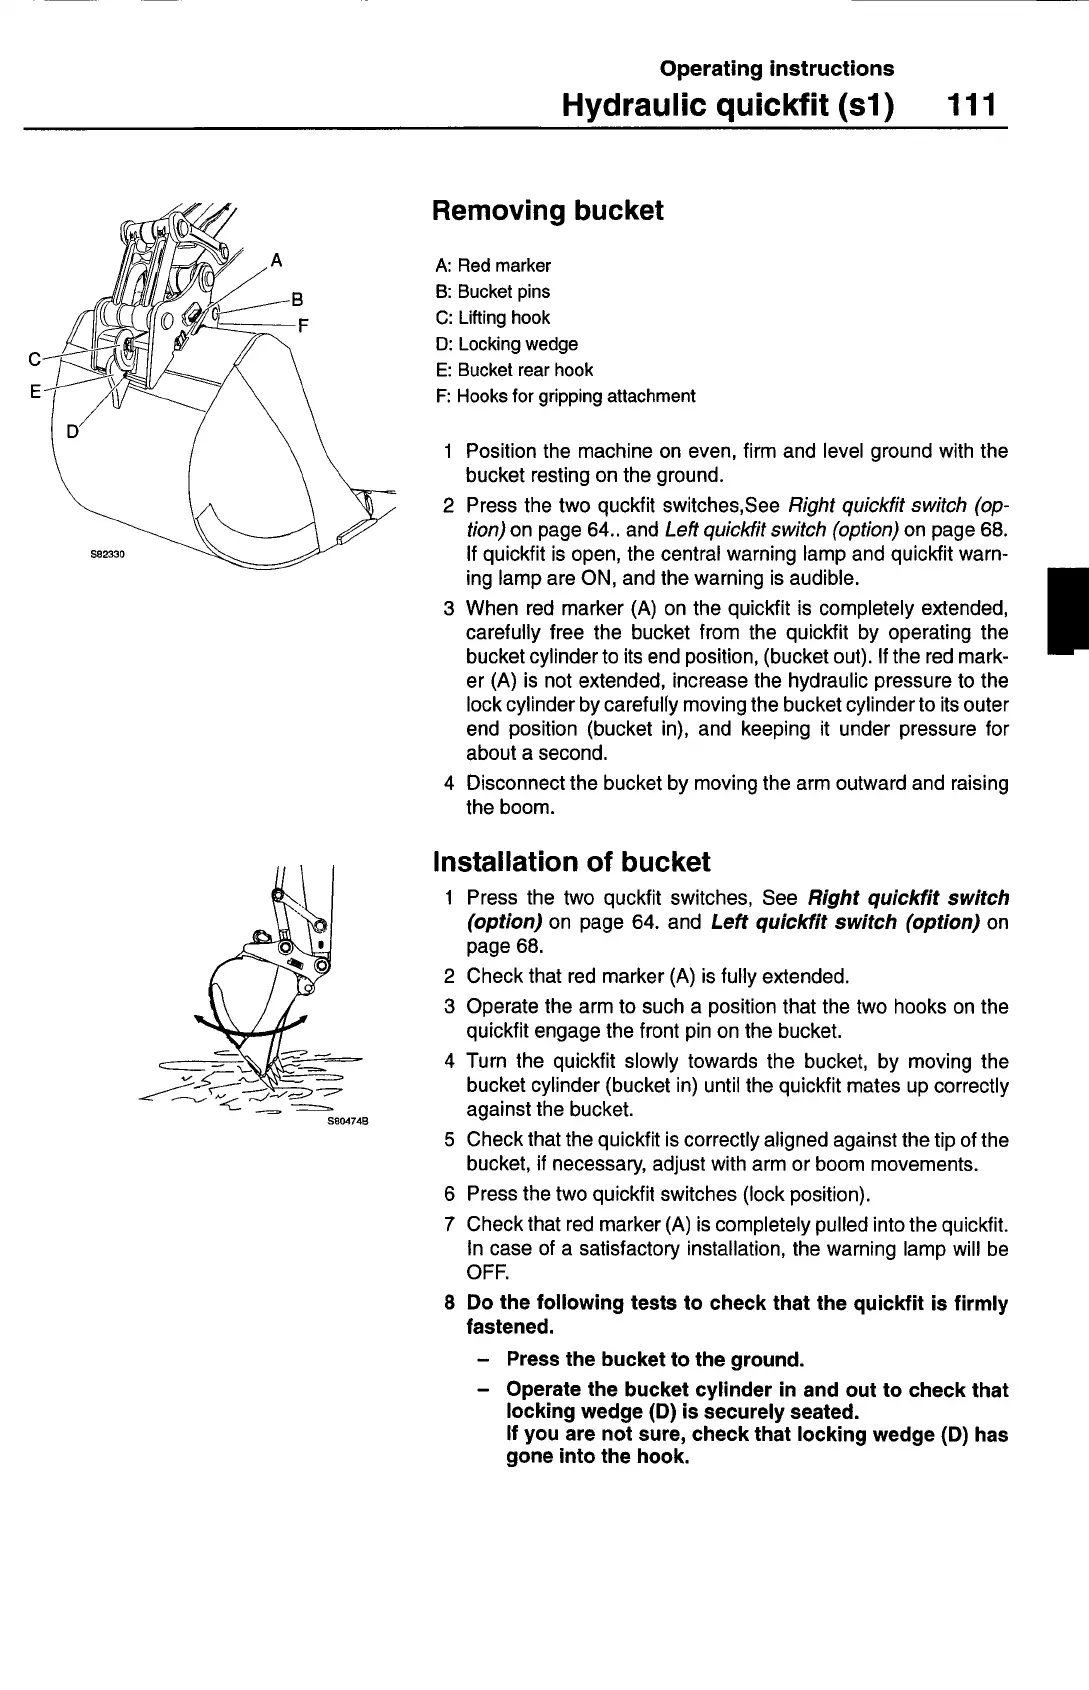
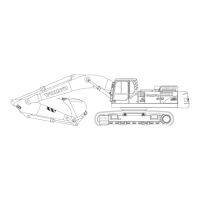
Removing bucket
A:
Red marker
B:
Bucket pins
C:
Lifting hook
0: Locking wedge
E:
Bucket rear hook
F:
Hooks for gripping attachment
1 Position the machine on even, firm and level ground with the
bucket resting on the ground.
2 Press the two quckfit switches,See
Right quickfit switch (op
-
tion)
on page 64.. and
Left quickfit switch (option)
on page 68.
If quickfit is open, the central warning lamp and quickfit warn-
ing lamp are ON, and the warning is audible.
3 When red marker (A) on the quickfit is completely extended,
carefully free the bucket from the quickfit by operating the
bucket cylinder to its end position, (bucket out). If the red mark-
er (A) is not extended, increase the hydraulic pressure to the
lock cylinder by carefully moving the bucket cylinder to its outer
end position (bucket in), and keeping it under pressure for
about a second.
4 Disconnect the bucket by moving the arm outward and raising
the boom.
Installation of bucket
1 Press the two quckfit switches, See
Right quickfit switch
(option)
on page 64. and
Left quickfit switch (option)
on
page 68.
2 Check that red marker (A) is fully extended.
3 Operate the arm to such a position that the two hooks on the
quickfit engage the front pin on the bucket.
4 Turn the quickfit slowly towards the bucket, by moving the
bucket cylinder (bucket in) until the quickfit mates up correctly
against the bucket.
5 Check that the quickfit is correctly aligned against the tip of the
bucket, if necessary, adjust with arm or boom movements.
6 Press the two quickfit switches (lock position).
7 Check that red marker (A) is completely pulled into the quickfit.
In case of a satisfactory installation, the warning lamp will be
OFF.
8 Do the following tests to check that the quickfit is firmly
fastened.
— Press the bucket to the ground.
— Operate the bucket cylinder in and out to check that
locking wedge (D) is securely seated.
If you are not sure, check that locking wedge (D) has
gone into the hook.