25
1
3
2
4
5
(1)
(5)
(3)
(3)
(1)
(1)
(1)
(4)
(2)
(2)
(2)
(5)
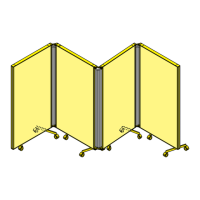
Angle, T-shape and cross linking of functional screens
with stand profile. Models: 05660-05662.
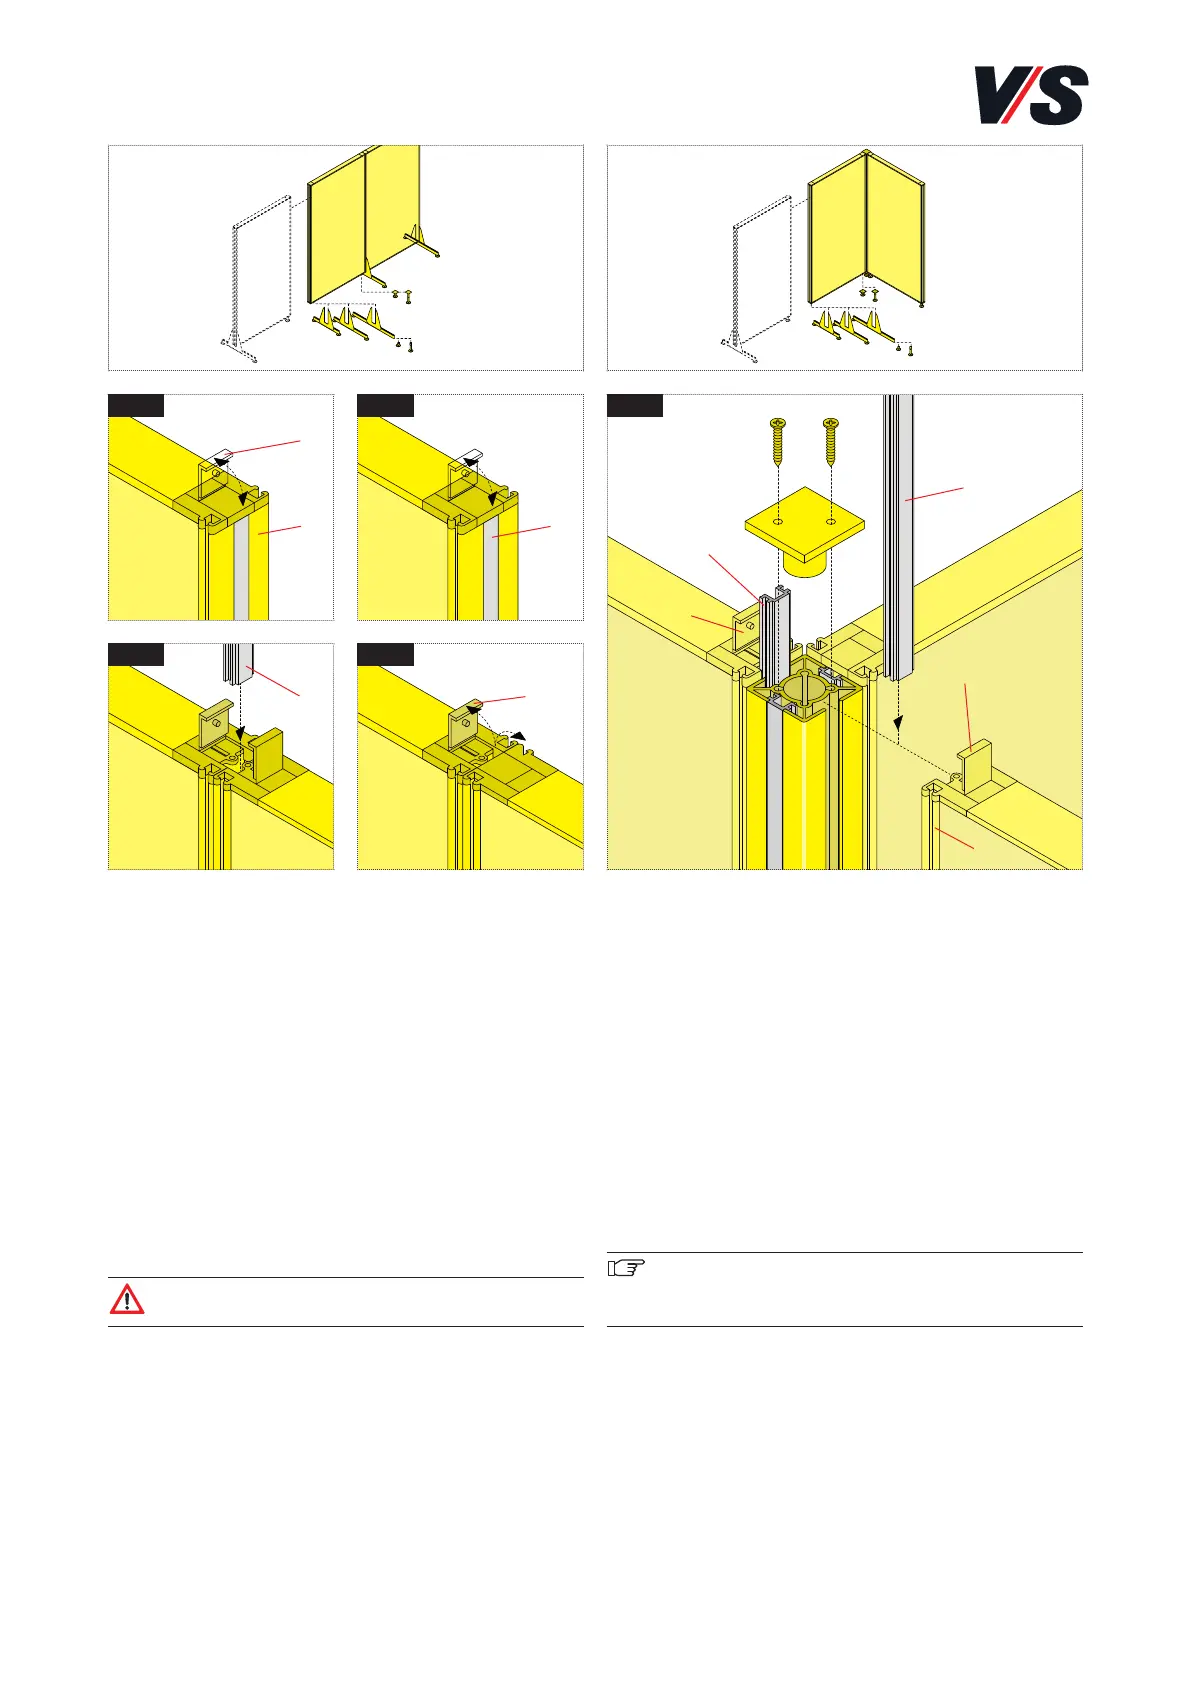
[Fig. 5] Remove end plate (3) of stand profile (4) by relea-
sing the 2 screws. Slide connection profiles (2) out of frame
profiles (5) of the screens and the stand profile (to do so,
pull the connection profile out of the clamping rails with
pointed pliers). Join the screens and stand profile (4) at the
end face. Position stand profile (4) between the screens. Sli-
de the connection profile back in. Connect the screens ac-
cordingly in the case of T-shape and cross linking. Close caps
(1) on frame profiles again. Fasten end plate (3) of the
stand profile again with 2 screws. At least 2 connection pro-
files are left over for storage.
Important! In the case of angle, T-shape and cross
linkings, castors cannot be fitted and stabilisers cannot
be fitted on the stand profile.
5. Functional screen. Linear linking
with connection profile. 90°, 180° and
270° linkings with stand profile.
Linear linking of functional screens with connection
profile.
[Fig. 1] Open caps (1) on frame profiles (5).
[Fig. 2] Slide connection profiles (2) of both frame profiles
out of the sides of the partition screen (to do so, pull the
connection profiles out of the clamping rail with a pair of
pointed pliers).
[Fig. 3] Join the partition screens to one of the two removed
connection profiles (2).
[Fig. 4] Close cap (1) on the clamping profile again. One
connection profile (2) is left over for storage.
Caution! Castors cannot be fitted in the case
of linear linkings.