Using the WebUI 31 Back to Contents
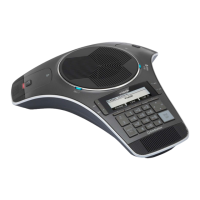
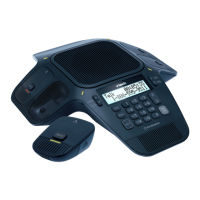
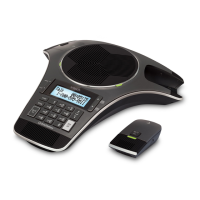
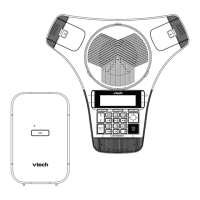
VCS752 Administrator and Provisioning Manual
To access the WebUI:
1. Ensure that your computer is connected to the same network as the VCS752.
2. Find the IP address of the VCS752:
a. When the VCS752 is idle, press MENU.
b. Press to highlight Status, and then press SELECT.
c. With Network highlighted, press SELECT.
The Network status screen appears.
d. On the Network status screen, note the IP Address.
3. On your computer, open an Internet browser. (Depending on your browser, some of the
pages presented here may look different and have different controls. Ensure that you
are running the latest update of your preferred browser.)
4. Type the VCS752 IP address in the browser address bar and press ENTER on your
computer keyboard.
The browser displays a window asking for your user name and password.
5. For the user name, enter admin. For the password, enter the default password,
admin. You can change the password later on the WebUI Security page, available
under Servicing.
6. Click OK.
The WebUI appears.
Click topics from the navigation bar along the top of the WebUI, and then click the links
along the left to view individual pages. For your security, the WebUI times out after 10
minutes, so if it is idle for that time, you must log in again.
Most WebUI configuration pages have a button. Click to save changes
you have made on the page. During a configuration session, click before you
move on to the next WebUI page.
The remaining procedures in this section assume that you are already logged into the WebUI.
The settings tables in this section contain settings that appear in the WebUI and
their equivalent settings in the configuration file template. You can use the
configuration file template to create custom configuration files. Configuration files
can be hosted on a provisioning server and used for automatically configuring
phones. For more information, see “Provisioning Using Configuration Files” on
page 84.