Preparing the column compartments 67
4. Ensure the inlet switching-valve is set to Waste.
Tip: To change the setting to Waste, click System and select Waste.
Switching-valve cartridge:
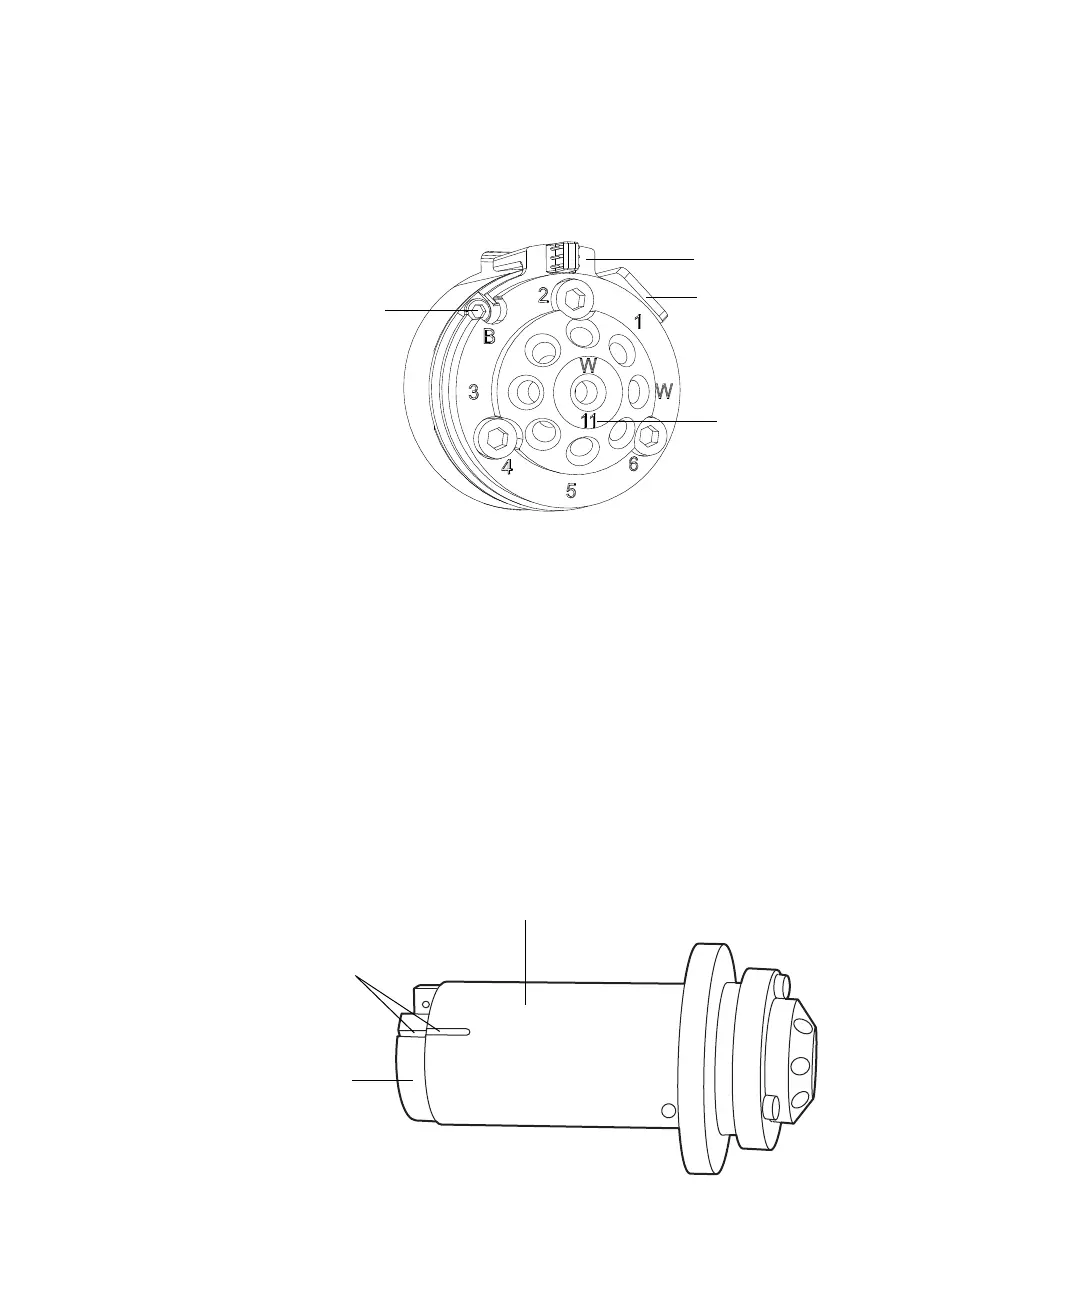
5. Use the 2-mm hex wrench to remove the hex screw at the 10 o’clock
position on the switching-valve cartridge.
6. Remove the switching-valve cartridge from the switching-valve
assembly by pulling it straight outward.
7. Label the inlet switching-valve cartridge.
8. Repeat step 1 through step 7 for the outlet switching-valve cartridge.
9. For both inlet- and outlet switching-valve cartridges, ensure that the
groove in the cartridge housing aligns with the groove on the drive
clamp.
Requirement: If the grooves fail to align, turn the drive clamp until they
do so, taking care to avoid scratching the drive clamp or housing.
2-mm hex screw
Lock ring stop
Lock ring
Stator ID
Switching-valve cartridge housing
Drive clamp
Aligned grooves