Maintaining the column compartments 119
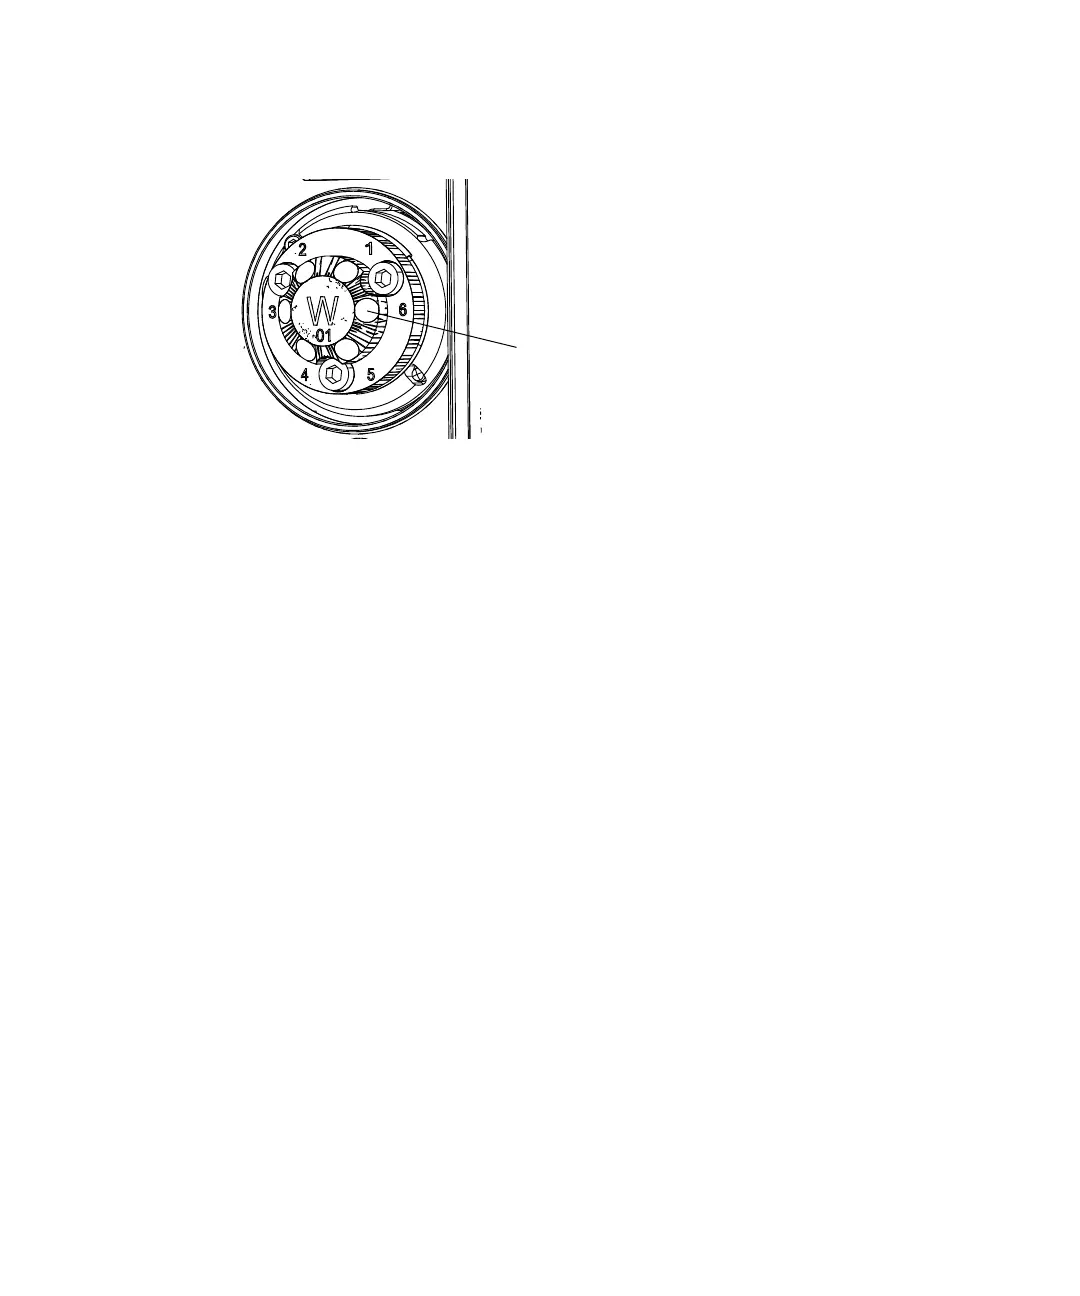
16. Connect the column inlet, active preheater, or column stabilizer tubing
to injector port 6 of the sample manager.
17. Connect the column-outlet PEEK tubing to the detector inlet.
18. Power-on the sample manager.
19. In the ACQUITY UPLC Console, select Sample Manager FTN from the
system tree.
20. In the sample manager information window, click Control > Reset SM,
to reset the sample manager.
Replacing the 30-cm column heater’s leak sensor
Only a Waters technical service representative should replace the 30-cm
column heater’s leak sensor. Contact Waters Technical Service department for
more information.
Replacing the column manager’s leak sensor
Perform this procedure if you must replace the leak sensor in the column
manager or the auxiliary column manager.
If your system contains only a column manager or both a column manager and
one auxiliary column manager, the leak sensor is located on the column
manager. If your system contains a column manager and two auxiliary
column managers, the leak sensor is located on the lower auxiliary column
manager.
The leak sensor is located in the column manager or auxiliary column
manager module, which is itself located at the lowest position in the system
stack.
Location of
column-stabilizer-inlet tubing