136
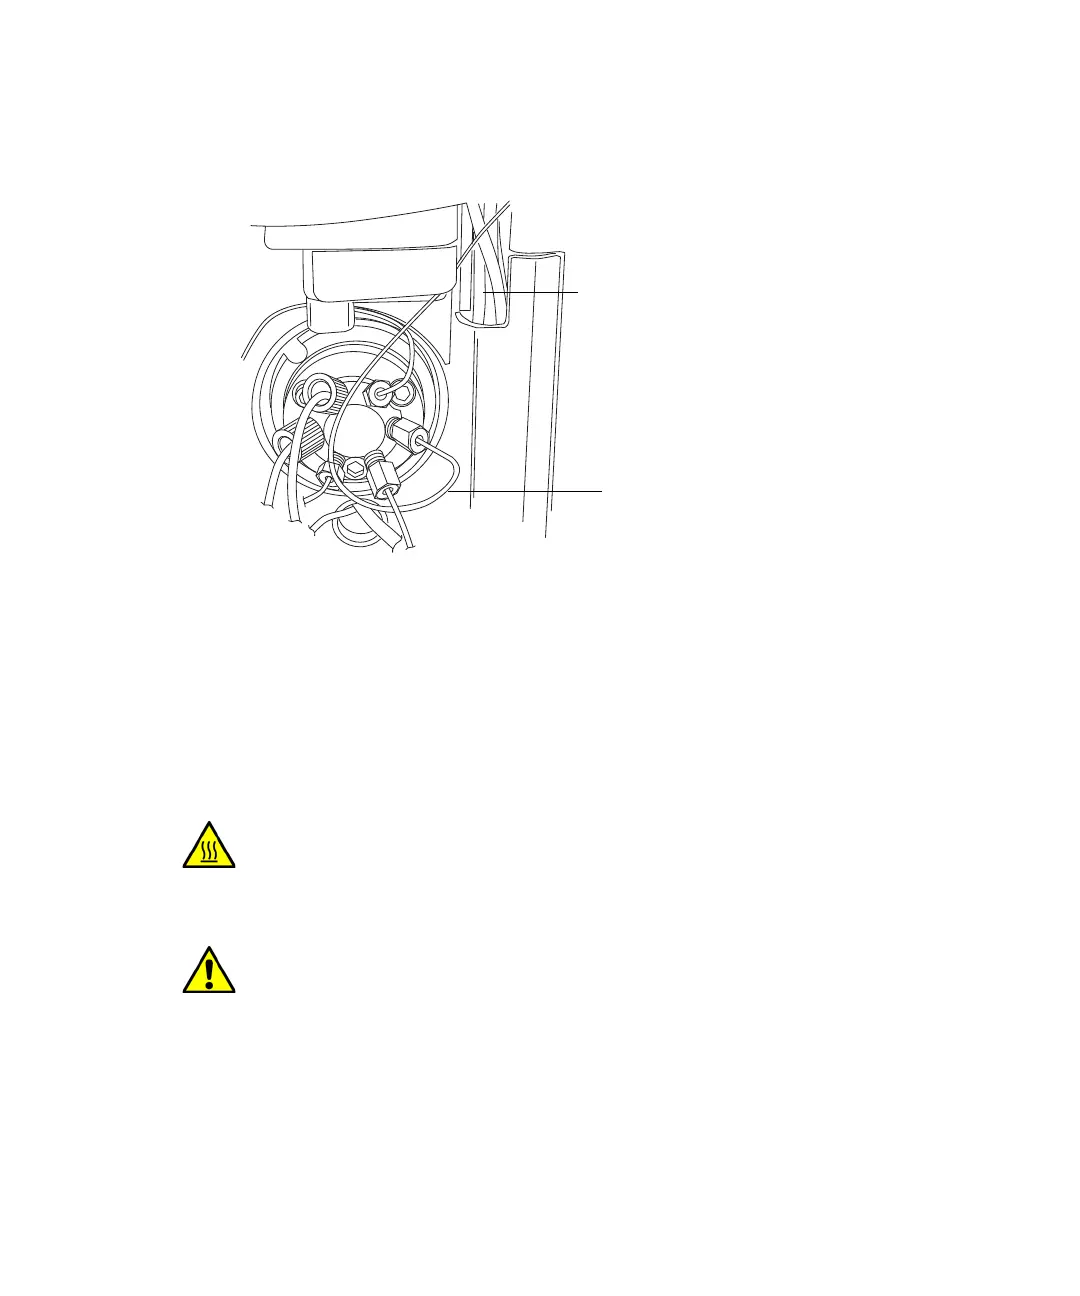
11. Remove the O-ring retainer from the inlet end of the column stabilizer
tubing, and then connect the inlet tubing to injector port 6 of the sample
manager.
12. Using the 1/4-inch and 5/16-inch open-end wrenches, connect the
compression fitting that attaches the column stabilizer assembly to the
optional in-line filter or to the column.
Replacing the frit in the in-line filter unit
If your system is fitted with the optional in-line filter frit, follow the
instructions below to replace the frit.
Recommendation: Because of wear on the non replaceable compression
fittings, replace the in-line filter unit after you use the six frits that
accompany the unit.
Warning: To prevent burn injuries, set the column temperature to Off,
and then allow the column compartment and its components to cool for
60 minutes before touching them. Monitor the column compartment
internal temperature to ensure all components are cool.
Caution: To prevent contaminating system components, wear clean,
chemical-resistant, powder-free gloves when replacing the frit in the
column in-line filter unit.
Column-stabilizer-inlet tubing
Note: Do not route the tubing
between the sample manager
door and hinge, here.