6. Open the external gas supply ball valve upstream of the unit.
7. On the Controller, go to: Main Menu → Diagnostics → Manual Mode and then enable the
Manual Mode control.
8. Use the + (Plus) and – (Minus) controls to bring the unit up to 100%.
9. Slowly increase the manifold gas supply pressure by turning the Gas Pressure Adjustment Screw in
the Downstream SSOV (see Section 4.4, Figure 4-3) while reading the CO level on the combustion
analyzer. Adjust the manifold pressure until the CO reading is approximately 300 ppm. Note the
number of turns you make, as you will turn it back to its original position in step 13, below.
10. Take a reading of the manifold gas pressure. If the manifold pressure is greater than the maximum
calculated in step 3, then use the Gas Pressure Adjustment Screw to decrease the manifold
pressure until it is at the maximum allowed.
11. Slowly turn the indicator dial on the High Gas Pressure switch until the unit shuts down due to a gas
pressure fault. This is the setpoint.
12. Press the RESET button on the High Gas Pressure switch (in the center of the dial).
13. Readjust the manifold gas supply pressure to what it was before it was increased in step 9.
14. Press the CLEAR button on the Edge [i] Controller to clear the fault.
15. Fire the unit back up to insure gas pressure out of the SSOV is set as it was originally.
16. Upon test completion, close the ball valve and remove the manometer fitting from the port, and then
turn the port screw clockwise till the port is closed.
17. For Dual Fuel gas trains, repeat this procedure on the Propane gas train, starting with opening the
port on the Propane High Gas Pressure Switch.
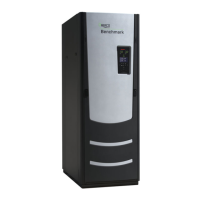
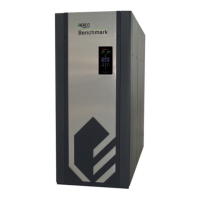
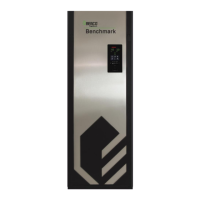
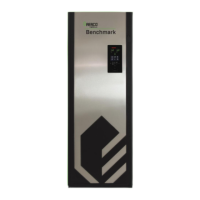
Figure 5-4a: BMK3000 HIGH Gas Pressure Test Components
 Loading...