User Guide
3. Support
3.7 CMA Replacement
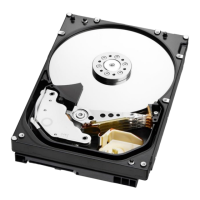
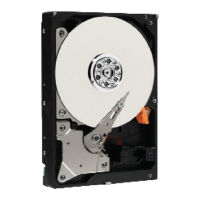
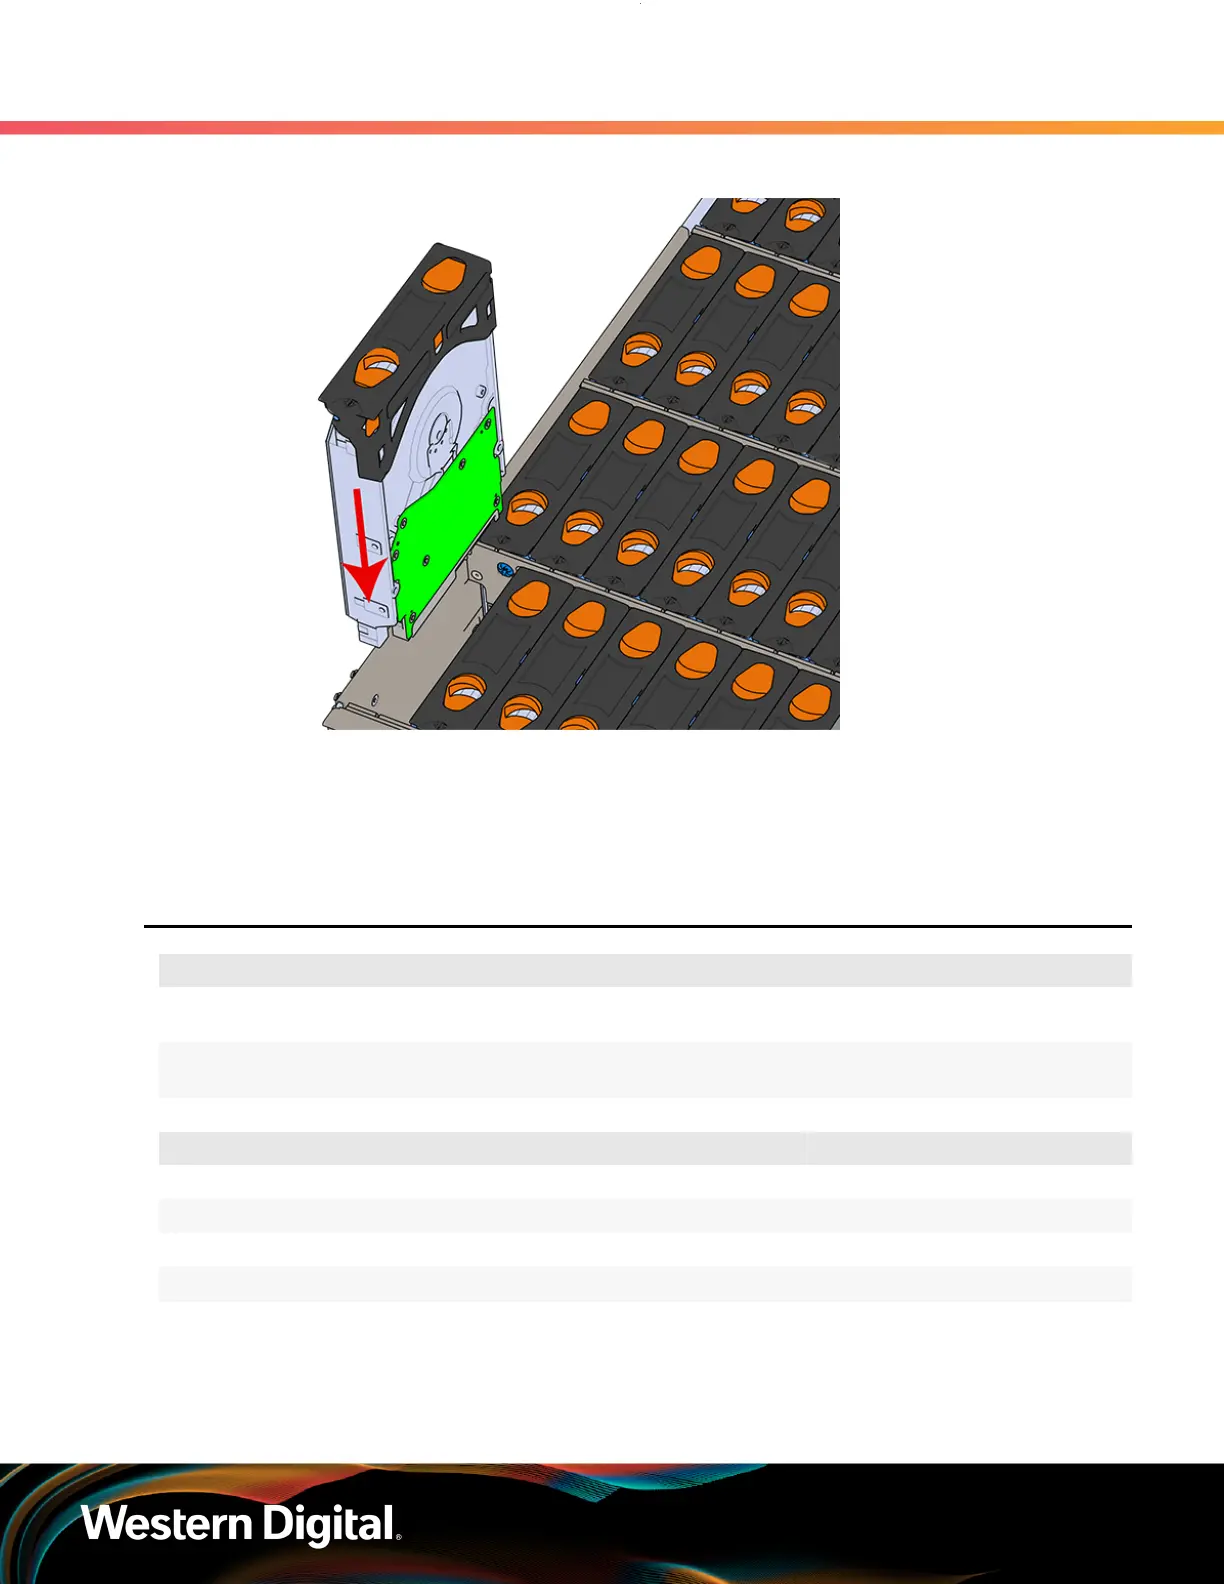
Figure 62: Installing a 3.5in HDD Assembly
d. Pinch the latch release and carefully press downward to seat the 3.5in HDD Assembly the
rest of the way.
Step 6 :
Push the enclosure back into the rack to ensure proper cooling.
3.7
CMA Replacement
Replacement Requirements
Personnal Required
1
Avg. Replacement Time
15m
Max Replacement Time
Tool Required vs. Recommended
# 2 Philips Screwdriver Required
Cable Ties (for configurations with greater than 10 total cables) Recommended
Tape Measure Recommended
Low-Profile M4 x 3.2mm Philips screws Recommended
Step 1 : Place the CMA(s) into the service position.
a. Unlatch the CMA(s) at the elbow connector by pressing the blue release button to unlatch
the connector from the rail.
75