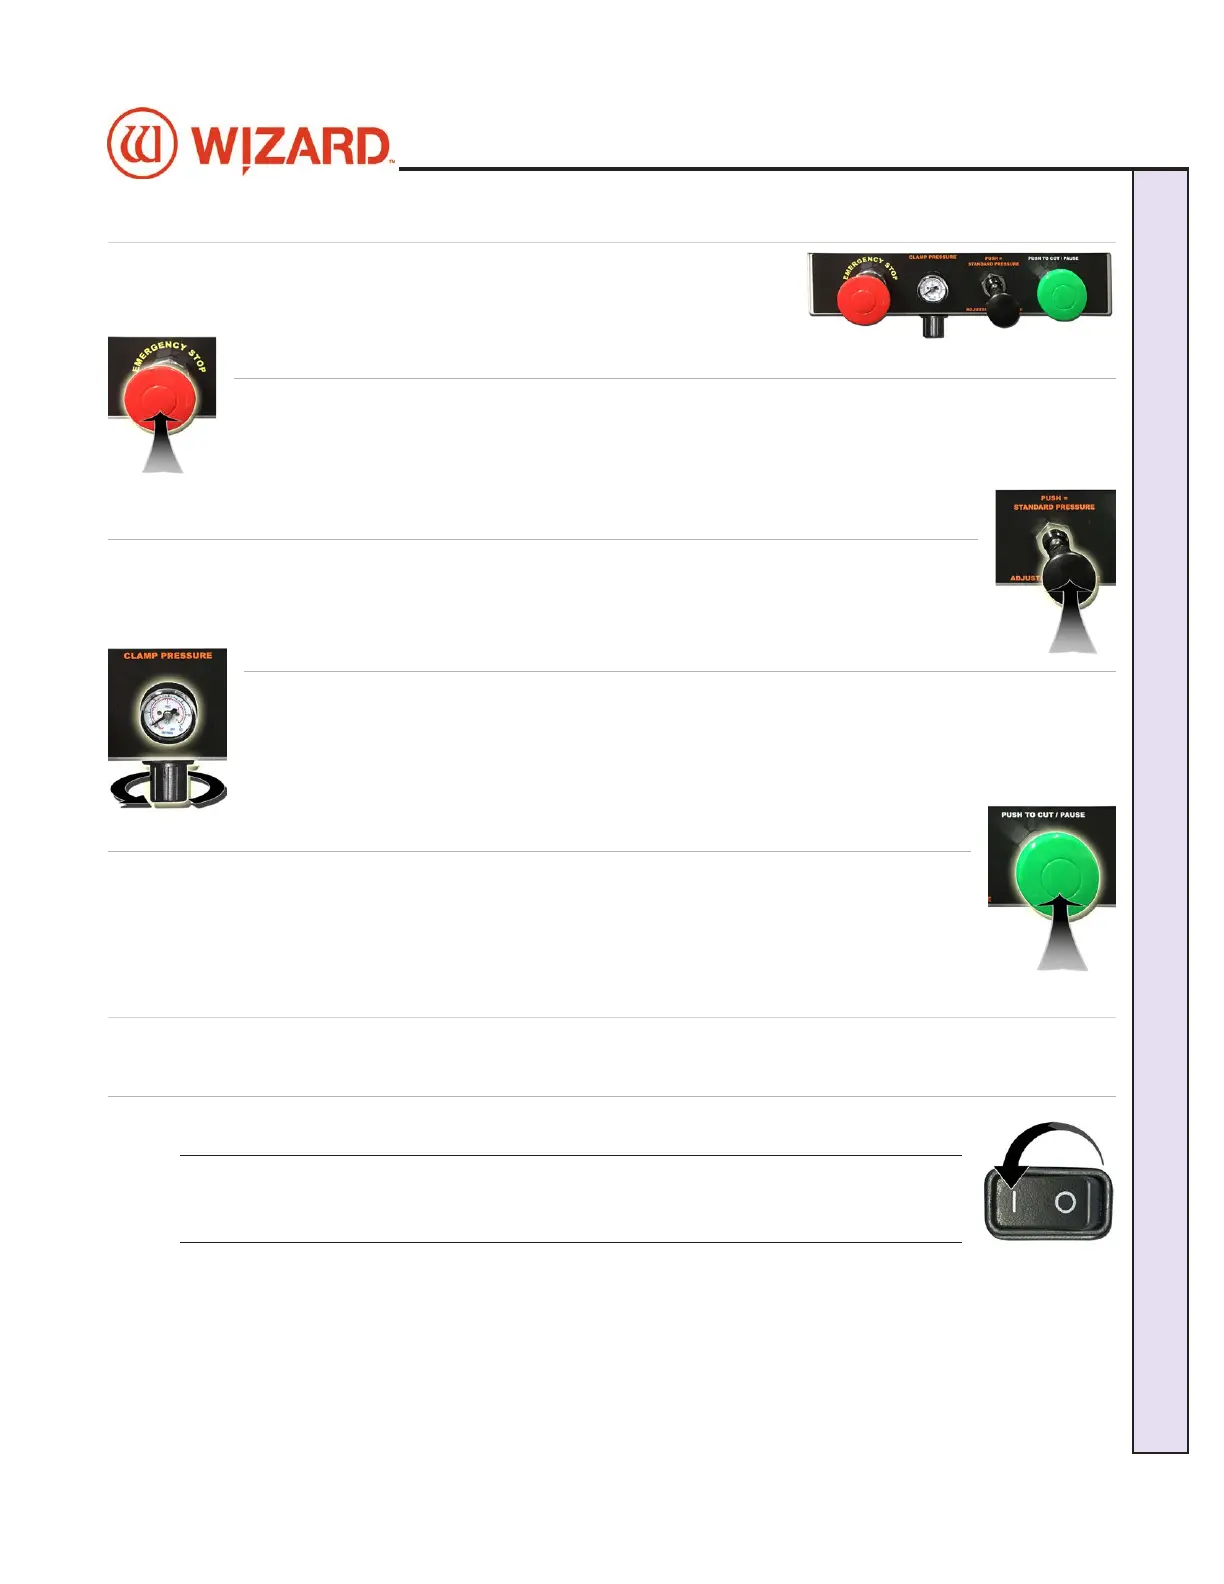
Control Panel
The control panel is located on the left side of the board, and contains the The control panel is located on the left side of the board, and contains the
most commonly used buttons.most commonly used buttons.
Red Abort Button
Hit the red Stop Button to immediately abort the current cut; the cut will be stopped and the Hit the red Stop Button to immediately abort the current cut; the cut will be stopped and the
motors will be disengaged. Pull out the Stop Button to return to cutting. You will be asked to motors will be disengaged. Pull out the Stop Button to return to cutting. You will be asked to
Align the Head before cutting again. Align the Head before cutting again. See “Align the Head” page 21 for instructions on See “Align the Head” page 21 for instructions on
how to Align the Headhow to Align the Head..
Mat Clamp Pressure Knob
The Mat Clamp Pressure Knob switches between standard and low clamp pressure. Push the The Mat Clamp Pressure Knob switches between standard and low clamp pressure. Push the
knob in to use standard pressure or pull it out to use lower pressure for fragile material such knob in to use standard pressure or pull it out to use lower pressure for fragile material such
as foamcore.as foamcore.
Clamp Pressure Adjustment
The Clamp Pressure Adjustment is used to adjust the low clamp pressure setting. The gauge The Clamp Pressure Adjustment is used to adjust the low clamp pressure setting. The gauge
displays the clamp pressure as it is cutting. To adjust the clamp pressure, pause the current displays the clamp pressure as it is cutting. To adjust the clamp pressure, pause the current
cut, then pull out the black pressure knob underneath the control panel and turn it. Turn the cut, then pull out the black pressure knob underneath the control panel and turn it. Turn the
knob clockwise to increase the pressure adjustment or counter-clockwise to decrease it. Push knob clockwise to increase the pressure adjustment or counter-clockwise to decrease it. Push
it back in to set it to this pressure.it back in to set it to this pressure.
Green Cut Button
Push the green Cut button to cut the current design on the Cut Preview Screen. If required, Push the green Cut button to cut the current design on the Cut Preview Screen. If required,
you will be ask to Align the Head. you will be ask to Align the Head. SSee “Align the Head” page 21 for instructions on ee “Align the Head” page 21 for instructions on
how to Align the Headhow to Align the Head. . During cutting, you can also push the green Cut button to pause the During cutting, you can also push the green Cut button to pause the
cut.cut.
Turn the System On
Power up the ECU
Press the Press the || on the rocker switch on the back of the ECU to turn on the ECU. on the rocker switch on the back of the ECU to turn on the ECU.
*The ECU must be on for the CMC to cut. Press | on the
rocker switch to turn it on.*
20-36070-1 GettingStartedManualZ1FrameShop
04/07/21
15
Wizard CMC Model Z1 Hardware and Software Getting Started Manual
Wizard™ CMC Model Z1 Hardware and Software Getting Started Guide