Access & RemovalCT Hoods and DD Ventilation
4-8
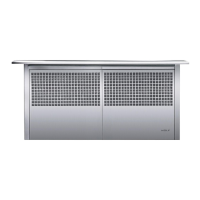
Figure 4-17 Inner Panel Rear Screws
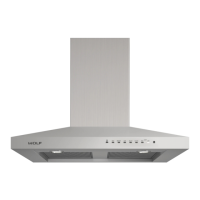
Figure 4-19 Control Panel Removal
H
OOD INNER PANEL REMOVAL (CONT.)
Locate the (3) screws fastening the front of the 2.
shroud to the hood frame. Using a Phillips screw
driver, remove the screws as shown in Figure 4-16.
NOTE: To prevent damage, you will need to support the
panel with one hand while removing the screws with the
other.
Locate the (3) screws fastening the back of the panel 3.
to the hood frame. Using a Phillips screw driver,
remove the screws as shown in Figure 17.
Slowly lower the panel until the molex plug for the 4.
Heat Sentry (see Figure 16) is exposed and discon-
nect plug.
L
AMP SOCKET REMOVAL
To remove the light Socket assembly, the drop plate, 1.
fi lters and inner shroud must fi rst be removed (See
procedures above).
Disconnect Molex plug for the Lamp Socket that you 2.
are going to remove.
Reach inside of hood cavity above the lamp assem-3.
bly and depress the retaining clips and push lamp
assembly through lamp-holder support.
NOTE: If necessary, turn lamp assembly until you can
slide lamp assembly through the clearance slots cut in
opening in the hood.
CONTROL PANEL REMOVAL
To remove the Control Panel, the drop plate, fi lters 1.
and inner shroud must fi rst be removed (See proce-
dures above).
Disconnect Communication Cable from the back of 2.
the Control Panel. (Figure 19)
Locate and remove the screws that fasten the Con-3.
trol panel to the hood.
NOTE: The screws (2 for Wall Hoods, 4 for Island Hoods)
are the only fasteners used to hold the Control Panel
to the Hood. Control Panel will fall if not supported as
screws are removed.
Retaining Clips
Figure 4-18 Lamp Socket
TO AVOID ELECTRIC SHOCK, POWER TO THE
VENTILATION UNIT MUST BE DISCONNECTED
WHENEVER PERFORMING THE FOLLOWING
REPAIRS.
Communication Cable
Control Panel Screws
Figure 4-16 Inner Panel Front Screws
Heat Sentry
Screws
Screws