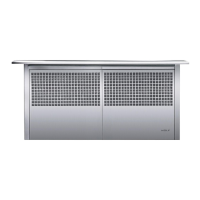
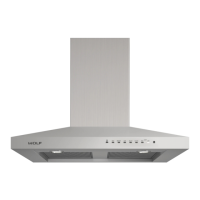
Access & RemovalCT Hoods and DD Ventilation
4-14
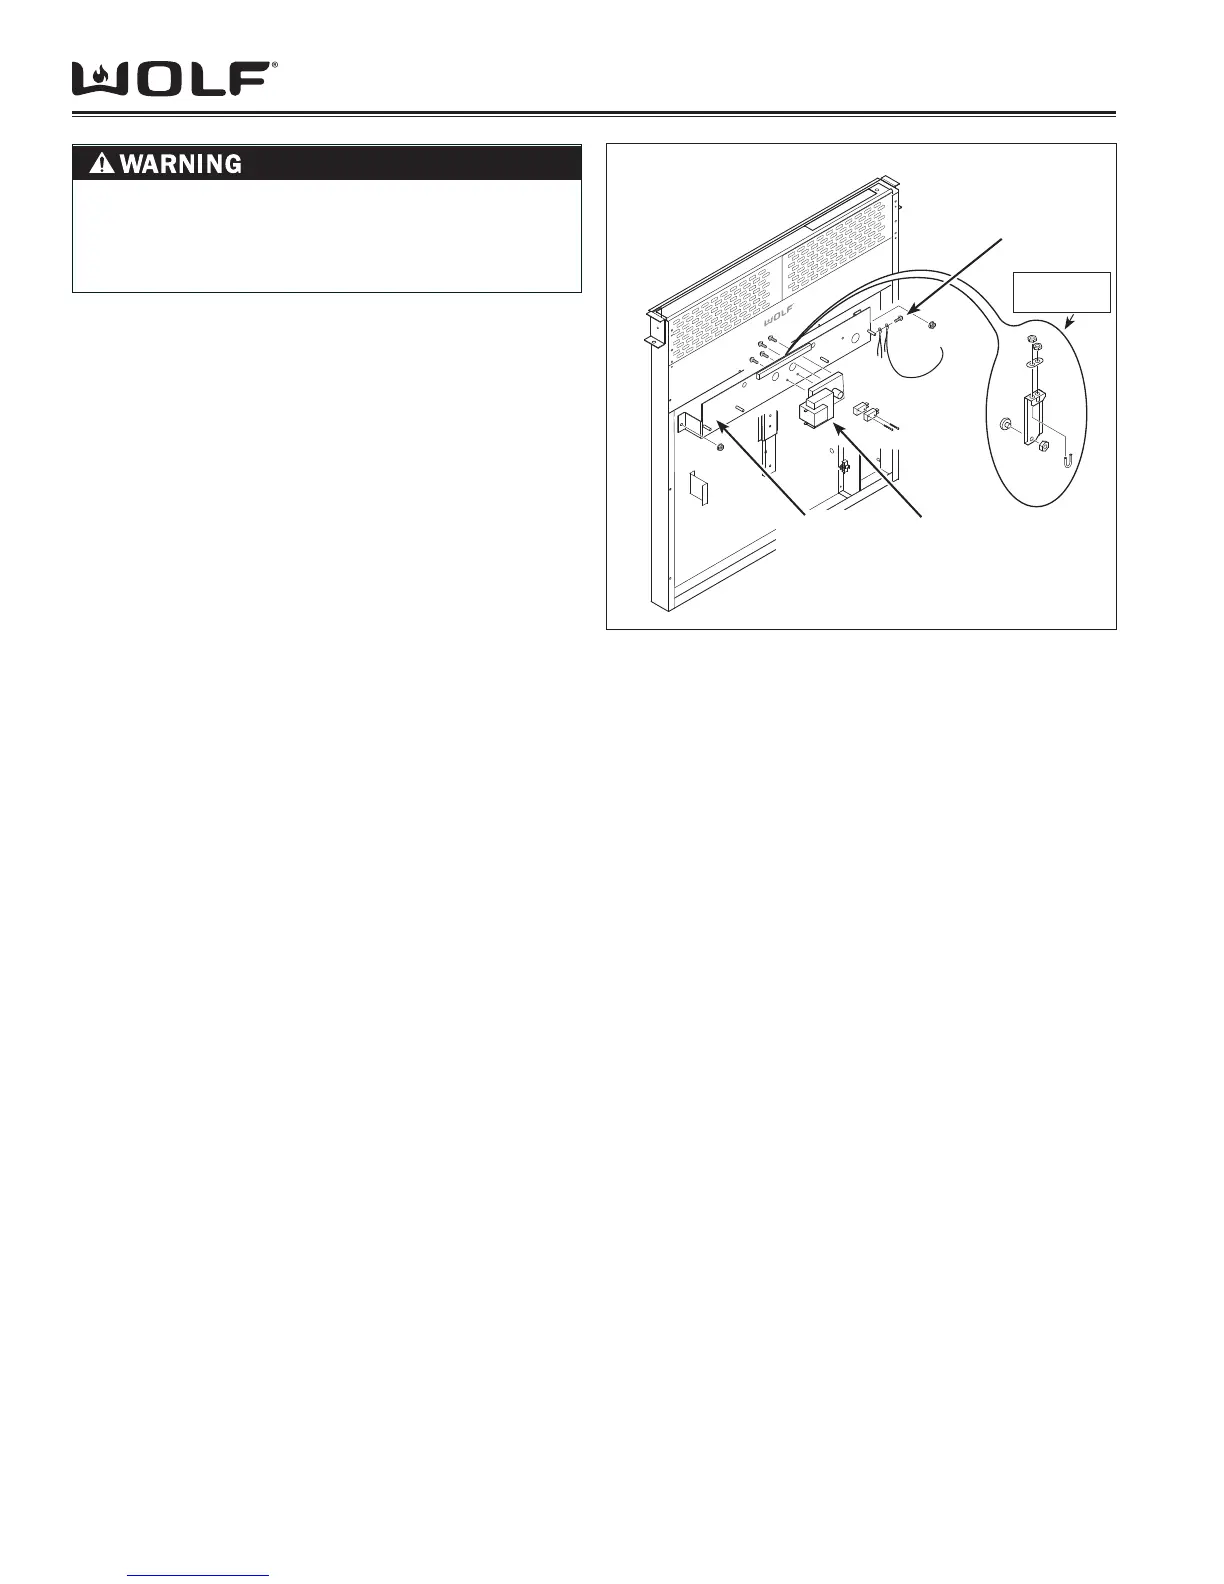
GEAR MOTOR REMOVAL
NOTE: Refer to all WARNINGS and CAUTIONS at
beginning of this section.
The gear motor is secured with screws that pass through
the back side of the gear motor bracket and fasten into
the gear motor assembly. The crank assembly, which
is located on the back side of the gear motor bracket, is
secured to the gear motor shaft by a threaded U-shaped
clamp and two nuts. The gear motor bracket is then
mounted to threaded studs pressed into the unit frame
and secured with 3/8” (9.5) nuts.
To remove the gear motor, the internal blower assembly
and the lower air box panel must be removed fi rst, then
(See Figure 32 ):
Disconnect all wire leads from left side of gear motor 1.
and from micro-switches. Remove wire harness from
hold down clamp then feed wire harness through
gear motor bracket.
Extract screw securing ground wires to side of gear 2.
motor bracket.
With 3/8” (9.5) wrench or socket, remove nuts from 3.
both ends of gear motor bracket.
Lift gear motor bracket off of threaded studs.4.
From back side of bracket, remove 3/8” (9.5) nuts 5.
from U-shaped clamp securing crank assembly to
motor shaft.
From same side of bracket, extract the screws that 6.
pass through the gear motor bracket and fasten to
gear motor assembly.
Extract screws securing micro-switches to gear motor 7.
assembly.
Figure 4-32 Gear Motor Removal
Gear Motor
Gear Motor
Mounting
Bracket
Grounding
Screw
Crank
Assembly
TO AVOID ELECTRIC SHOCK, POWER TO THE
VENTILATION UNIT MUST BE DISCONNECTED
WHENEVER PERFORMING THE FOLLOWING
REPAIR.