Page | 38
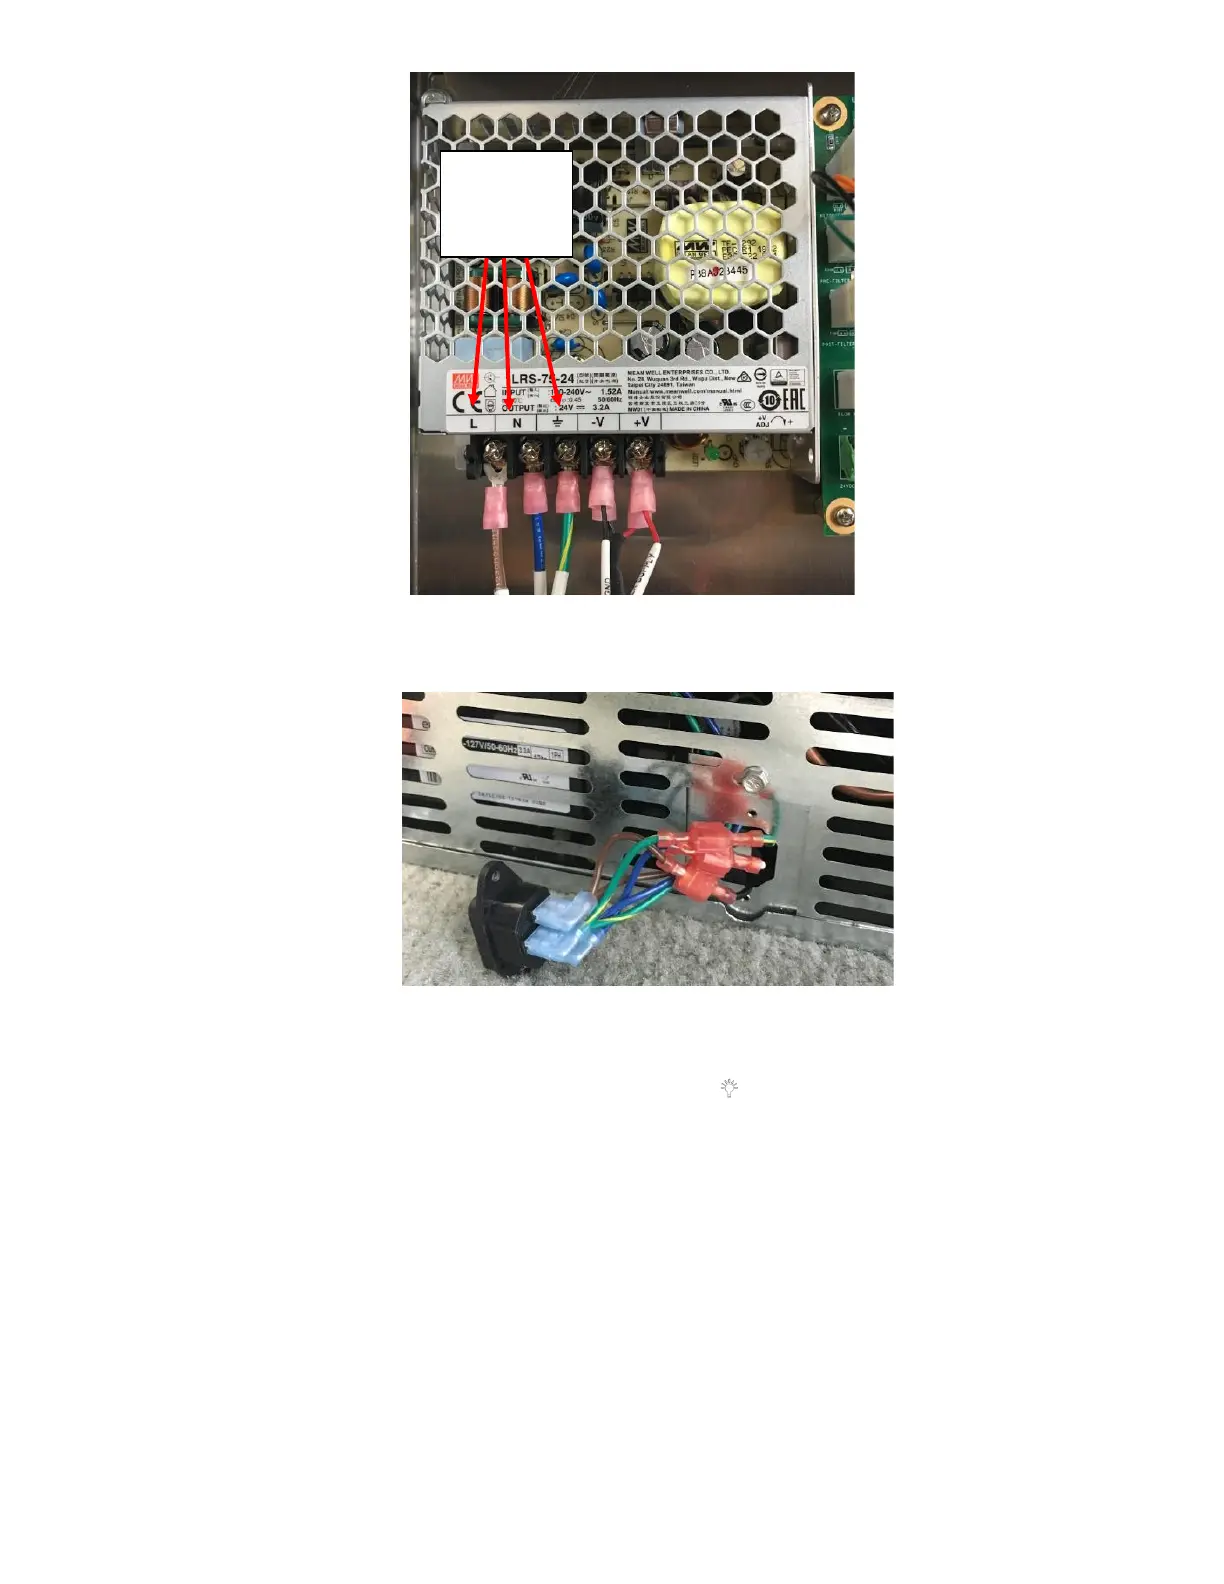
ii. Remove two screws from the fridge power plug to check the connections to the plug as seen in Figure 84.
1.
iii. Plug the Fridge back in. Start the next step within 10 minutes of plugging the unit back in.
iv. Press and hold the “+” icon and then press and hold the “ ” icon for 3 seconds.
v. All sections on the 7-segment led on the UI should illuminate for 3 seconds.
i. If there is a Thermistor Error, “E1” will be displayed. This means the Thermistor is malfunctioning. This
would indicate a malfunctioning Thermistor, replace the Thermistor. See Appendix L: Fridge Thermistor
Replacement Procedure for directions.
ii. If not, it will check the EEPROM, if there is a fault “EP” will be displayed. If EEPROM fault is discovered,
return fridge. This would indicate there is a fault with the Fridge Main Controller Board, replace the
Fridge Main Controller Board. See Appendix K: Fridge Controller Board Replacement Procedure for
directions.
iii. Last check is for a 3-minute delay, “BR” would be displayed. This would indicate there is a fault with the
Fridge Main Controller Board, replace the Fridge Main Controller Board. See Appendix K: Fridge
Controller Board Replacement Procedure for directions.
iv. At this point you will see all of the individual LED sections of the UI lighting up in sequence (sort of racing
across the 7 segment LED display).