Page | 67
4. Reassemble the Tower:
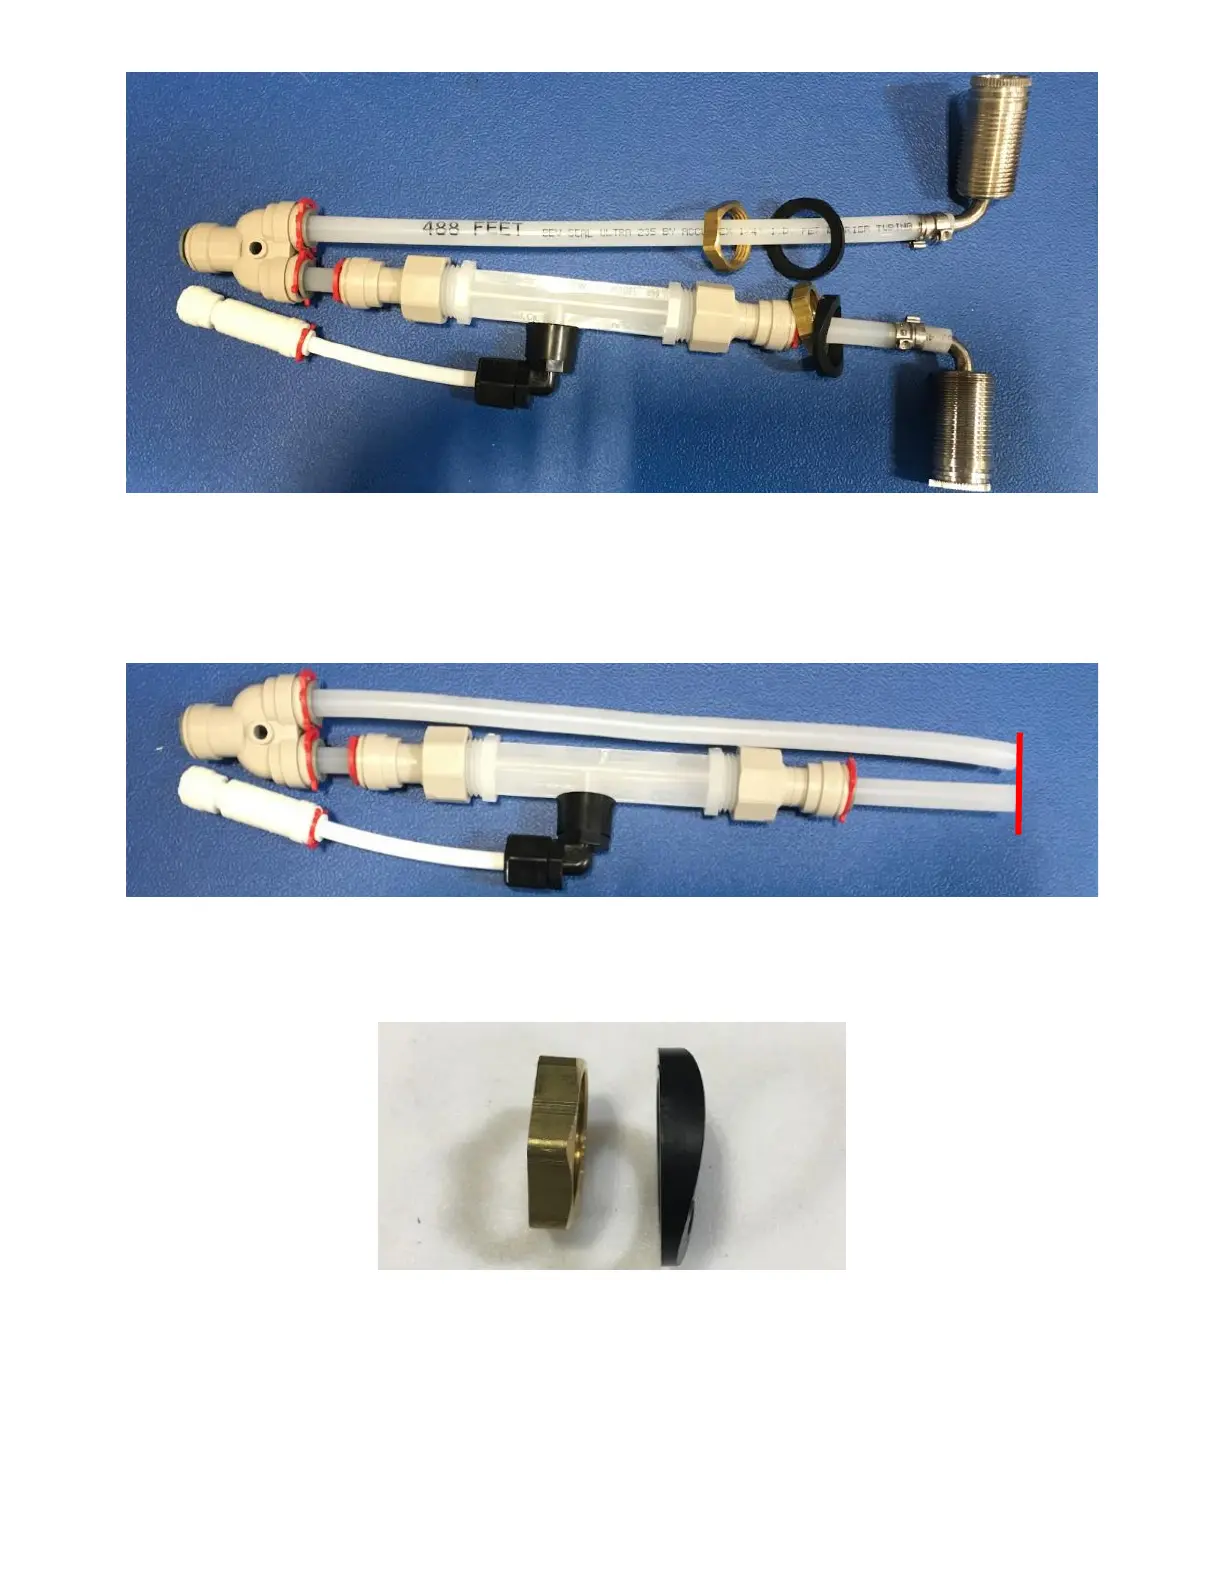
4.1. Install Elbow Shanks and secure each two (2) with Hose Clamps:
4.1.1. Ensure all tubes are fully pushed into their respective push to fit fittings. The open end of the tubes will be
within 0.25-inch of each other if the tubes are all pushed in fully. See Figure H12.
4.1.2. Arrange the Lock Nut and Black Plastic washer removed in the disassembly process so the curved surface on
the Lock Nut and the Black Plastic Washer are facing the same way. If locknut is flat/curved on both sides,
this orientation will not matter. See Figure G13.
4.1.3. Insert a set of Lock Nut and Black Plastic Washer over the tubes on it. Ensure that the curved side on both
the Black Plastic Washer and the Lock Nut are facing towards the tip of the tubes. Ensure that the Lock Nut
goes in first. See Figure H14.