Page | 37
xiii. Once it is verified that the new inverter is functioning as intended, install it onto the Compressor in
reverse order of removing it.
9. Verify correct refrigerant Charge:
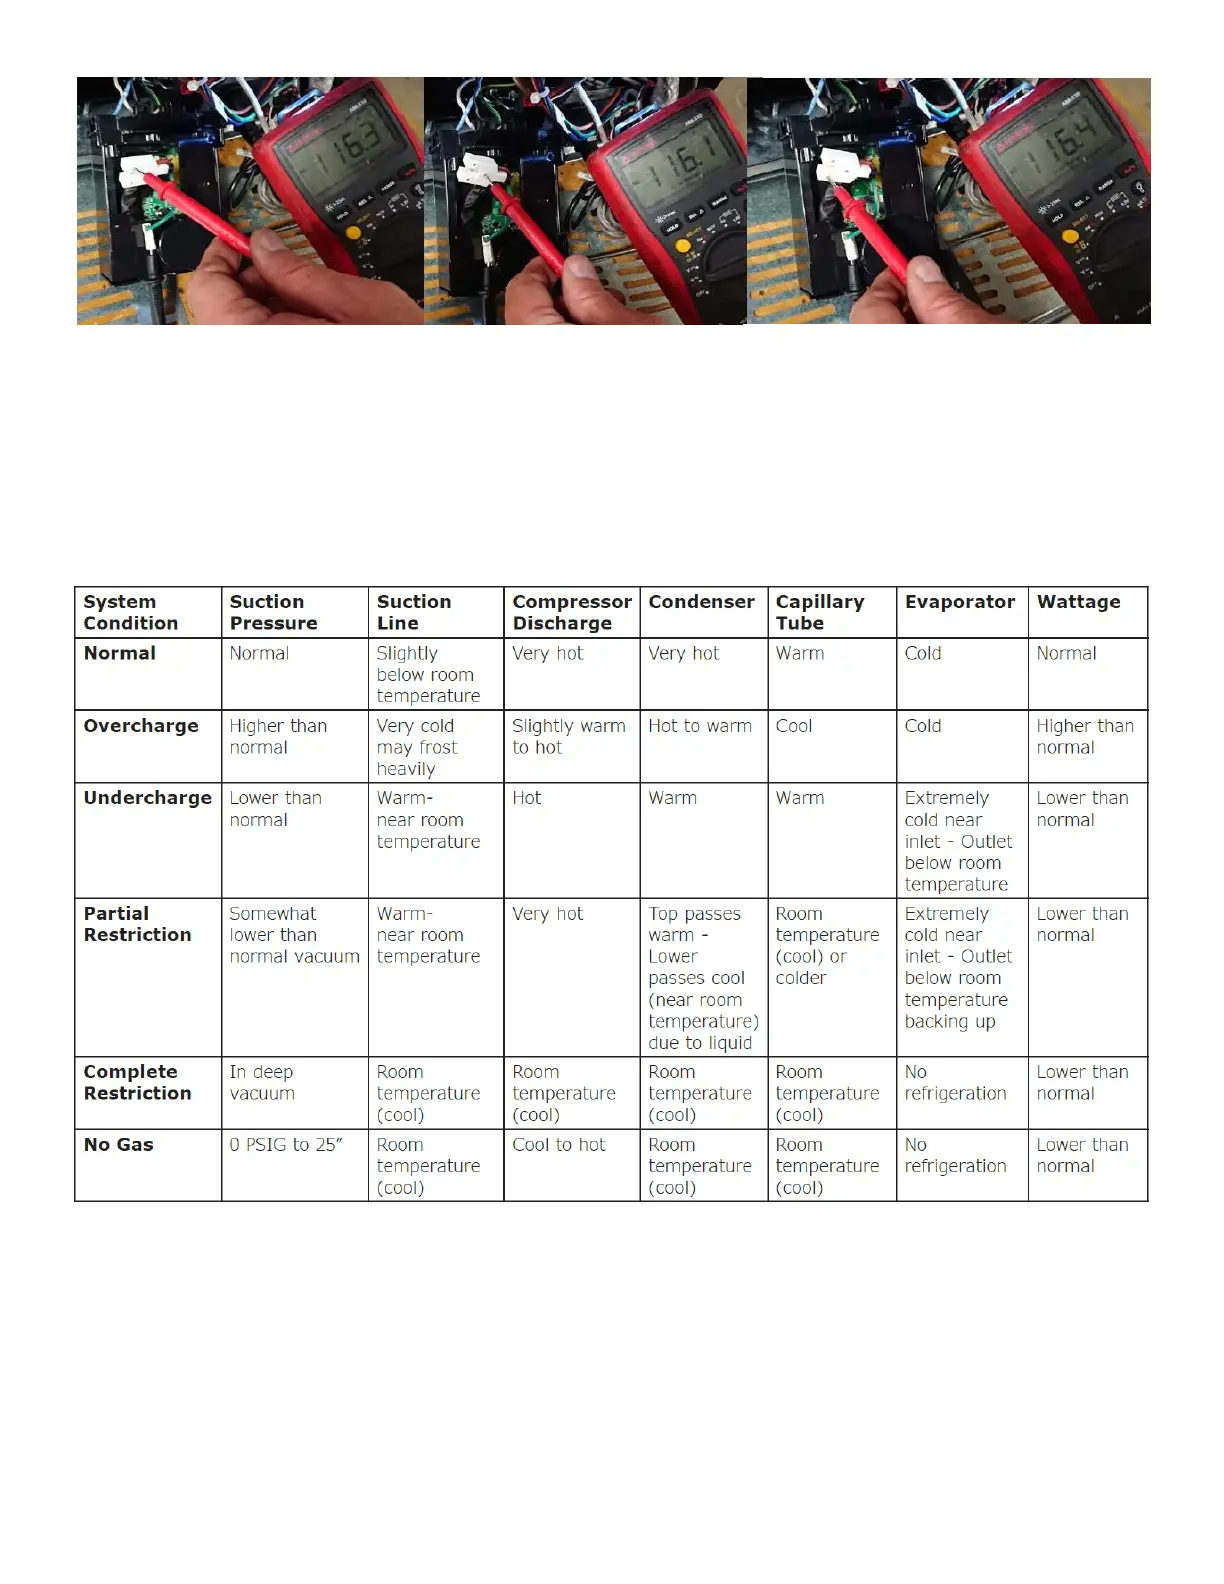
a. Check Suction Line Temperature, Compressor Discharge Temperature, Condenser Temperature, Capillary
Tube Temperature, and Evaporator Temperature. Then use the Refrigeration System Diagnosis Guide to
determine the state of refrigerant charge. See Figure 82.
b. If all the equipment on the Fridge is working properly but it is not cooling down, check the Fridge does not
have too high or too low of an Amp draw:
i. Unplug the Fridge then remove the Rear Enclosure Panel to locate the Power Supply and disconnect the
Spade Connectors from the L-Terminal, the N-Terminal, and the Ground Terminal and wrap it all
individually in electrical tape before continuing. See Figure 83.