Page | 29
f. Press the “ ’’ key once again, it will quit, and your settings will be saved.
g. If all the values were correct to begin with see Fridge Setting Calibration to calculate custom Fridge Settings.
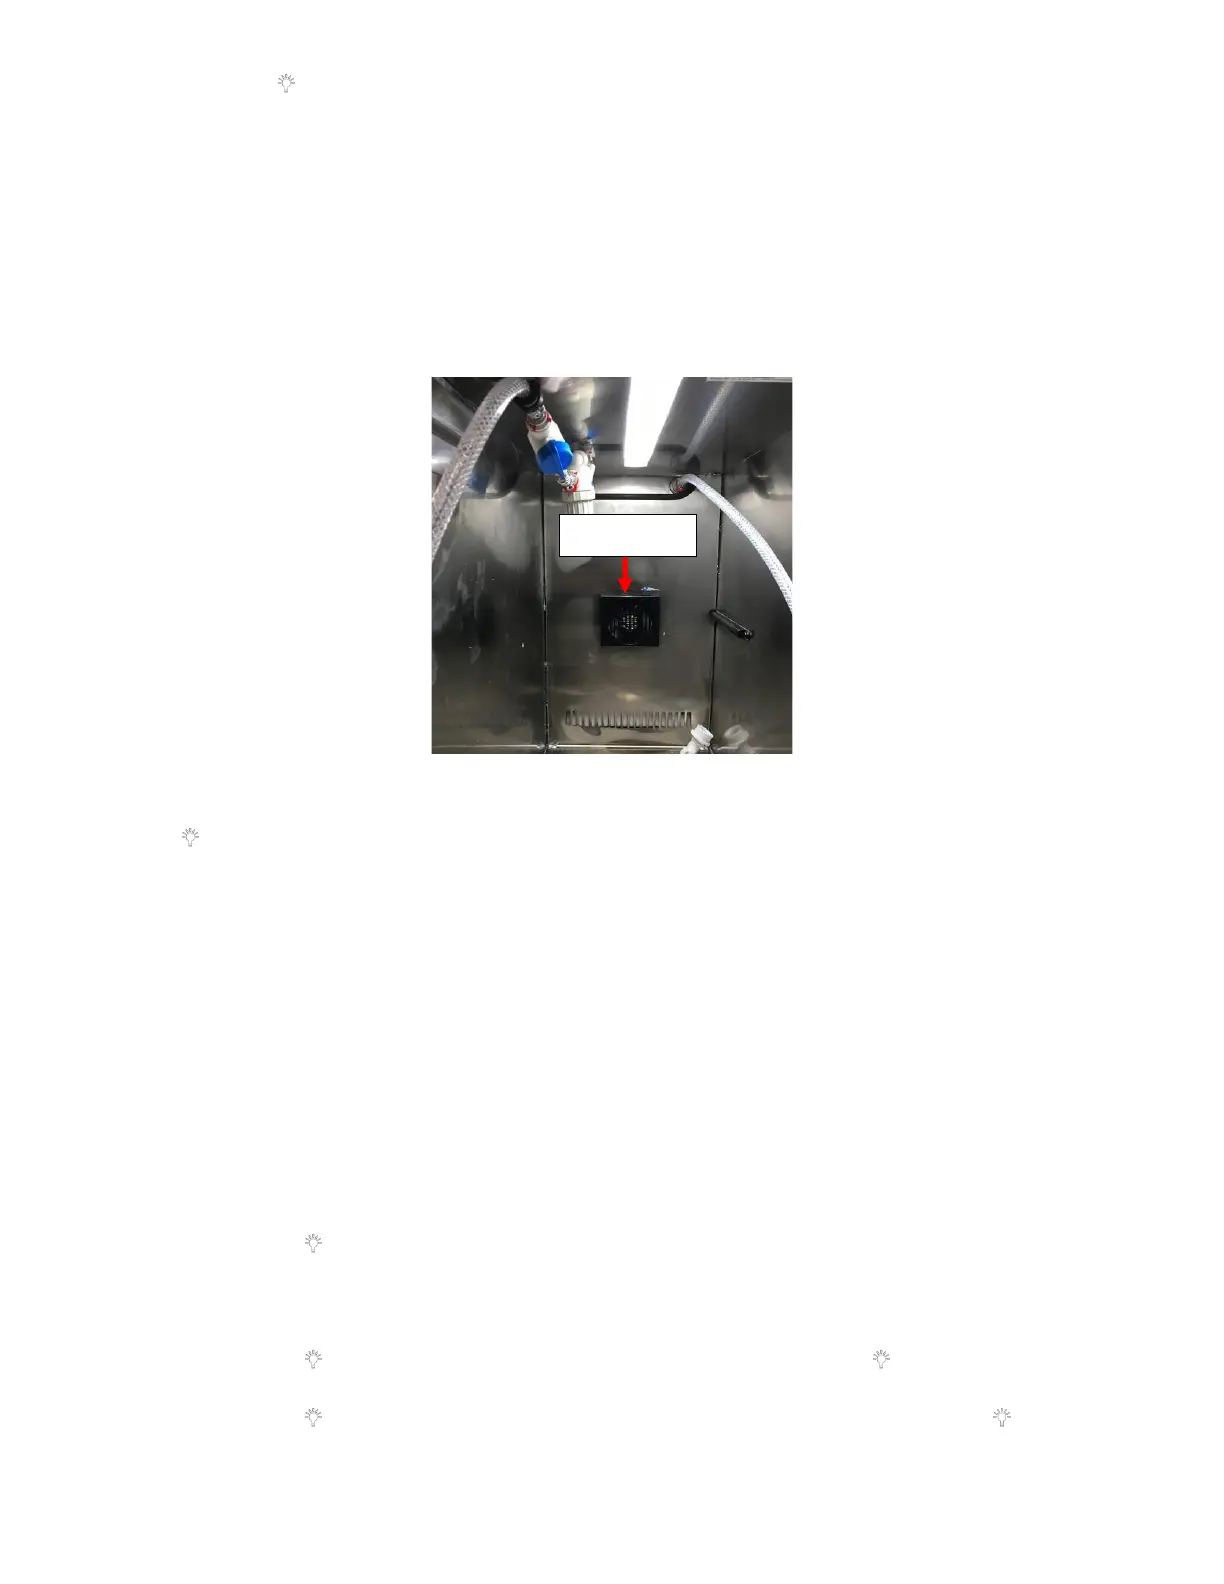
5. Verify that the Evaporator Fan is Installed Correctly:
a. Verify that the Refrigerator Fan is working and sucking in air. If the fan is blowing air then it is installed
incorrectly. See Figure 61.
b. This can be further verified by turning the unit off by unplugging the unit. Then take a close look at the fan
and see if any white writing can be seen on the blade. If White writing can be seen, then it is installed in the
incorrect orientation.
c. If fan is installed backwards, return the unit and request a replacement.
6. Run Built-In Self-Test:
a. Within the first 10 minutes of plugging the unit in press and hold the “+” icon and then press and hold the “
” icon for 3 seconds.
i. All sections on the 7-segment led on the UI should illuminate for 3 seconds.
ii. If there is a Thermistor error, “E1” will be displayed. This would indicate a malfunctioning Thermistor,
replace the Thermistor. See Appendix L: Fridge Thermistor Replacement Procedure for directions.
iii. Then it will check the EEPROM, if there is a fault “EP” will be displayed. This would indicate there is a
fault with the Fridge Main Controller Board, replace the Fridge Main Controller Board. See Appendix K:
Fridge Controller Board Replacement Procedure for directions.
iv. Last check is for a 3-minute delay, “BR” would be displayed. This would indicate there is a fault with the
Fridge Main Controller Board, replace the Fridge Main Controller Board. See Appendix K: Fridge
Controller Board Replacement Procedure for directions.
7. Fridge Setting Calibration:
a. Set the Offset Value at 00 to get baseline reading:
i. Press the “+’’ key for more than 5 seconds, the display board will enter the service menu and will display
“Ct” (means Current Temp).
ii. Press the “ ” key once, it will display the Current Temperature the unit is running at. Verify that the
temperature is displayed. If the temperature is not displayed, there is an issue with the fridge thermistor.
In this case the display will show E1. This would indicate a malfunctioning Thermistor, replace the
Thermistor. See Appendix L: Fridge Thermistor Replacement Procedure for directions.
iii. Press the “ ’’ key once, it will display “dF” (means defrosting). Press the “ ” key once again, it will
display “00-99” minutes of the Defrost Duration.
iv. Press the “ ’’ key once, it will display the “CU” (means Accumulation). Then press the “ ’’ key once
again, it will display “00-99” hours of the Cumulative Working Time of Compressor.