EasyManua.ls Logo

Wunder-Bar JoeTap NITCOM - Page 66

Default Icon
95 pages
Print Icon
To Next Page IconTo Next Page
To Previous Page IconTo Previous Page
Loading...
Page | 66
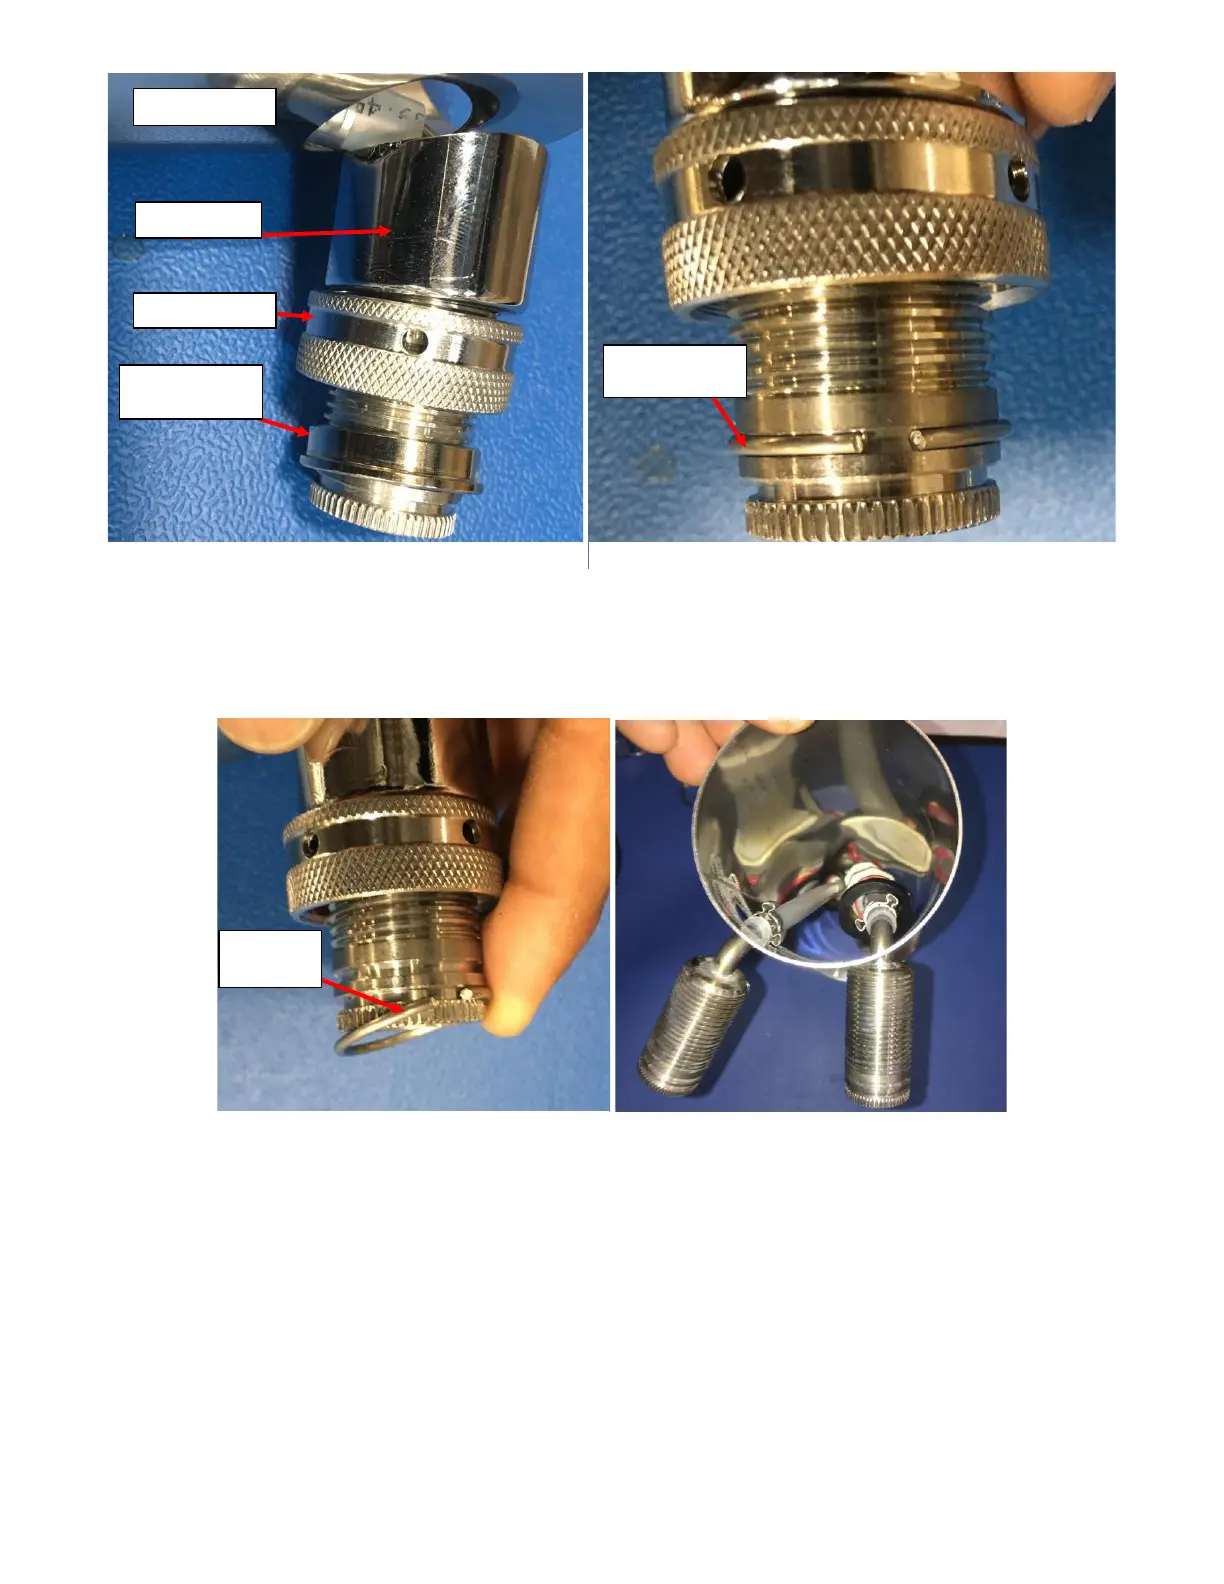
3.3.2. Pull the entire snap Ring out. Be careful not to stretch the snap ring during this procedure. Be careful not to
stretch the snap ring during this procedure. See Figure H9.
3.3.3. With the snap ring removed the Curved Spacer, Elbow Shank Nut, and the Elbow Shank Nut can now be
removed. At this point the entire Tower Tubing Assembly should now be removeable. See Figure H10.
3.3.4. Remove the Tower Tubing Assembly for inspection. Identify leaks and replace parts as needed. See Figure
H11.
Figure H7: Elbow Shank components pulled back to expose
Snap Ring.
Figure H9: Snap Ring removed from Elbow Shank.
Curved Spacer
Elbow Shank Nut
Elbow Shank
Collar
Snap Ring
removed
Snap Ring
Tower Body
Figure H8: Elbow Shank Snap Ring shown.
Figure H10: Tower Tubing Assembly ready for
removal.

Table of Contents

Related product manuals