Scan
Xerox
®
B205 Multifunction Printer
User Guide
114
Scan to Network PC
Make sure that your printer is connected to a network. Make sure the scan driver has been installed and
scan has been enabled. For instructions, refer to Installation and Setup.
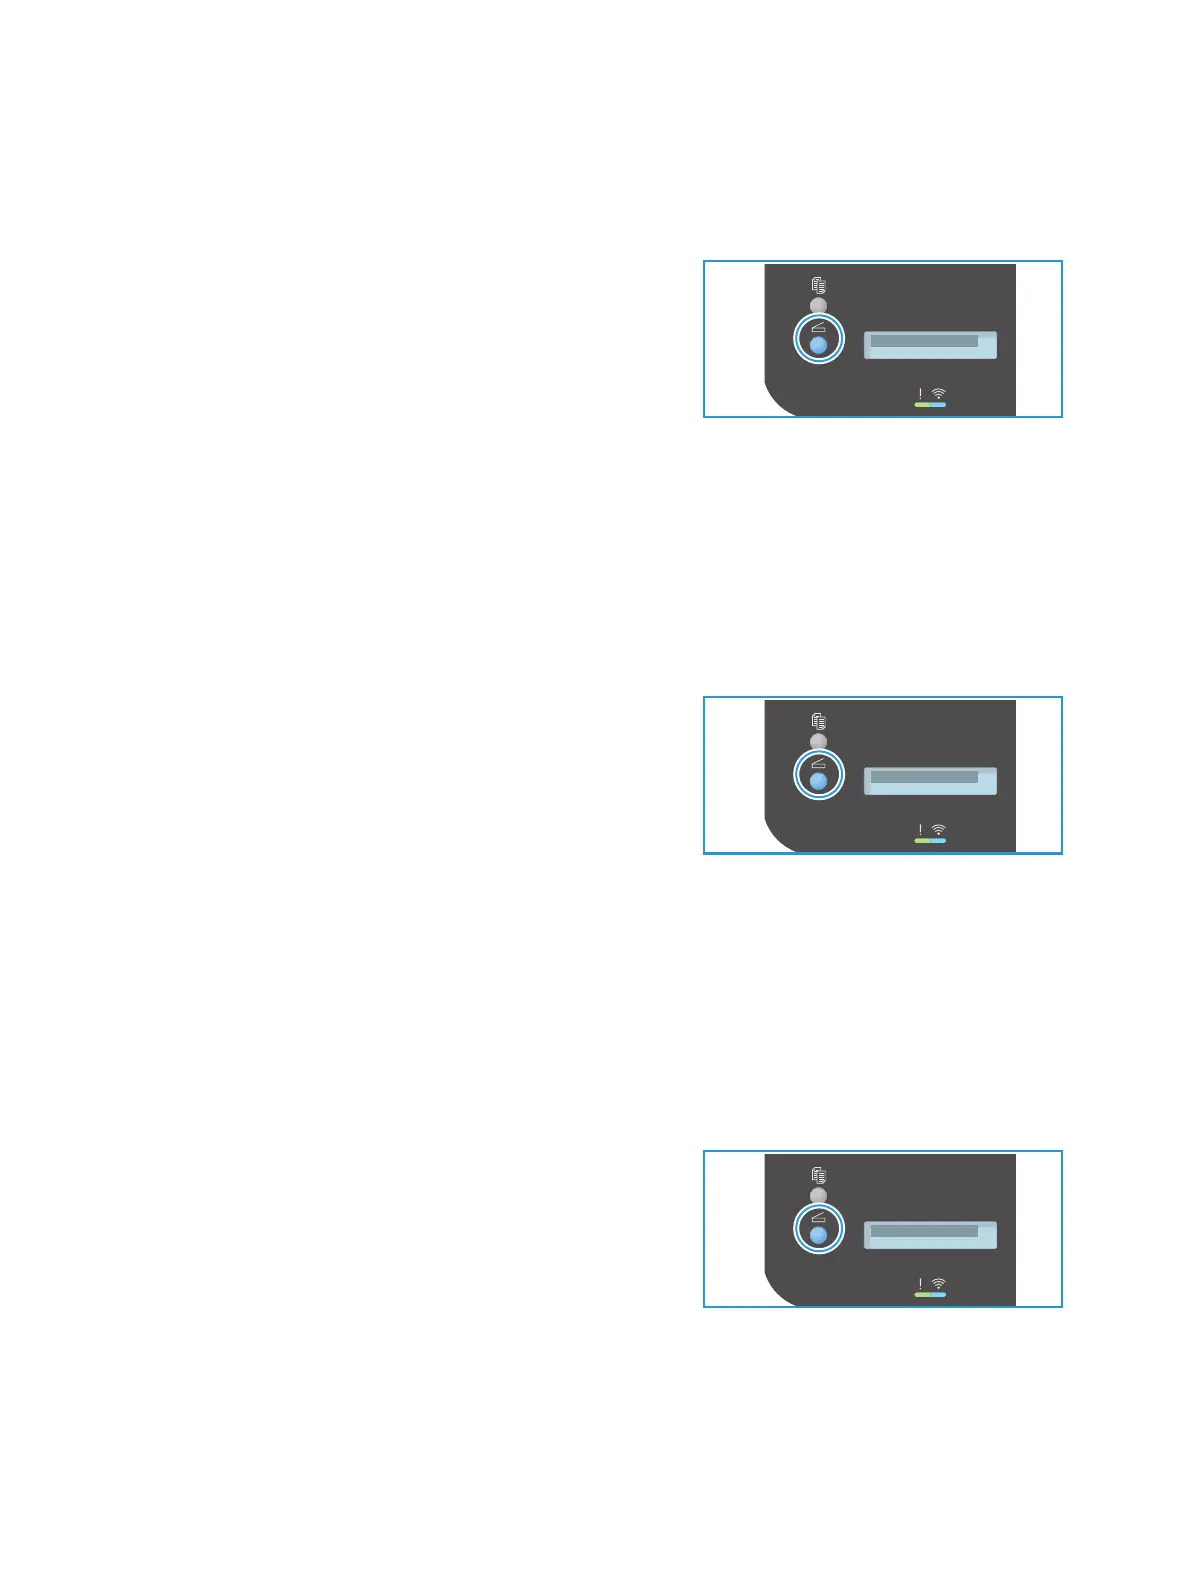
1. At the printer control panel, press the Scan button.
2. Press the up/down arrows to display Scan to PC and
press OK.
3. Press the up/down arrows to display Network PC and
press OK.
Note: If you see the Not Available message, check the
connection and settings.
4. In the Destination List that appears, press the up/down arrows to find the name of the computer
that you want to receive the scan and press OK.
Scan to WSD
Using this option you can scan to applications or computers that support Microsoft's Web Services for
Devices. Make sure the WSD scan settings have been configured. For instructions, refer to Installation
and Setup.
1. At the printer control panel, press the Scan button.
2. Press the up/down arrows to display Scan to WSD and
press OK.
3. Press the up/down arrows to display the scan destination
you want and press OK.
4. In the Destination List that appears, press the up/down
arrows to find the name of the computer that you want to receive the scan and press OK.
5. At the Profile List prompt, which is confirming where you want your scan file stored on your
computer, press the up/down arrows to select the correct location/event profile and press OK.
Scan to Network
Use this option to scan an image and send it to shared folder on an SMB server, or an FTP server. The
destination pathway must be added as a Scan To Destination for a contact in the Address Book. Make
sure the shared folder or FTP location is configured and the settings included in the Address Book
contact For details about using and editing the Address Book, refer to Address Book.
1. At the printer control panel, press the Scan button.
2. Press the up/down arrows to display Scan to Network
and press OK.
3. Press the up/down arrows to find the name of the
contact you want to receive the scanned images and
press OK.

 Loading...