194 7 Maintenance
7.9 Adjusting Color Density
When colors look off, adjust the color density by performing color calibration.
Color calibration allows you to maintain the consistency of print quality.
To perform color calibration, print the Calibration Chart from the printer, compare the chart
with the supplied “Color Sample for gray level correction” (hereinafter referred to as “Color
Sample”) to determine the correct density, and enter the value on the printer using the
control panel.
By performing the calibration, you can adjust the tones of all process colors (cyan, magenta,
yellow, and black) in areas of high, middle, and low density.
If you want to return the values of all colors to defaults, set all values to "0". Setting the
values to "0" disables the color calibration during printing.
Note
• If color calibration does not help to maintain the color consistency, contact our Customer Support Center
or your dealers.
• Setting the density values to "0" does not always provide the print quality of the printer right after you
purchased it. Using the printer for an extended period of time can cause print quality to change, affected
by factors such as the deterioration of the printer, change in the installation environment, and the
number of printed sheets to date.
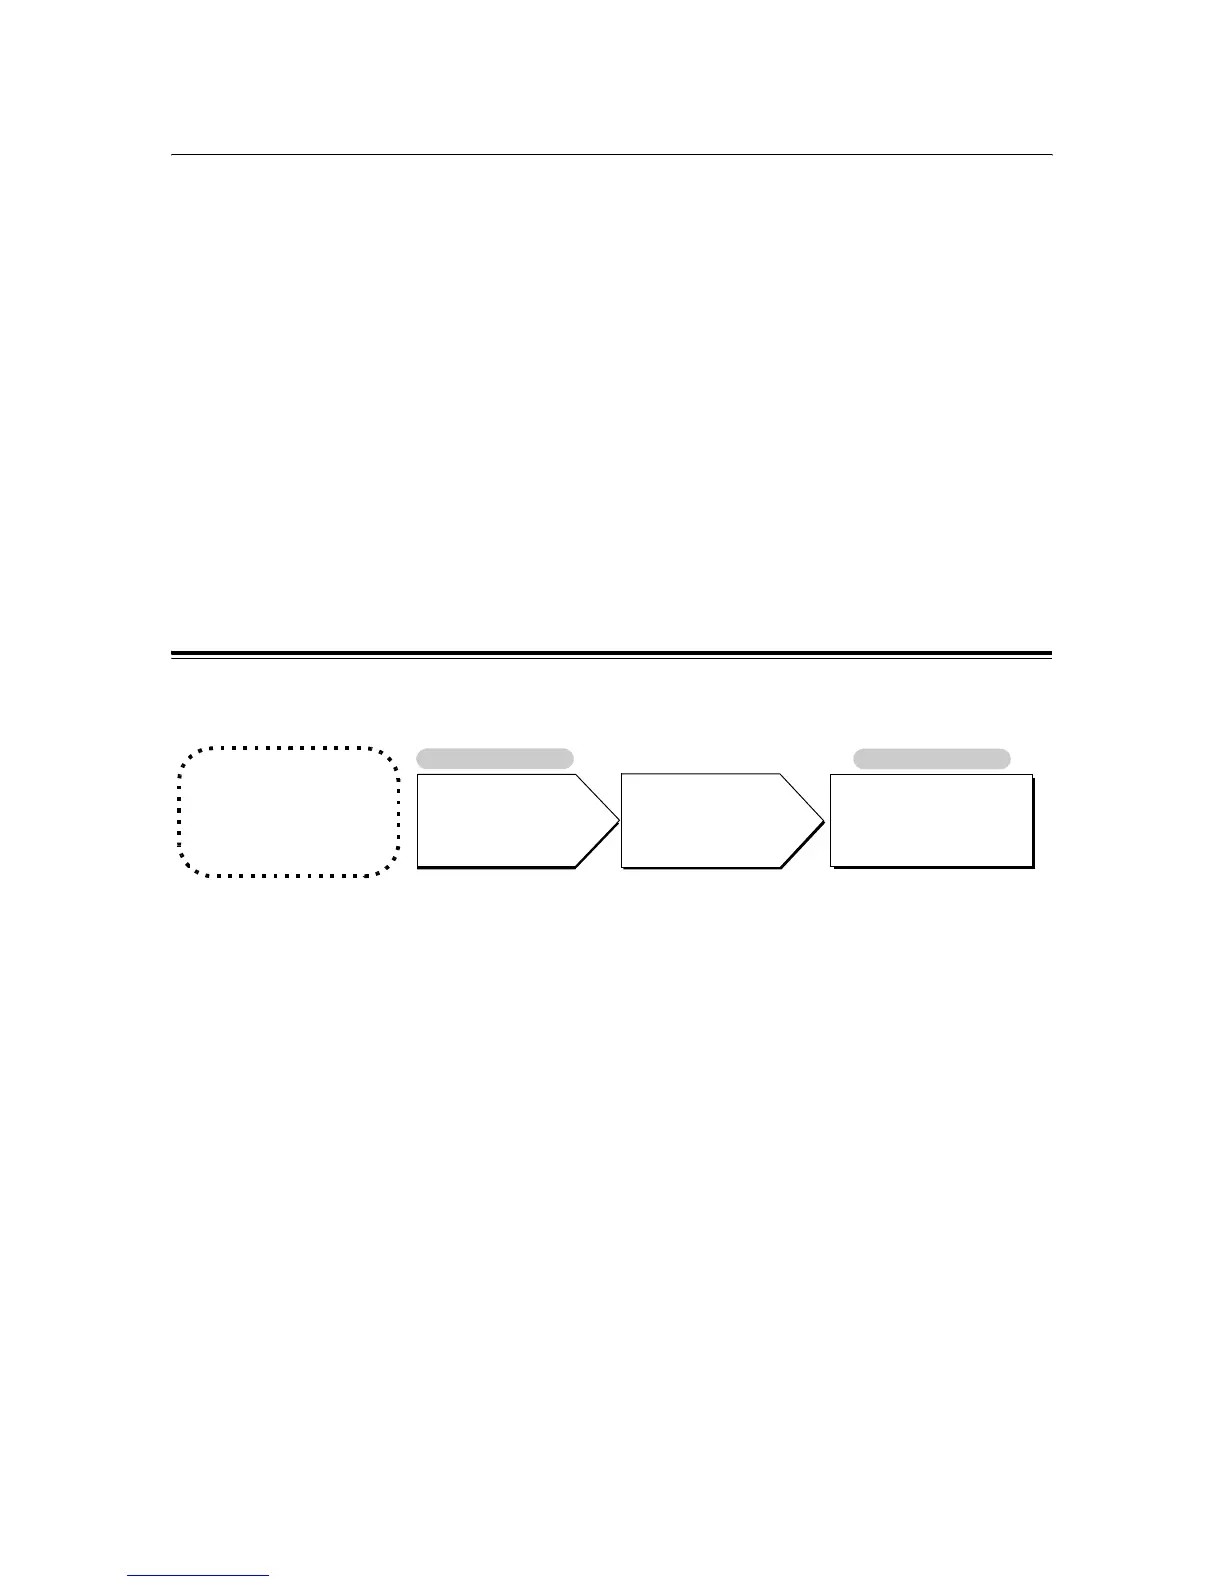
Calibration Procedure
The following is the basic procedure for color calibration.
Before Getting Started
• Have the Color Sample
ready.
• Load A4-size paper in the
bypass tray in portrait
orientation.
Print the Calibration Chart.
Control Panel
Calculate the density of
each color based on
the Calibration Chart
and Color Sample.
Enter the density values.
Control Panel
Refer to
"Printing the
Calibration Chart" (P.
Refer to
"Obtaining the Density
Values" (P. 195)
Refer to
"Entering the Density
Values" (P. 198)
Refer to
"Loading Paper in the
Bypass Tray" (P. 81)

 Loading...


