60-12 Body
Body
60
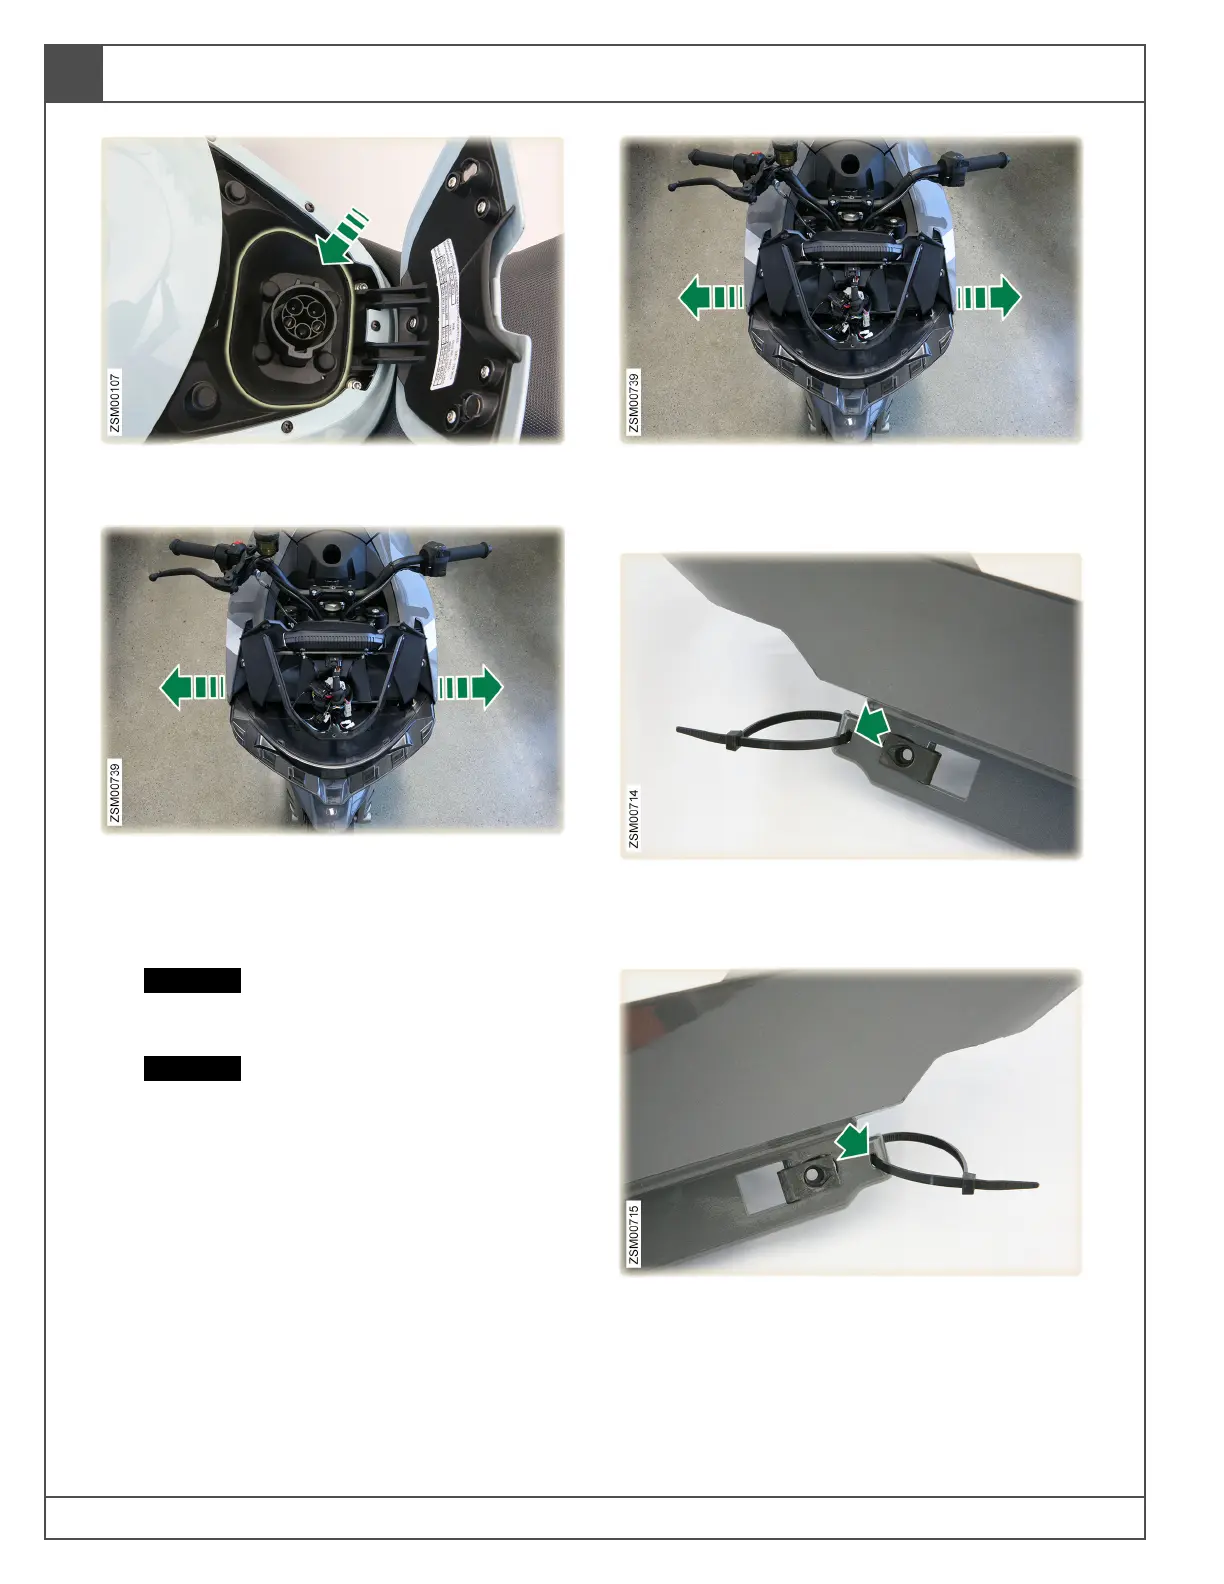
16. Push charger port rubber boot down around
charger port base.
17. Slightly spread the outer fairing arms
around the headlight during removal to
keep from damaging painted surfaces.
18. Remove tank from motorcycle.
CAUTION: Take extra care not to scratch the
painted surfaces of the outer fairing arms
that are a snug fit around the headlight.
CAUTION: Rotate tank assembly to position
the outer fairing arms low enough to pass
under the handlebars without damaging the
painted surfaces.
Installation
1. Installation is the reverse of the removal
procedure, with the exception of the following:
2. Slightly spread the outer fairing arms
around the headlight during installation to
keep from damaging painted surfaces.
3. Prior to installing the left outer side fairing,
install cable tie through the left outer fairing
arm cable retainer hole.
4. Prior to installing the right outer side fairing,
install cable tie through the right outer fairing
arm cable retainer hole.