23
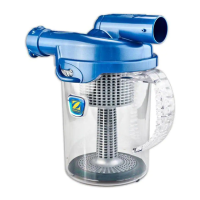
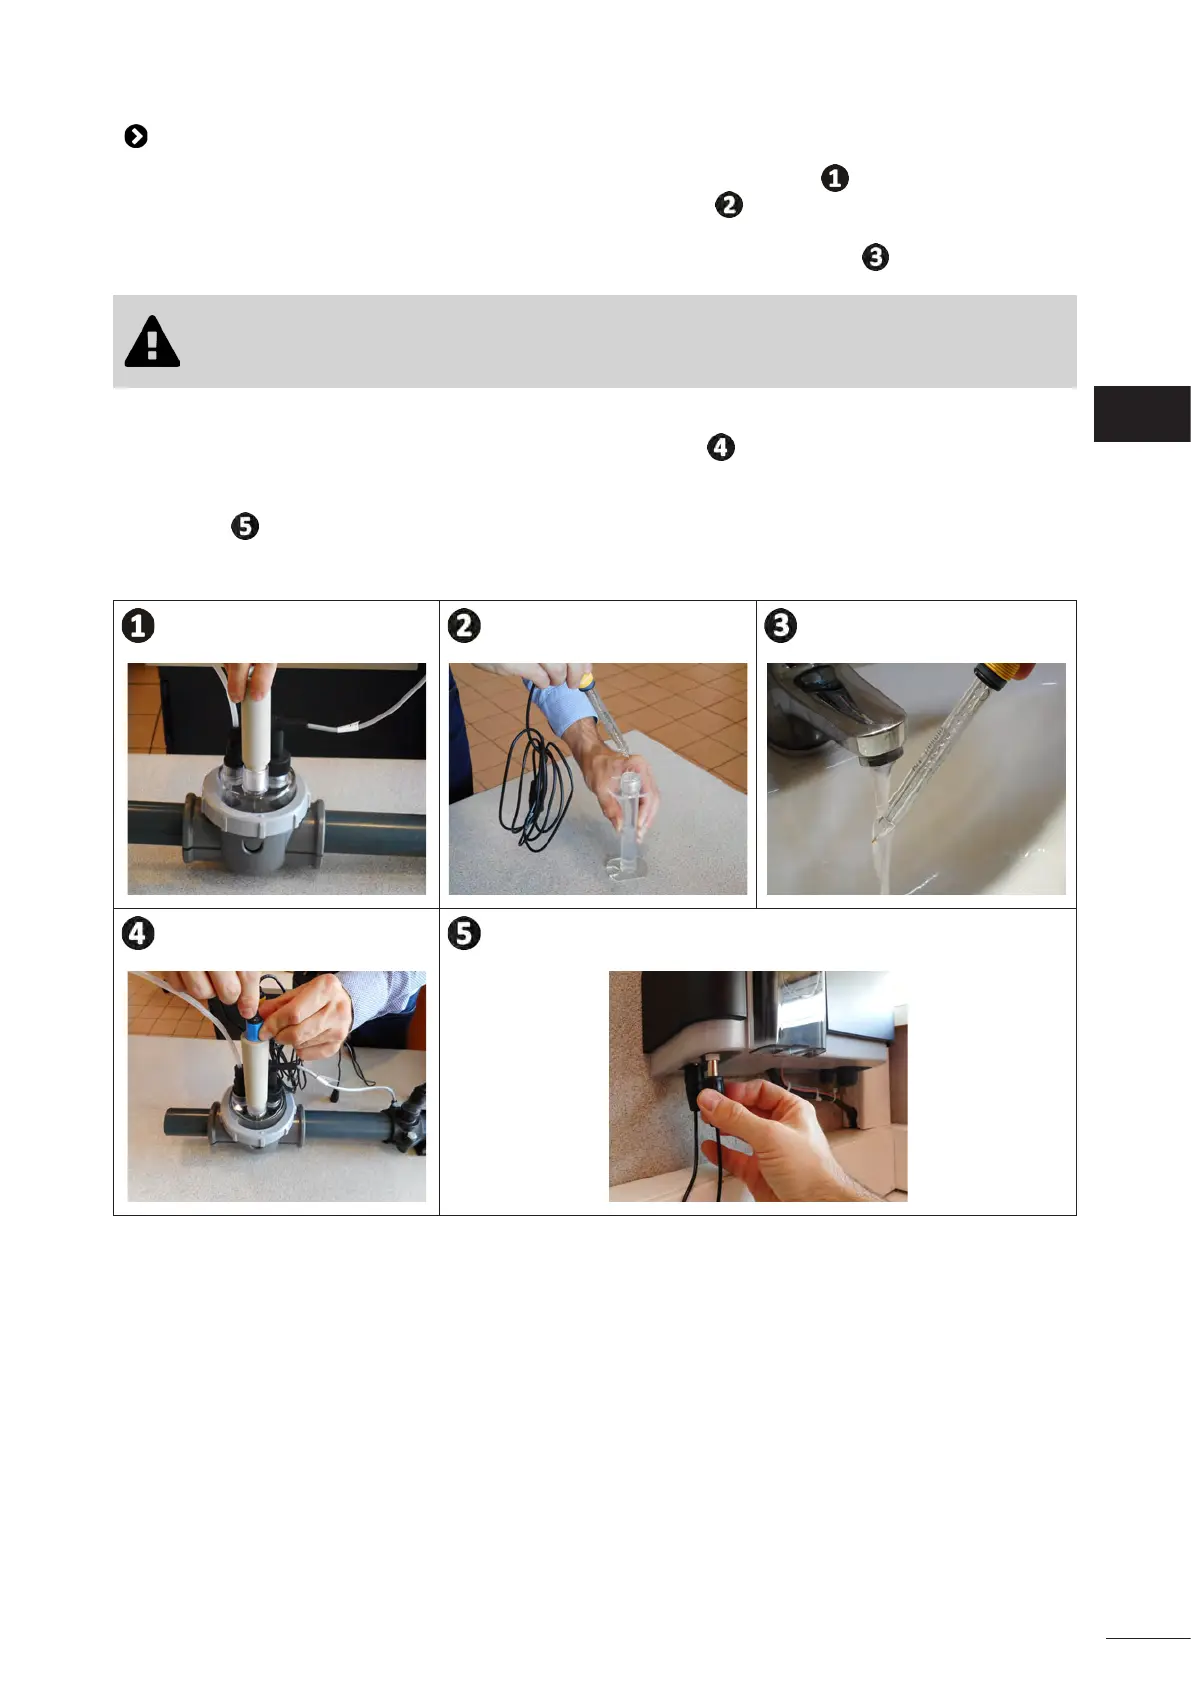
3.4 I Installing the sensors on the POD kit
• Screw the one or more threaded sensor holders onto the POD kit, see gure .
• Carefully unscrew the protecon tube from the sensor, see gure . Keep the protecon tube for storing
the sensor over winter.
• Rinse the end of the sensor with tap water and shake o excess water, see gure .
• Never wipe the sensor using a cloth or paper ssue, as this may damage it.
• A badly-installed sensor may give false readings and cause inappropriate operaon of the
appliance. Neither the manufacturer nor the appliance shall be liable in this event.
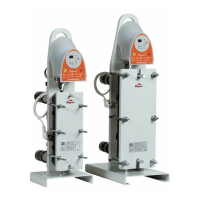
• Screw the sensor into the sensor holder by holding the BLUE or YELLOW p in one hand and the black p
in the other hand to prevent the cable from tangling, see gure .
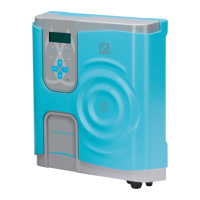
• Once the sensor has been installed on the POD kit, it can be connected to the BNC socket (BLUE = pH;
YELLOW = ORP) of the pH Link or Dual Link module, see “2.5.2 Idenfying the funcons to be connected”,
see gure
.
• The sensor must then be calibrated, see “5.3 I Calibrang the sensors (if an oponal “pH Link” or “Dual
Link” module has been installed)”.
EN