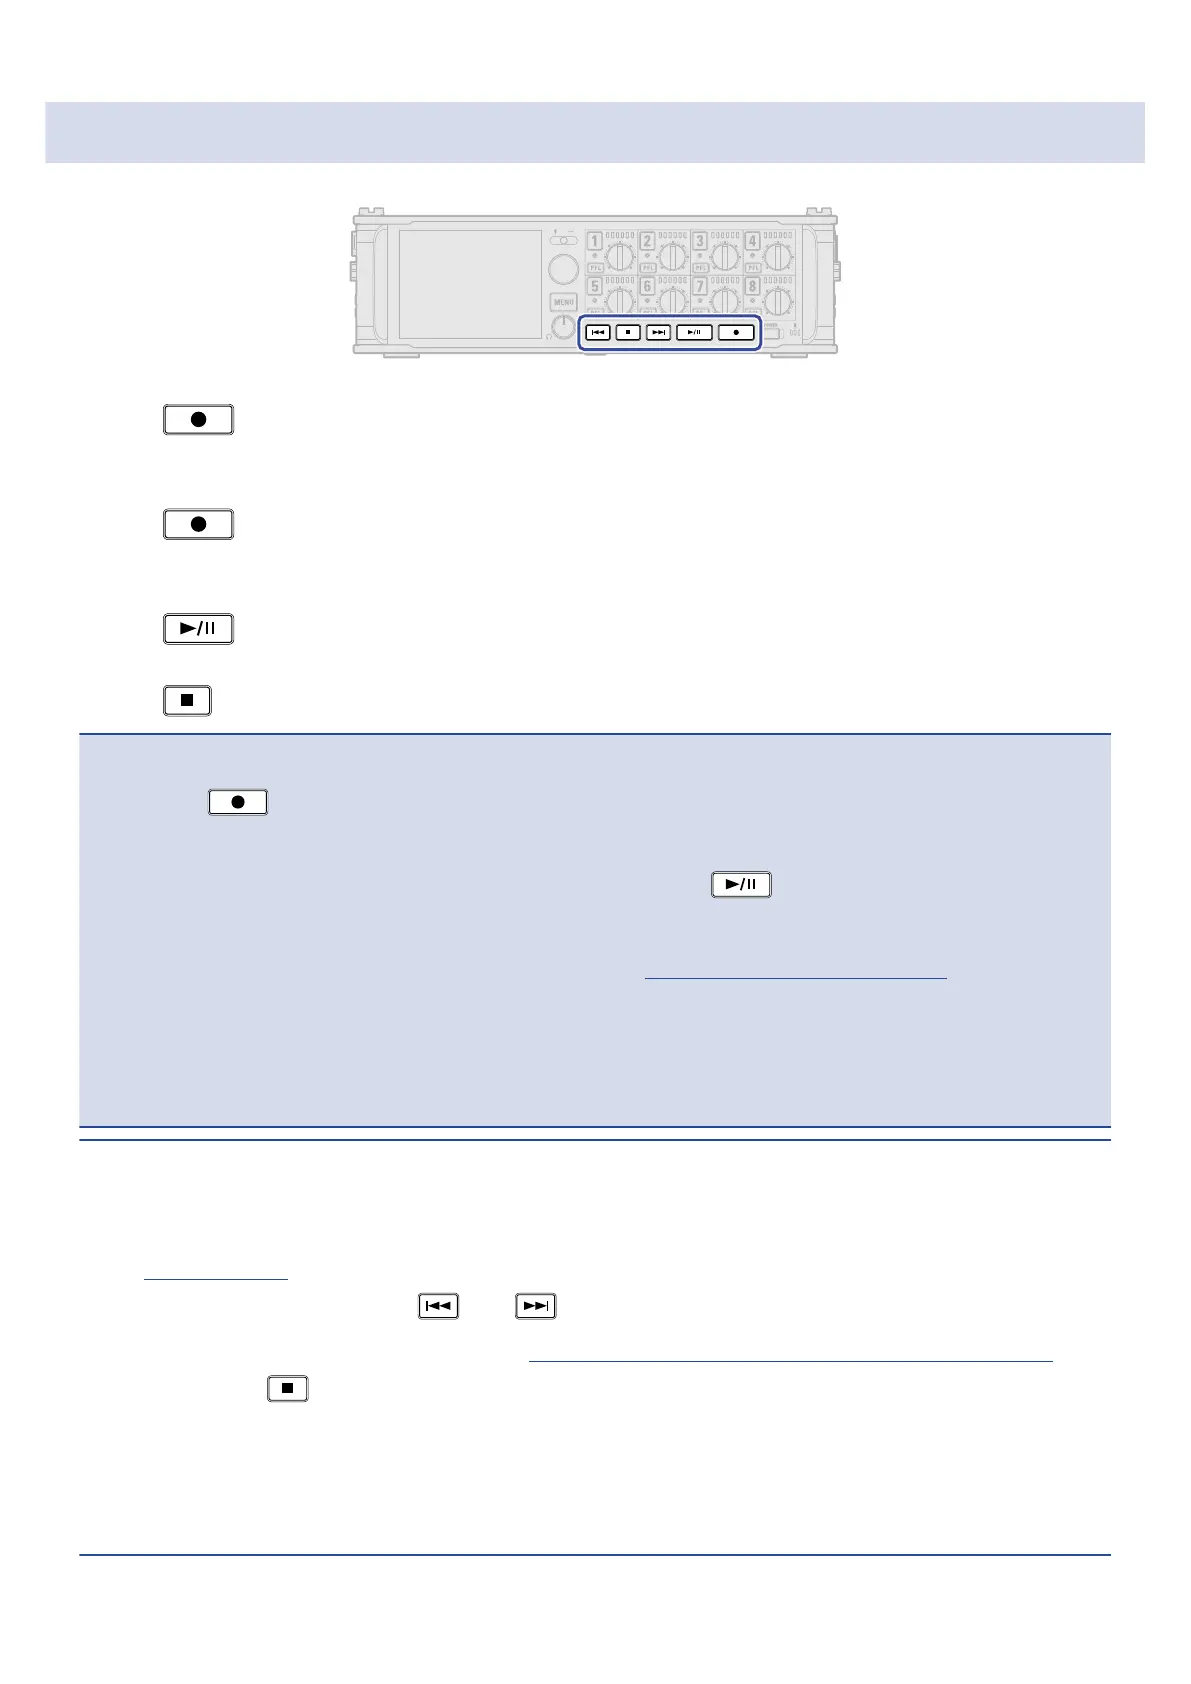
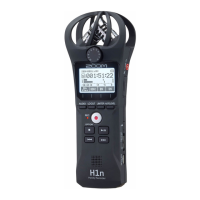
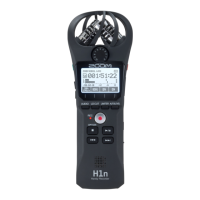
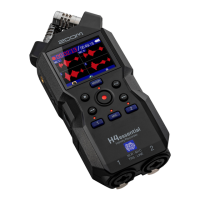
Recording
1. Press .
This starts recording.
2. Press to start a new take when recording.
This will end the current take and start a new take while continuing to record without interruption.
3. Press to pause.
4. Press to stop.
NOTE:
• Pressing during recording is only possible after recording for at least a second.
• When pausing, pausing will occur at a whole second increment.
• When recording is paused, a mark is added at that point. Press to resume recording.
• A maximum of 99 marks can be added to a take.
• If the maximum file size is exceeded during recording (→Maximum file size (File Max Size)), recording will
continue in a new take with a number that is one higher. No gap in sound will occur between the two
takes when this happens.
• When recording on 2 SD cards simultaneously, if recording should stop on one because it runs out of
space, recording will continue on the other SD card without interruption.
HINT:
• If the timecode function is enabled, recording will start from frame 00 (00 or 02 when using drop frame)
and files will always end exactly on a second. This makes synchronization easy when editing later.
(→Using timecode)
• During playback, you can press and to jump to points where marks have been added.
• You can also add marks without pausing. (→Adding marks when recording/playing (PLAY Key Option))
• Press and hold when the HOME screen is open to check the name that will be given to the next take
recorded.
• Files are automatically saved at regular intervals during recording. Even if the power is interrupted or
another unexpected problem occurs during recording, an affected file can be restored to normal by
playing it with the F8n Pro.
194