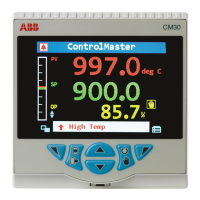
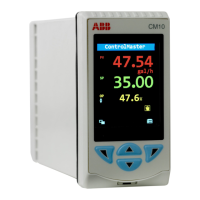
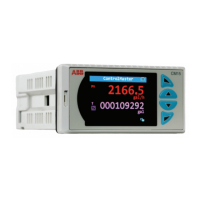
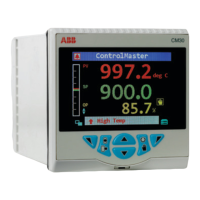
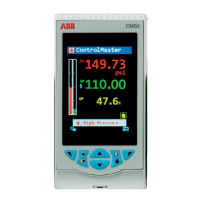
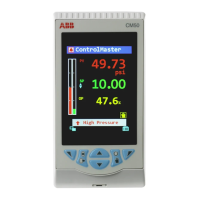
ControlMaster CM30, CM50 and CMF310
Universal process controllers,
1
/4,
1
/2 DIN and fieldmount 4 Installation
12 IM/CM/ED–EN Rev. X
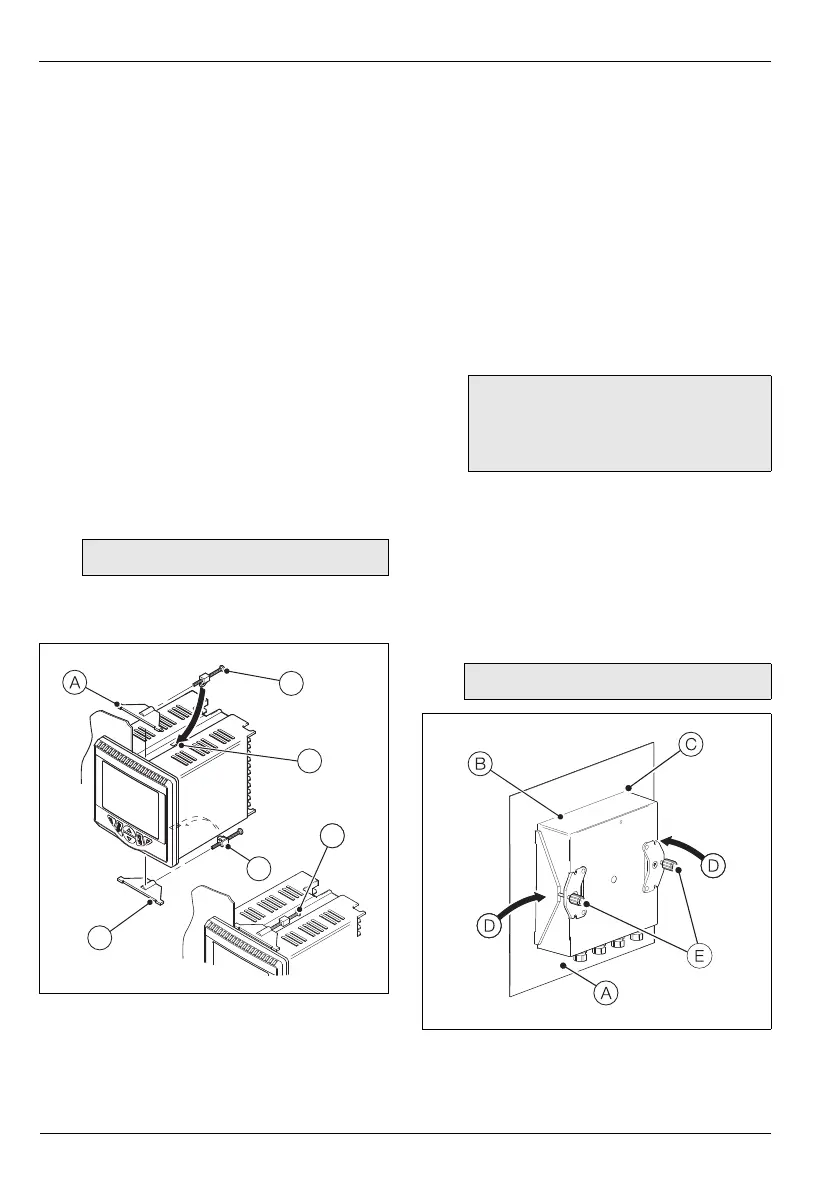
4.3 Mounting
4.3.1 CM30 and CM50 Controllers
ControlMaster CM30 and CM50 controllers are
designed for panel mounting. For NEMA4X
protection, a panel thickness of 2.5 mm (0.1 in.) is
required.
To panel-mount the CM30 / CM50 controller:
1. Cut a hole of the correct size for the
controller in the panel (see page 8 for
dimensions).
2. Insert the controller into the panel cut-out.
Referring to Fig. 4.9:
3. Position the upper panel clamp
A at the
top front of the case against the panel.
4. Locate the panel clamp anchor
B in slot
C.
5. Tighten the panel clamp anchor screw
D
until panel clamp A is secured against the
panel (torque 0.1 Nm [0.9 lbf/in.]).
6. Repeat steps 3 to 5 to fit the lower panel
clamp
E and panel clamp anchor F.
4.3.2 CMF310 Controller
ControlMaster CMF310 controllers can be panel-,
pipe- or wall-mounted. For NEMA4X protection, a
panel thickness of 6 mm (0.236 in.) is required.
(For pipe-mount details, see Fig. 4.6, page 10.
For wall-mount details, see Fig. 4.7, page 11.)
To panel-mount the CMF310 controller:
1. Cut a hole of the correct size for the
controller in the panel (see page 9 for
cut-out dimensions).
Referring to Fig. 4.10:
2. Insert the controller
B into the panel
cut-out
C.
3. Position the panel clamps
D at each side
of the case against the panel.
4. Tighten each panel clamp anchor screw
E
until both panel clamps D are secured
against the panel (torque 0.5 to 0.6 Nm
[4.42 to 5.31 lbf/in.]).
Note. Do not overtighten the screw.
Fig. 4.9 Mounting Details – CM30 / CM50 Controllers
Note. It may be necessary to cut a
notch out of the panel at position
A to
accommodate the small rod on the lower
face of the controller
B.
Note. Do not overtighten the screws.
Fig. 4.10 Mounting Details – CMF310 Controllers