II K C-1
Appendix C - Quick Installation & Commissioning guide
➊
ENTER
MENU
RESET
LOC
REM
➋
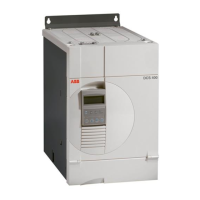
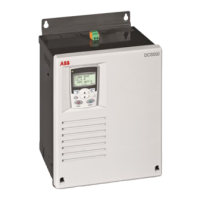
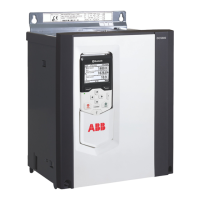
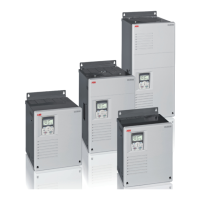
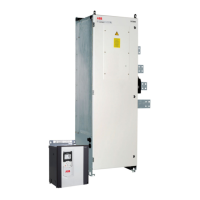
DCS 400
Quick Installation & Commissioning Guide
Before Starting Installation
CHECK BOX CONTENTS: DCS 400, Manual, Mounting Template, Quick Inst. & Commissg. Guide
CHECK INSTALLATION SITE: See Manual
TOOLS NEEDED: Screwdriver, Torque wrench
FROM MOTOR NAMEPLATE: Armature Current Nominal, Armature Voltage Nominal, Field Current
Nominal, Field Voltage Nominal, Base Speed
Note! This Guide is only for settings basically parameters of a EMF controlled motor
Take into account the Safety instructions in the Manual chapter 5!
STOP ! ENSURE MAINS SUPPLY TO INSTALLATION IS OFF.
ENSURE MOTOR IS SUITABLE FOR USE WITH DCS 400.
Packing box lid contains wall mounting template.
Remove it from the box.
DCS 400 should ONLY be mounted vertically on a
smooth, solid surface, free from heat, damp and
condensation. Ensure minimum air flow gaps.
at the bottom:
20…140A – 100mm
180…820A – 150mm
on top: 20…140A – 150mm
180…820A – 250mm
at the sides:
20…260A – 5mm
315…820A – 10mm
Position DCS 400 onto fixings and securely tighten in
all four corners.
Note! Lift DCS 400 by its chassis and not by its cover.
Cover
Chassis
3
➍
➎
6
X8
1102345678912345678 12345123456789 12
1234
X98
X2 Analogue In/Out X3 Encoder X4 Digital In X5 Digital Out TxD RxD
X10
12
1234
X1 Tacho
Electr. supply
115...230V ~
Danger ! Safety instructions
must be followed
SDCS-CON-3
Power part
20...550A
C1 U1 V1 W1 D1
ENTER
MENU
RESET
LOC
REM
115/230V ~
Fan
M
230...500V ~
OFF
STOP ! CHECK THE INSULATIONS OF MOTOR AND MAINS AND MOTOR CABLES
MOTOR AND MAINS CONNECTION
- Connect the motor cable for armature to the
terminal block marked C1 and D1.
- Connect the motor cable for field to the termi-
nal block marked X10:1 / 2.
- Connect the mains cable to the terminal
block marked U1 V1 W1.
- Connect power supply for electronic to the
terminal block marked X98:3 / 4.
- Connect power supply for fan on
the top of the DCS 400.
ANALOGUE AND DIGITAL I / O CONNECTION
Strip off the insulation from all signal cables i.e.
tacho or encoder cable and other analogue and
digital input / output cable.
Connect the screen to earthing plate of DCS
400.
Ensure proper Earthings.
DCS 400 does not carry internal fusing.
NOTE! Please ensure correct fuses are installed at the supply.
STOP ! CHECK that starting the motor does not cause any danger. If there is a risk of
damage to the driven equipment in case of incorrect rotation direction of the motor, it is
recommended having the driven equipment disengaged when first start is performed.