5-26 – Main Rotor Track & Balance 5 Revision 3, Oct 2012
The analyzer will now direct the user to “Perform FOD check and start aircraft per flight
manual”, refer to the aircraft’s flight manual for all aircraft starting and operational
instructions. This screen allows you to view the current main rotor RPM. When the aircraft
has been started and RPM is stable, press [ENTER] to continue.
The [F2] “Swap Job” key allows you to return to the Main Menu without rebooting the
analyzer. This allows you to quickly and easily switch between various jobs.
5.3.7. – Select Aircraft Condition
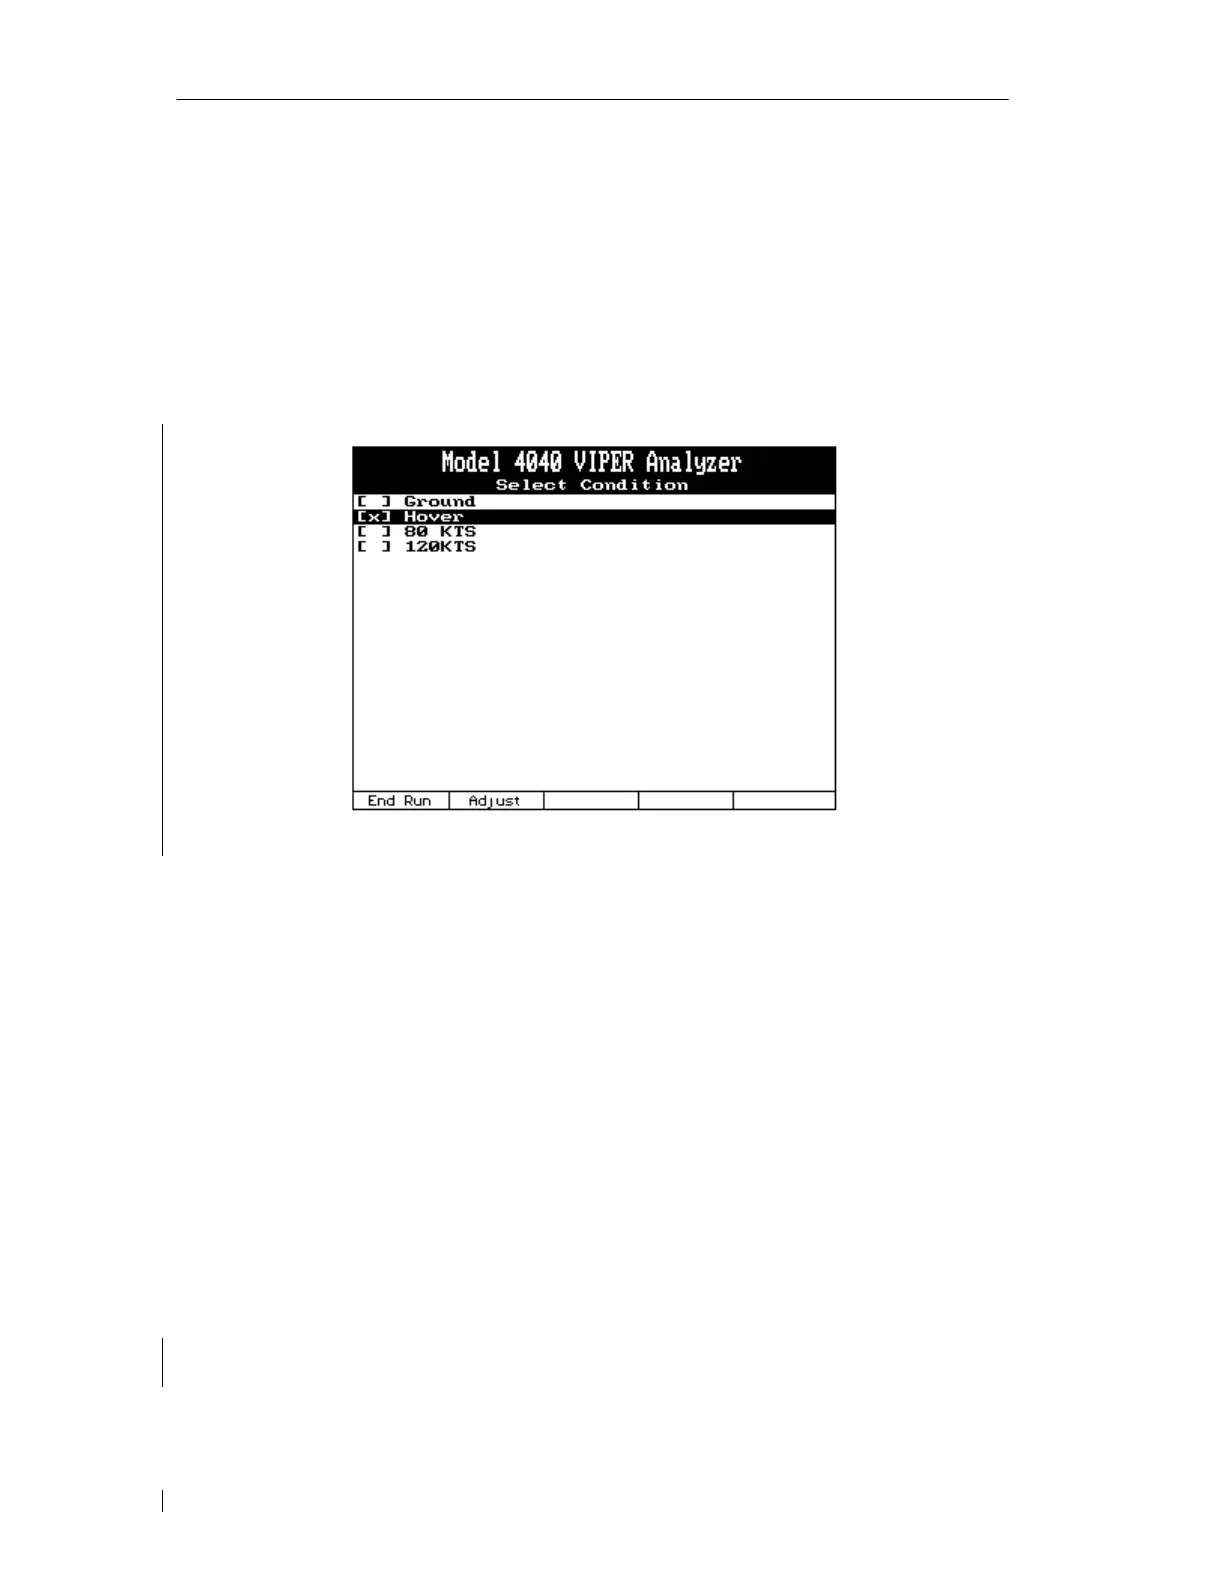
The “Select Condition” screen appears listing the conditions that were defined in the setup;
each preceded by a set of brackets. To measure a condition, highlight it using the [⇓] key and
press [ENTER]. If a condition has already been measured, an “X” will be inserted between
the brackets. You may re-measure a condition if desired, however all data previously
measured for that condition will be over-written and subsequently lost.
• When all desired conditions have been measured, pressing the [F1] “End Run” key will
terminate the current run and direct you to shut down the aircraft. Go to paragraph 5.3.10.
If during the current run, the [F2] “Adjust” key becomes visible, the analyzer has collected
enough information to present a solution. The solution presented will depend on the
conditions measured and the charts defined in the setup. For example, in our sample setup
paragraph 5.2.1.6.3, we defined only two charts for use with the aircraft in a hover:
• Vertical balance and Lateral balance. In the example screen above, only hover
measurements have been acquired. Therefore the only solutions the analyzer could
present would have to be for either vertical balance or lateral balance.
• The process for measuring and recording track data is covered in the measurement
screens, it must be done from the “Review Data” screen as shown in paragraph 5.3.9
.
When all desired conditions have been measured, press the [F1] key to end the current run.



 To Next Page