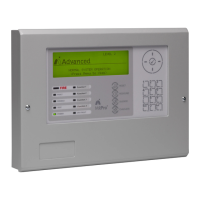
2.4 Loop Driver Installation
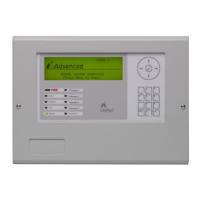
The Mx-4100V has one in-built loop driver, for connection of detectors, call points and other signalling devices.
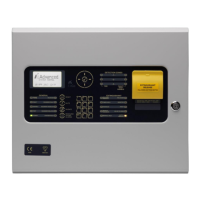
2.4.1 Fitting the cards in the Mx4200V, Mx-4400V & Mx-4800V
To extend the number of detector loops or to
replace an existing loop driver card follow the
procedure described below.
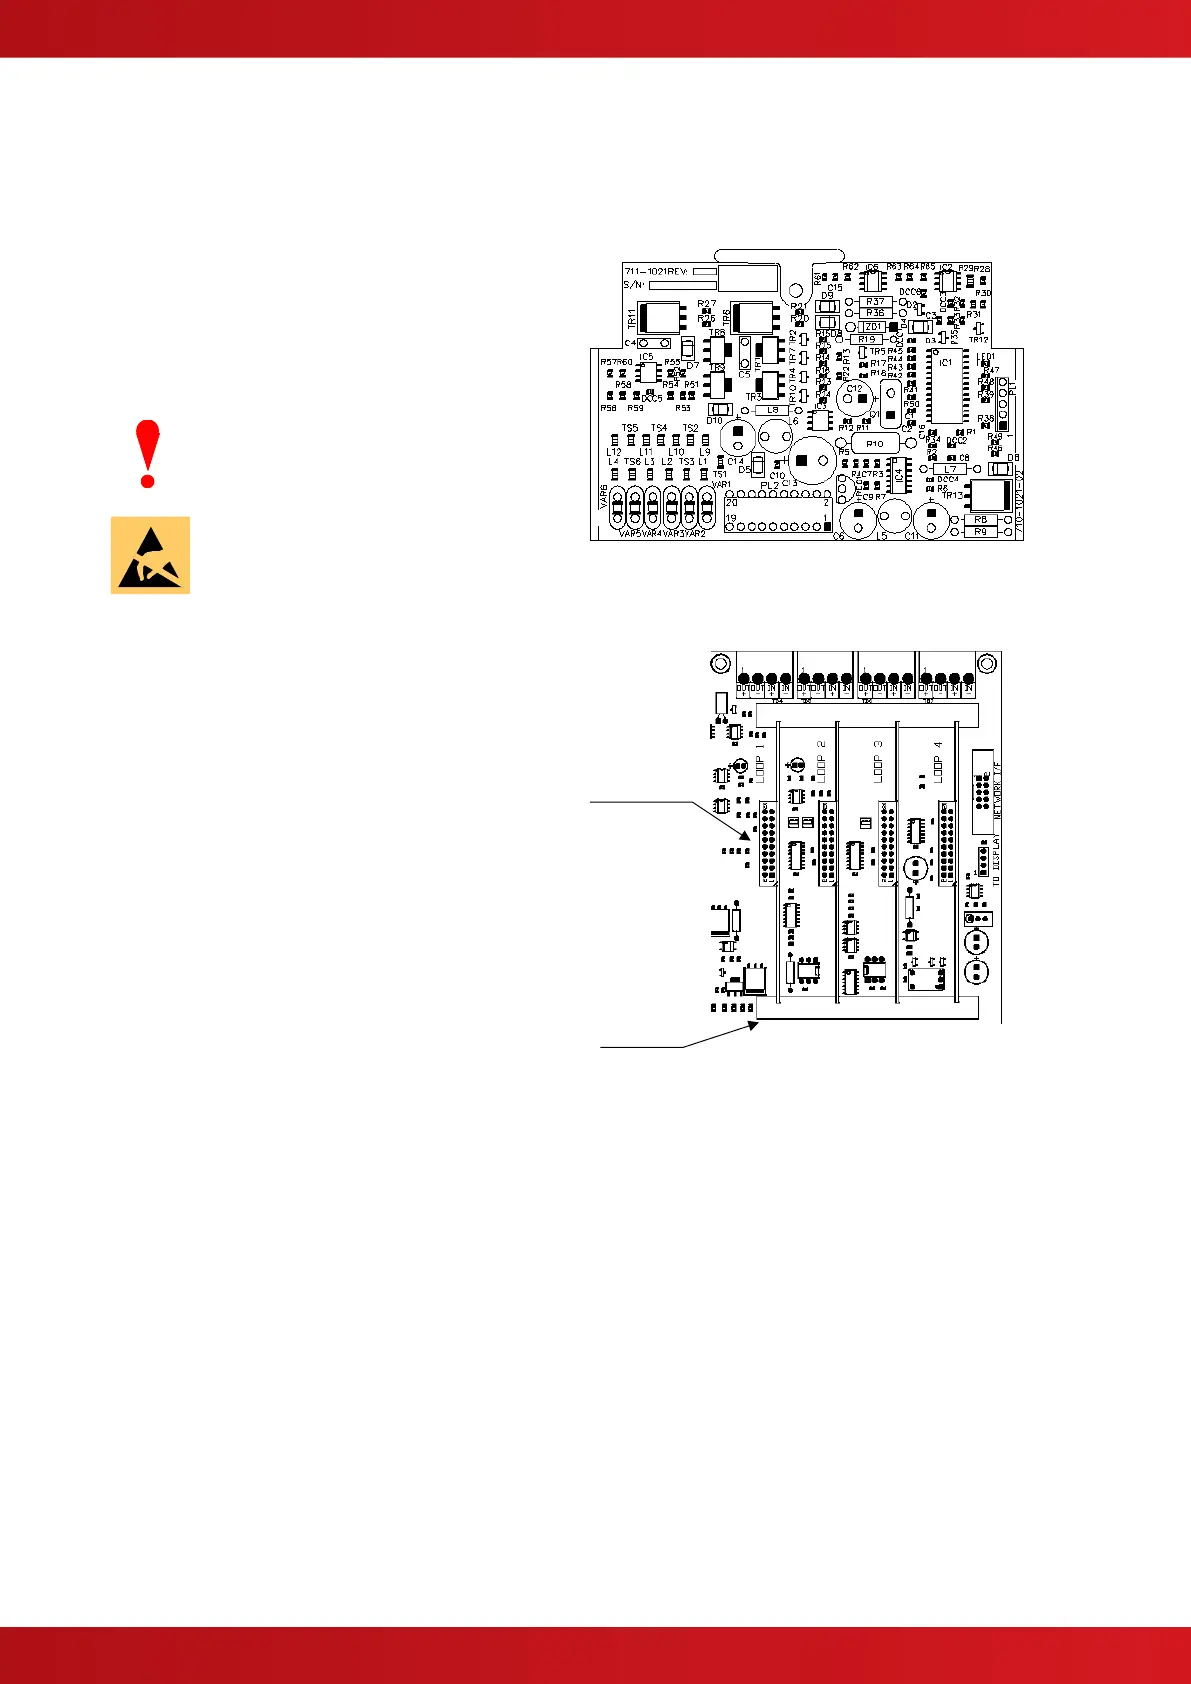
An example of the loop driver is shown opposite.
This is provided with a plastic grip handle on the
top edge to ease removal of the card from the
Base Card.
Loop Driver – Component Side View
Isolate ALL sources of power before
installing or removing printed circuit
boards.
Observe anti-static precautions at all
times when handling printed circuit
boards.
Open the enclosure and then open the display
plate (it is hinged on the right hand side and there
is a magnetic catch strip on the left-hand side) to
gain access to the Base Card.
A section of the Base Card identifying the
locations for each loop driver is shown in the
picture opposite
To install a loop driver, remove the retaining strap,
then gently guide the loop driver printed circuit
card into the guide slots of the machined end
blocks and then push into place onto the
connector on the Base Card.
Ensure that the pins of the connectors are
correctly aligned. The loop driver should be
inserted with the component side of the board
placed on the left-hand side. Replace the retaining
strap.
The Base Card can accept up to four loop driver
cards – it does not matter which positions are
used. Ensure that the detector loop wiring is made
to the terminal block positions appropriate to the
loop driver cards actually installed.
Close the chassis display plate and then close up
the enclosure.
Component side of
Loop Driver Card
NB: The Mx-4200V only has positions 1 & 2
available.
2.4.2 Removing a Loop Driver Card
To remove a loop driver, remove all power and follow the procedure above but:
Take a firm hold of the lever located on top of the loop driver card. Gradually and carefully pull the loop
driver away from the base card and guide it out of the slots in the machined end blocks.
www.acornfiresecurity.com
www.acornfiresecurity.com