34410A/11A User’s Guide 73
Features and Functions 2
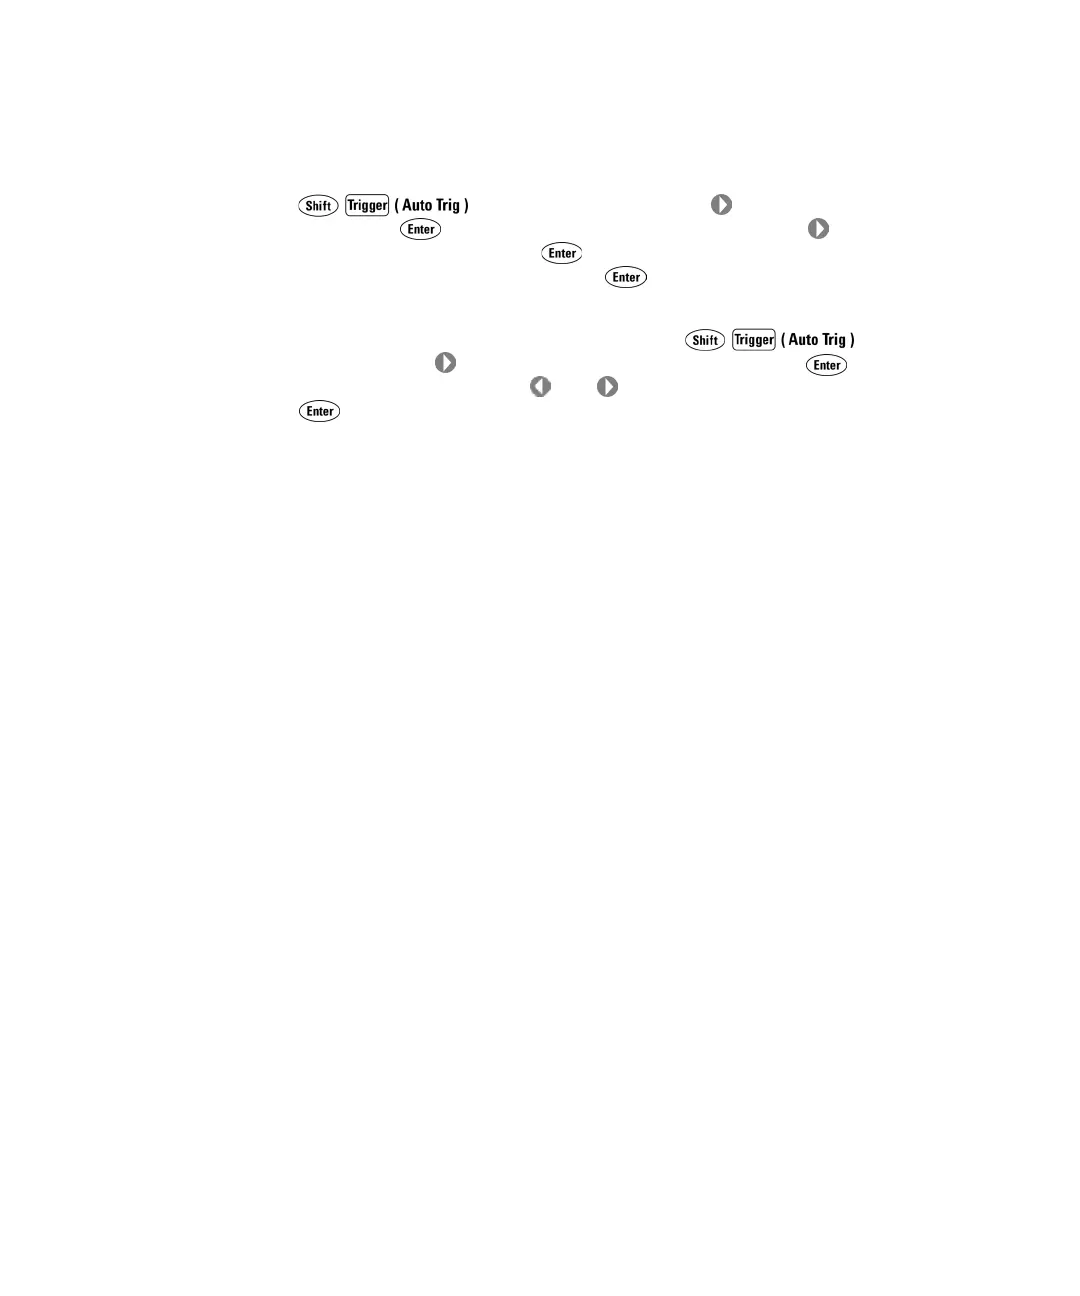
• Front Panel Operation: To manually specify the trigger delay, press
to display TRIGGER. Press twice to select ADVANCED,
and press as needed to display TRIG DELAY. Press as needed to
select MANUAL, and press . Use the navigation keypad to set the
desired trigger delay, and press . Then step through or exit the
advanced triggering menu.
To specify a trigger delay of zero, press to display
TRIGGER. Press twice to select ADVANCED, and press as needed to
display TRIG DELAY. Press or as needed to select ZERO, and press
. Then step through or exit the advanced triggering menu.
• Remote Interface Operation: The following command specifies the trigger
delay, in seconds:
TRIGger:DELay {<seconds>>MIN>MAX}
If the multimeter is configured to take more than one sample per
trigger, the trigger delay you specify is inserted between the trigger and
each reading (if the sample source is set to AUTO), or only before the
first reading (if the sample source is set to TIMer). See the
SAMPle:SOURce command description for more information.
After setting the trigger delay, you must use the INITiate or READ
command to place the meter in the wait–for–trigger state before
readings are triggered (see “Software (Bus ) Triggering” on page 71).
The MEASure? command sets the trigger delay to AUTO.
Refer to the Agilent 34410A/34411A Programmer’s Reference for
complete description and syntax for these command.
 Loading...


