3
Chapter3 Installation 47
Initial Login
Change the IP adadress to allow the PC to communicate with the system, and login to the system’s
web page.
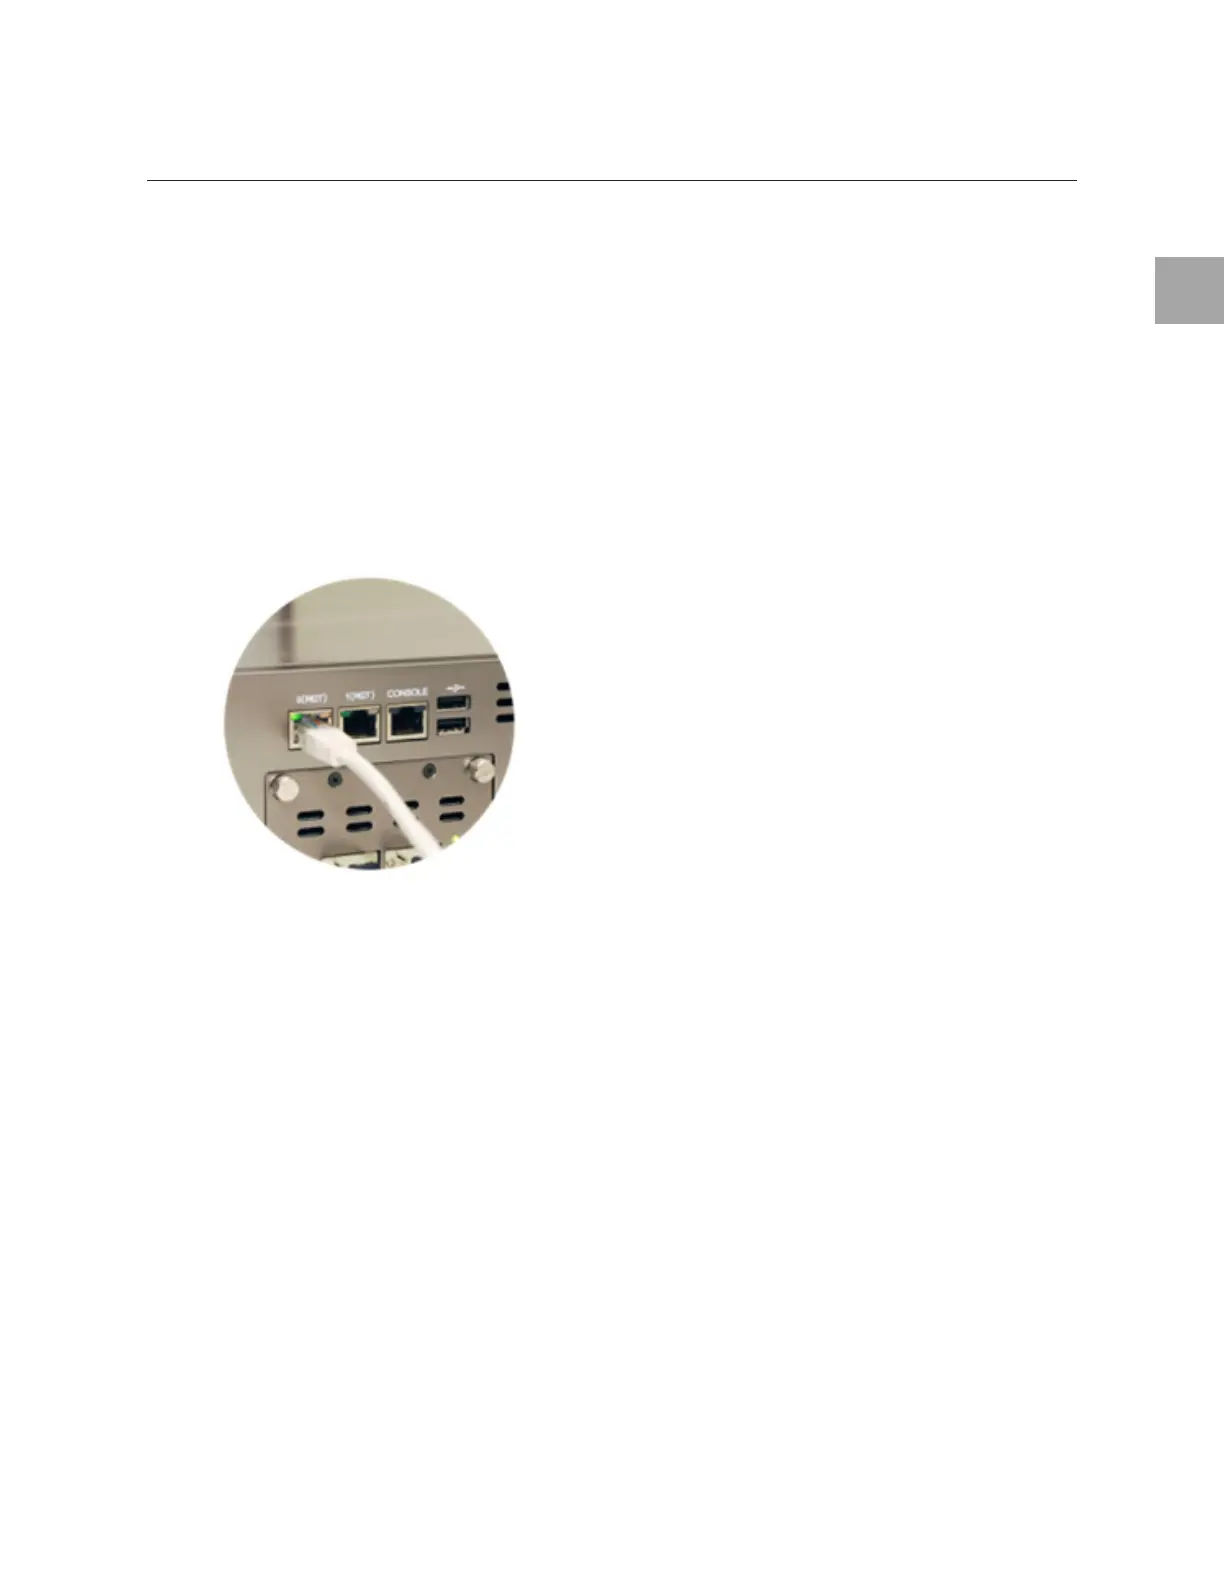
Step 1: Connect UTP cable to device and PC
TrusGuard’s network port automatically recognizes UTP Straight-Through cable and UTP Crossover
cable. The UTP cables that come in the package are all CAT 5e Direct cable.
1 Change the
IP address to allow the PC to communicate with the system.
2 Use
the UTP cable to connect the PC to an Internet switch.
• Inser
t the UTP cable’s RJ-45 connector into TrusGuard’s temporary network port (e.g.: eth0).
• Insert the other UTP cable’s RJ-45 connector into the PC’s network port.
• Connect the UTP cable to an I
nternet switch.
3 Check
TrusGuard’s port status.
• The
green LED on the left of the port will turn on if properly connected. If not, the light will not
turn on.
• When the
connection speed is 10 Mbps or 100 Mbps, the orange LED on the right of the port
will turn on. If not, it will flicker.
• When the
connection speed is 1 Gbps, the green LED on the right of the port will turn on. If not,
it will flicker.
Step 2: Login
1 Open a supported web browser from a computer in the administrative IP address range set in
TrusGuard.
2 In the address bar
of the web browser, enter: https://10.0.0.254:50005
• The port no. used for admini
strative session is 50005.