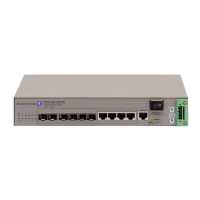
Installation Preparation
Page 50 7210 SAS-D Installation Guide
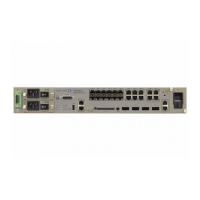
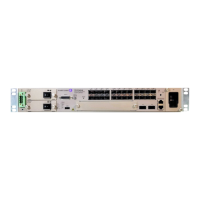
Installing SFPs
To install an SFP transceiver:
Step 1 Remove the SFP from its anti-static packaging.
Step 2 Holding the SFP by its sides, slide the unit into the port until it clicks into place.
Step 3 Remove the plug from the SFP optical bore when you are ready to attach the network
cable.
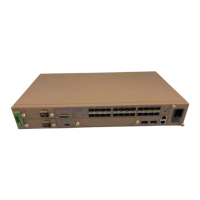
Removing SFPs
If you are removing an SFP, have a replacement SFP or slot plug, an anti-static mat, and a safety
cap for the SFP transceiver ready.
To remove an SFP:
Step 1 Disconnect the network cable from the optical connector.
Step 2 Pull the lever located in the front of the SFP with your thumb and forefinger. Slide the
connector out of the port.
Step 3 Place the SFP on an anti-static mat or in an electro-static bag.
Step 4 Install an SFP replacement or re-insert the plug.
Step 5 Connect the network cable or place a safety cap over the optical transceiver.
Caution: 7210 SAS-D does not use a fan for cooling and the SFPs might be
slightly hotter than usual. Avoid direct contact with the metal casing of the SFPs.
 Loading...