263Alvium USB Cameras User Guide V4.6.1
Installing the camera
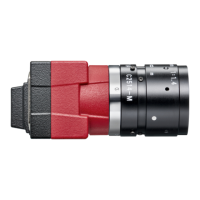
Installing Alvium Frame cameras
Aligning the sensor with your optical system
Alvium Frame cameras are manufactured so that the sensor is aligned with your
optical system with optimal precision. You can select between alignment methods:
A: Using the lateral alignment areas (1) and the front alignment area (2).
B: Using the front area (2) and the two alignment holes (3).
CAUTION
Risk of cuts by sharp edges of the circular front opening
• Avoid touching these edges with your fingers.
• Wear protective gloves for handling Alvium Frame cameras with an open
circular front opening.
NOTICE
Damage to the sensor
The sensor can be damaged if the sensor surface is exposed to dirt or mechanical
stress.
• Ensure that lenses or objects, such as optical elements do not exceed the
specified maximum protrusion.
• Keep your fingers and tools outside the area inside the frame flange.
• Provide the following conditions to keep dirt and droplets out of the optical
system of camera:
- Dust-free environment
- Low relative humidity
- No condensation.
Figure 89: Alignment methods
Alignment by using the lateral alignment areas (1) and the front area (2)
11
1
A
B
2
3
3
Alignnment by using the front area (2) and the alignment holes (3)
 Loading...